
Introduction
Few treats evoke the same nostalgic and comforting feelings as a warm, freshly baked chocolate chip cookie. This iconic dessert, beloved by cookie enthusiasts of all ages, has become a staple in homes, bakeries, and coffee shops around the world. The aroma of melting chocolate mingling with the sweet scent of baked dough is enough to transport anyone back to their childhood kitchen, where the simple act of baking cookies brought joy and warmth to family gatherings.
The allure of chocolate chip cookies lies not only in their delightful taste but also in the memories they create. Whether they remind you of baking with a parent, sharing with friends, or enjoying them as a late-night snack, homemade chocolate chip cookies hold a special place in our hearts. In this article, we will guide you through the process of creating the ultimate chocolate chip cookies at home, sharing insights and tips along the way to ensure your baking experience is as rewarding as the final product.
From understanding the essential ingredients to following a step-by-step guide, our goal is to equip you with everything you need to bake cookies that are perfectly chewy, richly flavored, and irresistibly delicious. So, roll up your sleeves, preheat your oven, and let’s dive into the world of chocolate chip cookies!
Understanding the Ingredients
To create the ultimate chocolate chip cookies, it’s crucial to have a solid understanding of the ingredients that play a role in their deliciousness. Each component contributes unique properties that affect the texture, flavor, and overall success of your cookies. Here’s a closer look at the essential ingredients you’ll need:
Flour: The Foundation for Structure
Flour is the backbone of any cookie recipe, providing the necessary structure and texture. All-purpose flour is typically used for chocolate chip cookies due to its balanced protein content, which helps achieve that ideal chewy consistency. If you want to experiment, consider using a mixture of all-purpose flour and cake flour for a softer, more tender cookie.
Baking Soda: Role in Leavening and Texture
Baking soda is a critical leavening agent that helps your cookies rise while they bake. It reacts with the acids in the dough, producing carbon dioxide gas that creates a light and airy texture. Using the right amount of baking soda is essential; too little may result in dense cookies, while too much can lead to an unpleasant soapy taste.
Butter: Importance of Unsalted Butter for Flavor and Texture
Butter not only adds flavor but also contributes to the texture of your cookies. Unsalted butter is preferred, as it allows for better control over the overall saltiness of the dough. The fat in butter helps create a tender cookie, so it’s essential to use it at room temperature for proper creaming with sugars, which helps incorporate air into the batter.
Sugars: Granulated vs. Brown Sugar and Their Effects on Taste and Moisture
A mix of granulated sugar and brown sugar is key to achieving the perfect balance of sweetness and moisture. Granulated sugar contributes to crispness, while brown sugar, which contains molasses, adds depth of flavor, chewiness, and moisture to the cookies. The ratio of these sugars can be adjusted depending on your desired cookie texture.
Salt and Vanilla Extract: Enhancing Flavors
Salt is often an overlooked ingredient, but it plays a vital role in enhancing the overall flavor of your cookies. A pinch of salt can elevate the sweetness and balance the flavors, making each bite more enjoyable. Vanilla extract, on the other hand, adds warmth and a subtle complexity, rounding out the flavor profile beautifully.
Eggs: Binding and Moisture in the Dough
Eggs act as a binding agent in cookie dough, helping to hold the ingredients together. They also contribute moisture, which is essential for the texture. Using room temperature eggs ensures better incorporation into the dough. If you prefer a richer flavor, consider using an extra yolk for added moisture and tenderness.
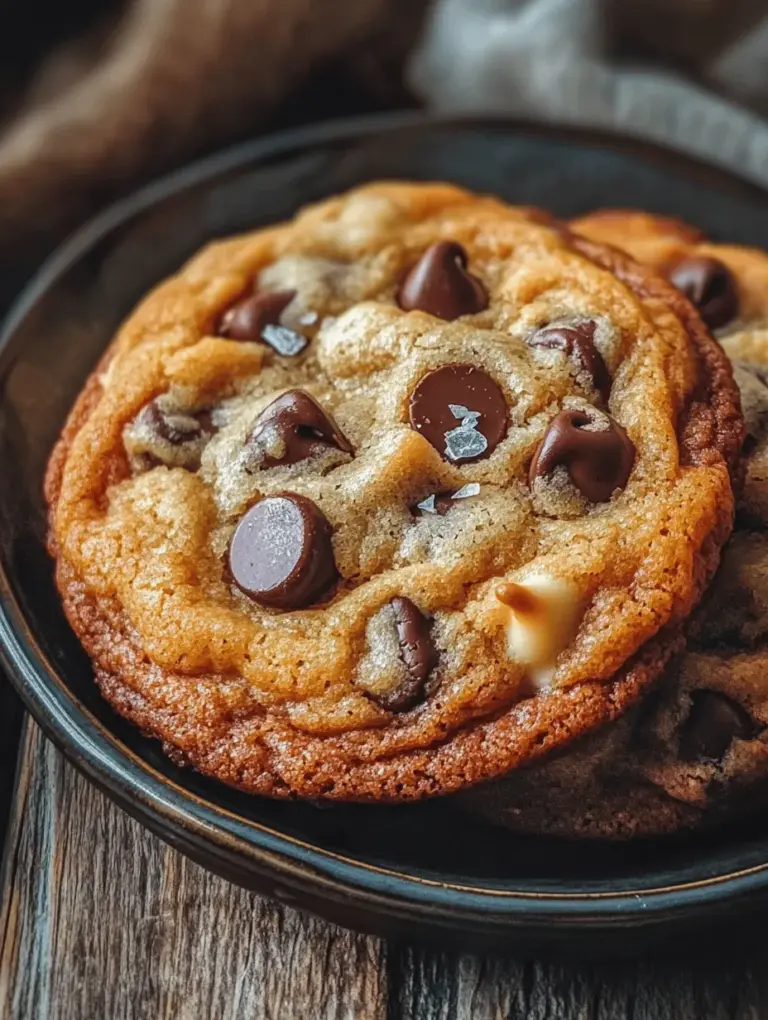
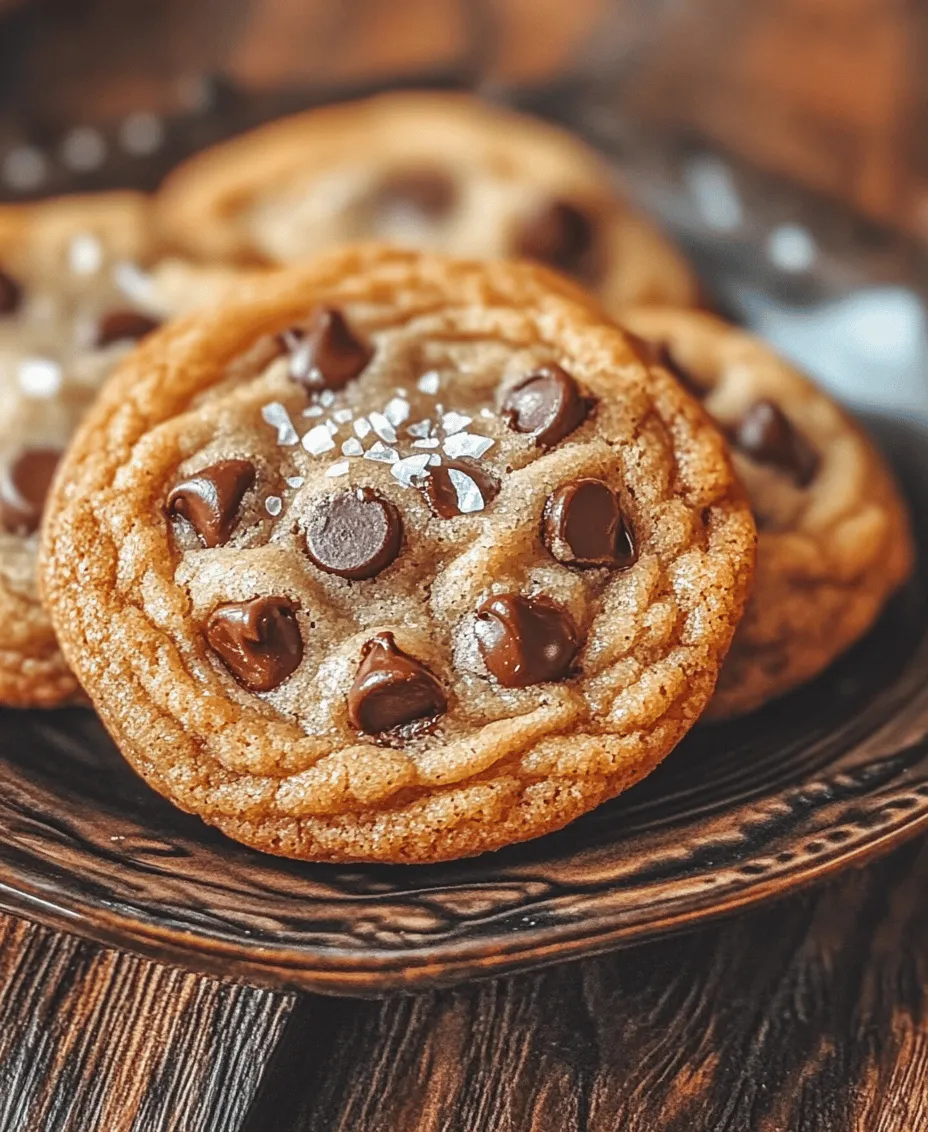
Chocolate Chips: Types and Their Impact on the Final Cookie
Chocolate chips are the star of the show when it comes to chocolate chip cookies. The type of chocolate you choose can significantly impact the flavor and texture of your cookies. Semi-sweet chocolate chips are the traditional choice, but you can also experiment with milk chocolate, dark chocolate, or even white chocolate for a unique twist. Additionally, consider using chocolate chunks for a more rustic feel.
Nuts (Optional): Adding Texture and Flavor Depth
While traditional chocolate chip cookies are often made without nuts, adding chopped nuts such as walnuts or pecans can introduce a delightful crunch and enhance the flavor profile. If you’re a fan of a chewy texture, toasting the nuts before incorporating them can elevate the taste even further.
Step-by-Step Guide to Making Chocolate Chip Cookies
Now that we’ve covered the essential ingredients, let’s dive into the step-by-step process of making your ultimate chocolate chip cookies. Baking can be daunting, but with careful preparation and attention to detail, you’ll be rewarded with cookies that will impress friends and family alike.
Prepping Your Kitchen: Importance of Organization Before Starting
Before you dive into mixing and baking, it’s essential to prep your kitchen. Gather all the ingredients and tools you’ll need, including measuring cups, spoons, mixing bowls, a spatula, and baking sheets. Having everything organized will help streamline the process and make your cookie-making experience more enjoyable.
Preheat the Oven: Why It Matters for Baking
Preheating your oven is a crucial step that should never be skipped. Setting your oven to the correct temperature (usually 350°F or 175°C for chocolate chip cookies) ensures that your cookies bake evenly. If the oven is not preheated, your cookies may spread too much or not rise properly, leading to a less-than-perfect result.
Mixing Dry Ingredients: The Science Behind This Step
In a separate bowl, start by whisking together the dry ingredients: flour, baking soda, and salt. This step is vital for ensuring that the leavening agent is evenly distributed throughout the dough, preventing any pockets of baking soda that can lead to uneven rising or flavor. Whisking also aerates the flour, which can result in a lighter texture.
Creaming Butter and Sugars: Techniques for Achieving the Perfect Texture
Next, it’s time to cream the unsalted butter and sugars together. Using an electric mixer, beat the butter until creamy, then gradually add the granulated and brown sugars. This process should take about 2 to 3 minutes. The goal is to achieve a light, fluffy texture that incorporates air into the mixture, which will help the cookies rise. Be sure not to overmix, as this can lead to tough cookies.
Incorporating Eggs and Vanilla: Tips for Even Mixing
Once your butter and sugars are well-creamed, add the eggs one at a time, mixing well after each addition. This step ensures that the eggs are fully incorporated into the dough. Don’t forget to add the vanilla extract at this stage; the delightful aroma will fill your kitchen! Mix until just combined, as overmixing at this stage can lead to a dense cookie.
Combining Wet and Dry Ingredients: Avoiding Overmixing for Optimal Texture
Now, it’s time to combine your wet and dry ingredients. Gradually add the dry mixture to the wet ingredients, mixing on low speed or folding with a spatula until just combined. It’s important not to overmix at this point; the dough should be slightly lumpy. Overmixing can develop gluten in the flour, resulting in tough cookies instead of the desired chewy texture.
With these initial steps completed, your cookie dough is well on its way to becoming the ultimate chocolate chip cookies. Stay tuned for the next part of this article, where we will continue with the remaining steps and additional tips to ensure your cookies turn out perfectly every time.
Folding in Chocolate Chips and Nuts
Once your cookie dough is mixed to perfection, it’s time to fold in the chocolate chips and any nuts you may want to add. This step is crucial because it ensures that the chocolate and nuts are evenly distributed throughout the dough without overworking it. Overmixing can lead to tough cookies, which is the opposite of what we want.
To do this effectively, use a spatula or a wooden spoon. Gently lift the dough from the bottom of the bowl and fold it over the chocolate chips and nuts. Rotate the bowl as you go, ensuring every bit of the dough gets a chance to mingle with the sweet chocolate and crunchy nuts. This gentle folding technique will keep the dough light and airy, resulting in a delightfully chewy cookie.
Scoop and Space
Now that your chocolate chips and nuts are beautifully incorporated, it’s time to scoop the dough onto your baking sheets. Using a cookie scoop or two spoons, portion out the dough, making sure to leave sufficient space between each cookie. A good rule of thumb is to space them about two inches apart.
Why is this important? Proper spacing allows the cookies to spread evenly while baking, preventing them from merging into one giant cookie! This spacing is key to achieving that perfect golden edge while retaining a soft, gooey center. If the cookies are too close together, they may bake unevenly, resulting in some parts overcooked and others underbaked.
Baking Process
Now comes the moment of truth: baking! Preheat your oven to the temperature specified in your recipe, usually around 350°F (175°C). As you place your baking sheets in the oven, keep an eye on the time. The goal is to achieve a perfect golden edge and a soft center.
Typically, cookies should bake for about 10-12 minutes, but this can vary based on your oven and the size of your cookies. Watch for the edges to turn a light golden brown while the centers appear slightly soft and underbaked. This is a good sign that they will continue to firm up as they cool down, resulting in a wonderful texture.
For the best results, rotate your baking sheets halfway through the baking time. This ensures even baking, as some ovens may have hot spots that can cause one side of the cookies to bake faster than the other.
Cooling Cookies
Once your cookies are baked to perfection, it’s essential to let them cool. Place them on a wire rack to cool completely. This step is not just a suggestion; it’s crucial for achieving the right texture. As the cookies cool, they will set and firm up, developing that delightful chewiness that everyone loves.
If you skip this step and start digging into the cookies while they are still hot, you might be disappointed. The warm cookies could collapse or become too soft, losing their structure. Allowing them to cool for at least 5-10 minutes will enhance their flavor and texture, making the experience even more enjoyable.
Tips for Perfect Chocolate Chip Cookies
Adjusting for Chewy vs. Crispy Cookies
The texture of your chocolate chip cookies can easily be adjusted by tweaking the ingredient ratios. For chewier cookies, use more brown sugar than white sugar. Brown sugar contains molasses, which adds moisture and chewiness. Alternatively, for a crispier cookie, increase the white sugar and decrease the brown sugar.
Additionally, consider the baking time. Baking for a shorter period will yield chewier cookies, while longer baking times will result in a crispier finish.
Using Different Types of Chocolate
Not all chocolate is created equal. Experimenting with different types of chocolate can elevate your cookies to a whole new level. Semisweet chocolate is the classic choice for chocolate chip cookies, offering a perfect balance of sweetness and richness. However, using milk chocolate can give a sweeter, creamier flavor, while dark chocolate provides a more intense, bittersweet taste.
Feel free to mix and match! A combination of different chocolates can create a delightful medley of flavors that will please any chocolate lover.
Incorporating Flavor Variations
To add an extra layer of flavor to your cookies, consider incorporating spices or extracts. A dash of cinnamon can add warmth, while a splash of vanilla extract intensifies the overall taste.
You can also try unique variations like adding a sprinkle of sea salt on top before baking for a sweet-salty contrast or mixing in ingredients like peanut butter chips or dried fruits for added texture and flavor.
Storing Cookies Properly
To keep your cookies fresh and delicious, proper storage is essential. Allow the cookies to cool completely before transferring them to an airtight container. Store them at room temperature for up to a week. If you want to keep them longer, consider freezing the cookies.
To freeze, place the cooled cookies in a single layer on a baking sheet and freeze until firm. Then, transfer them to a freezer-safe bag or container, where they can last for up to three months. When you’re ready to enjoy them, simply thaw at room temperature or pop them in the microwave for a few seconds for that fresh-from-the-oven taste.
Common Mistakes to Avoid
Overmixing the Dough
One of the most common mistakes is overmixing the dough once the flour is added. This can lead to tough cookies. Mix just until the dry ingredients are incorporated to maintain the desired texture.
Incorrect Oven Temperature and Baking Times
Ensure your oven is preheated correctly. An incorrect oven temperature can drastically affect your cookie outcome. Invest in an oven thermometer to check for accuracy, and adjust your baking time according to your specific oven conditions.
Using Cold Butter or Eggs
Using cold butter or eggs can hinder the creaming process, resulting in less aeration and denser cookies. Always use room-temperature ingredients for the best results.
Skipping the Cooling Process
As mentioned earlier, skipping the cooling process can lead to undesirable textures. Allowing your cookies to cool on a wire rack is essential for achieving that perfect balance of softness and structure.
The Joy of Homemade Chocolate Chip Cookies
Baking chocolate chip cookies is not just about satisfying a sweet tooth; it’s an experience that brings joy and warmth to any home. Sharing the experience with family and friends can create lasting memories. Invite your loved ones into the kitchen, let them scoop the dough, and share in the delightful anticipation as the cookies bake.
There’s something undeniably comforting about indulging in warm cookies right out of the oven. Whether enjoyed with a cold glass of milk or a scoop of ice cream, homemade chocolate chip cookies are a timeless treat that everyone cherishes.
Consider using them as a thoughtful gift for friends or neighbors. A batch of freshly baked cookies packaged in a cute box or tin can brighten anyone’s day.
Conclusion
Mastering the art of chocolate chip cookies involves attention to detail in each step of the recipe. From the careful folding of ingredients to the importance of spacing and cooling, every action contributes to the final result.
Don’t hesitate to experiment with various flavors and textures while sticking to the classic recipe. The beauty of homemade cookies lies in their versatility and the joy they bring.
So roll up your sleeves, gather your ingredients, and enjoy the process. Whether you’re baking for yourself, your family, or a gathering, homemade chocolate chip cookies will always create lasting memories and moments of joy.