
Introduction
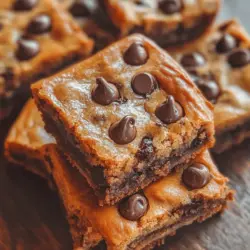
Delight in the decadent fusion of flavors with the best fudgy chewy browkies—an irresistible combination of brownies and cookies, commonly known as brookies. These delightful treats bring together the rich, gooey texture of brownies with the soft, chewy goodness of cookies, creating an indulgent dessert that captivates the senses. Imagine sinking your teeth into a warm, chocolatey square that melds the best of both worlds, offering a satisfying bite that is both fudgy and chewy.
In recent years, brookies have surged in popularity across bakeries and home kitchens alike. Their unique dual-layer structure allows for creative variations, making them a versatile choice for any occasion, from casual family gatherings to upscale dinner parties. This article will guide you through the creation of these delicious treats, showcasing their rich texture and chocolatey flavor that make them a favorite among dessert lovers. Whether you’re baking for a special occasion or just indulging your sweet tooth, this recipe ensures a delightful experience that will have everyone asking for seconds.
Understanding Browkies: The Perfect Fusion of Brownies and Cookies
Exploring the Concept of Browkies
Browkies, or brookies, are a delightful culinary invention that merges two classic desserts into one extraordinary treat. This creative concoction typically consists of a brownie base topped or swirled with cookie dough, allowing the flavors and textures to mingle beautifully. While the precise origins of brookies are not well-documented, they are believed to have emerged in the late 20th century, gaining traction as home bakers began to explore innovative ways to satisfy their cravings for both brownies and cookies in a single bite.
The appeal of these treats lies in their versatility. With countless variations, brookies can be tailored to suit different tastes and dietary preferences, making them a beloved dessert choice for people of all ages. Whether you prefer a classic chocolate chip cookie topping or a more adventurous flavor like peanut butter or salted caramel, the possibilities are endless. This adaptability, combined with the rich, satisfying flavors, is what keeps dessert enthusiasts coming back for more.
The Appeal of Fudgy Chewy Browkies
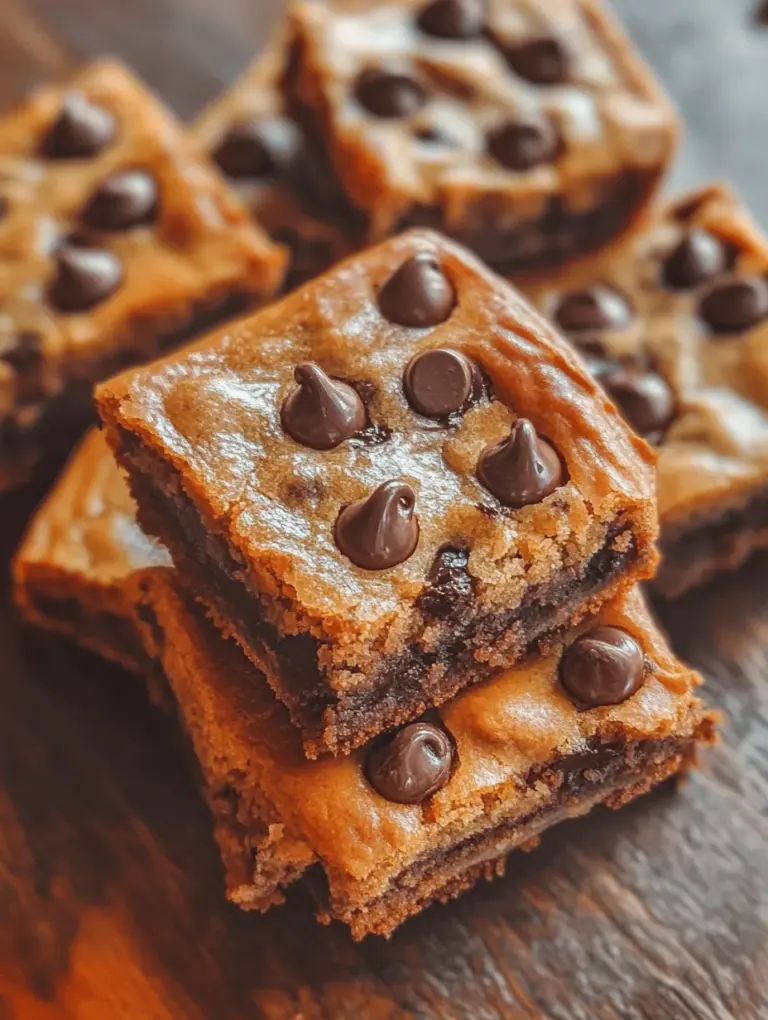
What truly sets fudgy chewy browkies apart from traditional brownies and cookies is their unique texture and flavor profile. A well-made browkie strikes a perfect balance between the dense, fudgy layers of brownie and the soft, chewy layers of cookie. The brownies provide a rich chocolate experience with a moist, almost gooey center, while the cookies add a delightful chewiness that enhances the overall enjoyment.
The combination of these two textures creates a dessert that is not only visually appealing but also provides a satisfying contrast in every bite. The fudginess of the brownie layer complements the sweetness of the cookie dough, resulting in a harmonious blend of flavors that is hard to resist. Whether you enjoy them warm from the oven or at room temperature, fudgy chewy browkies are sure to please even the most discerning dessert lover.
Ingredients Breakdown: What Makes the Best Browkies?
Creating the best browkies requires careful selection of ingredients to ensure that each layer achieves its intended texture and flavor. Below, we break down the essential components for both the brownie and cookie layers, highlighting their roles in crafting the ultimate fudgy chewy treat.
Essential Ingredients for the Brownie Layer
1. High-Quality Chocolate: The star of the brownie layer is undoubtedly the chocolate. Using semi-sweet or dark chocolate not only enhances the rich flavor but also contributes to the fudginess of the brownies. Opt for high-quality chocolate bars for the best results, as the flavor can significantly impact your overall dessert.
2. Cocoa Powder: Unsweetened cocoa powder adds depth to the chocolate flavor in the brownie layer. It also helps to achieve a richer color and a more intense cocoa taste. Look for Dutch-processed cocoa for a smoother flavor profile.
3. Granulated Sugar: Sugar is crucial for sweetness and texture. It helps create the characteristic shiny crust on top of the brownies while also contributing to their moistness.
4. Brown Sugar: Using brown sugar in addition to granulated sugar not only adds sweetness but also enhances the moisture content. The molasses in brown sugar provides a subtle caramel flavor that pairs beautifully with chocolate.
5. Eggs: Eggs play a vital role in binding the ingredients and providing structure. They help create the rich, fudgy texture that browkies are known for. Using room temperature eggs ensures better incorporation into the batter.
6. Butter: Melted butter adds richness and moisture to the brownie layer. It also contributes to the overall fudginess. For an even more intense flavor, consider using unsalted butter to control the saltiness of your dessert.
7. All-Purpose Flour: Flour adds structure to the brownies, allowing them to hold their shape. Be careful not to overmix the batter after adding the flour, as this can lead to dense brownies.
Essential Ingredients for the Cookie Layer
1. All-Purpose Flour: Just as with the brownie layer, all-purpose flour is essential for the cookie layer. It provides the necessary structure while helping to achieve that perfect chewy texture.
2. Granulated Sugar and Brown Sugar: A combination of both sugars is key to a cookie layer that is sweet yet balanced. Granulated sugar contributes to a crisp exterior, while brown sugar adds moisture and chewiness.
3. Butter: Similar to the brownie layer, butter is essential for flavor and moisture. Softened butter is preferred for the cookie layer, as it allows for easier creaming with the sugars.
4. Eggs: One egg is typically used in the cookie layer, which helps bind the ingredients together and contributes to the chewy texture.
5. Baking Soda and Baking Powder: Both leavening agents are essential for achieving the right texture in the cookie layer. Baking soda helps the cookies spread, while baking powder contributes to a lighter texture.
6. Vanilla Extract: A splash of vanilla extract adds a lovely aroma and enhances the overall flavor of the cookies, creating a delightful balance with the rich chocolate.
7. Chocolate Chips: The quality of chocolate chips used can make a significant difference in flavor. Opt for semi-sweet or dark chocolate chips for a deliciously rich finish. You can even experiment with different types of chips, such as milk chocolate or white chocolate, depending on your preference.
Step-by-Step Instructions: Crafting Your Browkies
Prepping Your Kitchen for Browkie Success
Before diving into the baking process, it’s essential to prepare your kitchen for browkie success. Having the right tools and ingredients on hand can make the process smoother and more enjoyable. Here’s what you’ll need:
– Baking Pan: A 9×13-inch baking pan is ideal for this recipe. Ensure it’s lined with parchment paper for easy removal of the browkies once baked.
– Mixing Bowls: Use large mixing bowls for mixing the brownie and cookie batters separately. A whisk and a spatula will also come in handy for smooth mixing.
– Measuring Cups and Spoons: Accurate measurements are key to baking success. Use dry measuring cups for flour and sugar, and liquid measuring cups for ingredients like butter and eggs.
– Electric Mixer: While you can mix by hand, an electric mixer will make the process quicker, especially for the cookie dough.
– Cooling Rack: Once your brookies are done baking, transfer them to a cooling rack to prevent them from becoming soggy.
Creating the Brownie Layer
1. Preheat the Oven: Start by preheating your oven to 350°F (175°C). This ensures that your browkies will bake evenly.
2. Melt the Chocolate and Butter: In a medium saucepan over low heat, combine the chopped chocolate and butter. Stir constantly until melted and smooth. Remove from heat and let it cool slightly.
3. Mix the Sugars: In a large mixing bowl, combine granulated sugar and brown sugar. Pour in the melted chocolate-butter mixture and mix until well combined.
4. Add the Eggs: Add the eggs, one at a time, mixing well after each addition. The mixture should appear glossy.
5. Incorporate Dry Ingredients: Sift together the cocoa powder, flour, and salt in a separate bowl. Gradually add this dry mixture to the wet ingredients, stirring gently until just combined. Be careful not to overmix, as this can lead to denser browkies.
6. Pour the Brownie Batter: Pour the brownie batter into the prepared baking pan, spreading it evenly with a spatula.
With the brownie layer complete, you’re now ready to prepare the cookie layer, which will be the crowning touch of your fudgy chewy browkies. Stay tuned for the next steps and see how to bring this delicious dessert to life!
Common Mistakes to Avoid When Preparing the Brownie Layer
When preparing the brownie layer of your browkies, there are several common pitfalls to be aware of to ensure that you achieve the perfect fudgy texture. First, overmixing the batter can incorporate too much air, leading to a cakey consistency rather than the desired fudgy richness. Always mix just until the ingredients are combined.
Another mistake is incorrect measurements, particularly with flour. Too much flour can dry out the batter, resulting in dense, dry brownies instead of the moist and chewy texture you want. Use a kitchen scale for precision, or use the spoon-and-level method when measuring flour with cups to avoid packing it down.
Additionally, using the wrong type of cocoa powder can affect the flavor and texture of your brownies. Always opt for high-quality unsweetened cocoa powder for the richest taste. Lastly, ensure that your butter is melted but not too hot when mixed with the sugars, as this can lead to a greasy texture.
Preparing the Cookie Layer
Next, let’s move on to preparing the cookie layer. The cookie dough should be soft, thick, and slightly sticky. Start by creaming together your softened butter and sugars until light and fluffy, which usually takes about 2-3 minutes. This step is crucial as it incorporates air, leading to a tender cookie texture.
Once you have a creamy mixture, add in your eggs and vanilla extract, mixing until fully combined. When it comes to the dry ingredients, whisk together the flour, baking soda, and salt in a separate bowl before gradually incorporating it into the wet mixture. This helps ensure that the leavening agent is evenly distributed throughout the dough.
Visual Cues for Texture and Consistency During Mixing
As you mix your cookie dough, keep an eye out for specific visual cues that signal when it’s ready. The dough should come together without being overly sticky. It should be cohesive enough to hold a shape but not so dry that it crumbles apart. If the dough appears too soft, you can add a tablespoon of flour at a time until you reach the desired consistency.
How to Achieve the Perfect Cookie Dough for Browkies
To achieve the perfect cookie dough for your browkies, consider letting your dough rest for at least 30 minutes in the refrigerator before baking. This resting time allows the flour to hydrate fully and the flavors to meld, resulting in a thicker, chewier cookie texture. If you can, allow the dough to rest overnight for even better results.
Assembling the Browkies
Now it’s time to assemble the browkies. Start by preheating your oven to 350°F (175°C) and greasing or lining a baking pan with parchment paper. For optimal layering, first, spread the brownie batter evenly across the bottom of the prepared pan. Use a spatula to smooth out the surface for an even bake.
Once the brownie layer is in place, scoop dollops of the cookie dough on top of the brownie batter. It’s important to distribute the cookie dough evenly but don’t worry about spreading it out completely, as it will naturally spread during baking.
Techniques for Layering Brownie and Cookie Dough
To achieve a beautiful marbled effect, use a butter knife or a skewer to swirl the two layers together slightly. Be careful not to overmix; you want to see distinct layers rather than a uniform mixture. A gentle swirling motion will create the desired marbled look.
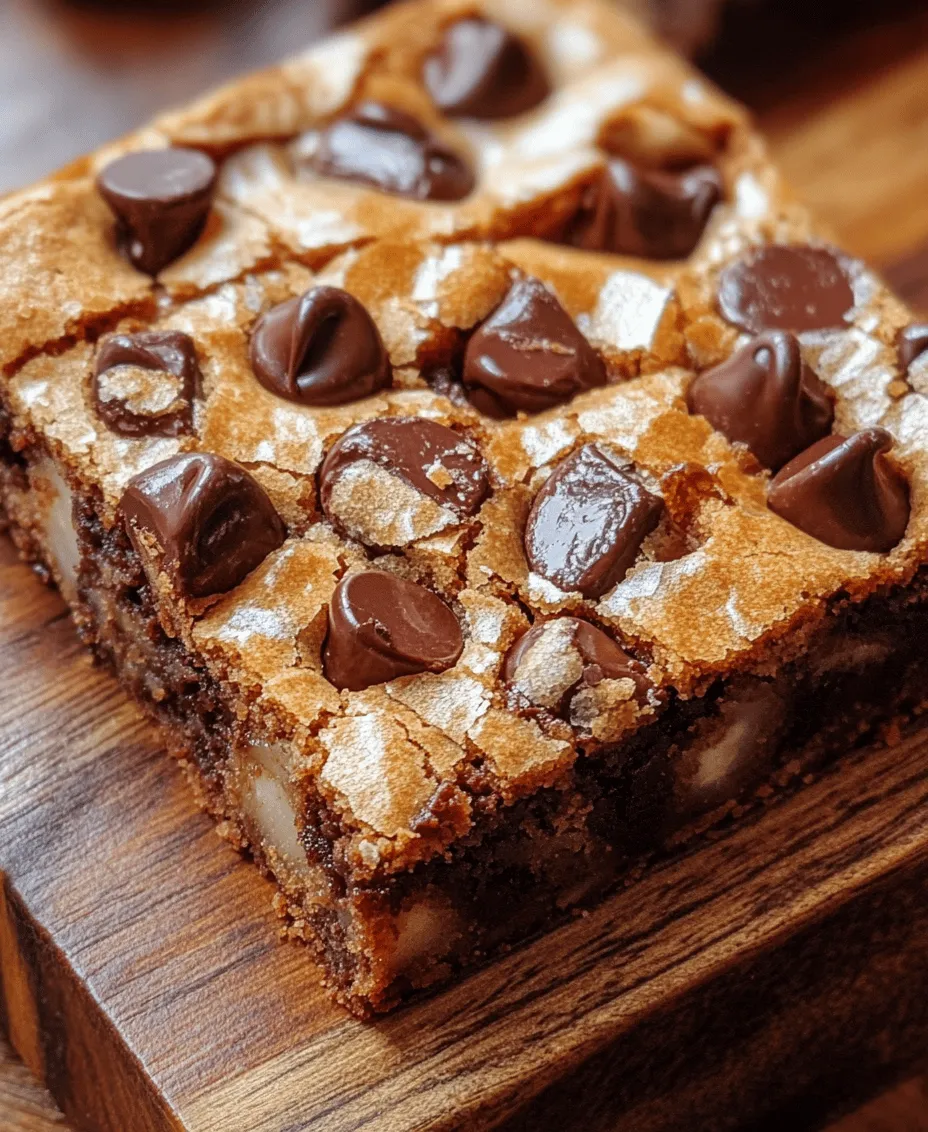
Tips for Achieving That Perfect Marbled Look
For the best marbled appearance, consider using contrasting colors. If you want a more pronounced look, try adding a little extra cocoa powder to the brownie layer to deepen its color. Alternatively, you can sprinkle some chocolate chips over the top before baking for added texture and visual appeal.
Baking to Perfection
Understanding baking times and temperatures is crucial for achieving that perfect browkies texture. Bake for approximately 25-30 minutes, but keep a close eye on them as every oven is different. The browkies are done when the edges are set, and the center looks slightly underbaked. They will continue to firm up as they cool.
How to Tell When Your Browkies Are Done Without Overbaking
To test for doneness without overbaking, insert a toothpick into the center. If it comes out with a few moist crumbs clinging to it, your browkies are ready. If it comes out clean, they may be overdone. Remember, they will continue to cook slightly while cooling in the pan.
Cooling and Serving: The Final Touches
Cooling the Browkies
Once you’ve taken your browkies out of the oven, it’s important to let them cool in the pan for about 10-15 minutes. This allows the layers to set and makes it easier to cut them later. After the initial cooling, transfer them to a wire rack to cool completely. This step is crucial to prevent sogginess and ensure that each layer maintains its distinct texture.
Explaining the Importance of Cooling Before Cutting
Allowing your browkies to cool completely before cutting is essential. If you cut them too soon, the layers may not hold together, leading to a messy presentation. A fully cooled browkie will have a firmer structure, making it easier to achieve clean cuts.
Methods for Ensuring Even Cooling and Preventing Sogginess
To ensure even cooling, place the browkies on a wire rack instead of leaving them in the pan. This promotes airflow around the edges and prevents moisture from accumulating at the bottom. If you’re in a humid environment, consider placing a small fan nearby to help with air circulation.
Cutting and Serving Suggestions
When the browkies have cooled, it’s time to cut them for serving. Use a sharp knife or a pizza cutter for clean edges. To achieve the best presentation, wipe the knife with a damp cloth between cuts to prevent the layers from sticking to the blade.
Ideas for Serving Browkies, Including Pairing Suggestions and Presentation Tips
Browkies can be enjoyed on their own, but they pair wonderfully with a scoop of vanilla ice cream or a drizzle of caramel sauce for an indulgent treat. Consider serving them on a colorful platter garnished with fresh berries or mint leaves for a pop of color. For an elegant touch, dust the top with powdered sugar before serving.
Storing Your Browkies: Keeping Them Fresh
Best Practices for Storing Browkies
To keep your browkies fresh, store them in an airtight container at room temperature. This will help maintain their chewy texture and prevent them from drying out. If properly stored, they can last for up to five days.
How to Keep Browkies Fresh for Days
If you want to extend their shelf life, consider wrapping each browkie individually in plastic wrap before placing them in an airtight container. This method helps to lock in moisture and keeps them fresh longer.
Understanding the Impact of Refrigeration and Freezing on Texture
While browkies can be refrigerated, it may alter their texture, making them a bit denser. If you must refrigerate them, allow them to come to room temperature before serving for the best taste. For longer storage, browkies freeze well. Wrap them tightly in plastic wrap and then place them in a freezer-safe bag. They can be frozen for up to three months. To enjoy, simply thaw them at room temperature or warm them in the microwave for a few seconds.
Conclusion
In conclusion, the best fudgy chewy browkies represent a delightful culinary creation that marries the rich decadence of brownies with the comforting chewiness of cookies. This comprehensive guide provides you with all the tools and knowledge needed to create these delicious treats in your own kitchen. With each bite, you’ll savor the perfect blend of flavors and textures, making these browkies a cherished addition to your dessert repertoire. Whether enjoyed fresh from the oven or stored for later indulgence, browkies are sure to satisfy any sweet craving. Grab your ingredients and get ready to impress your friends and family with this irresistible dessert!