Introduction
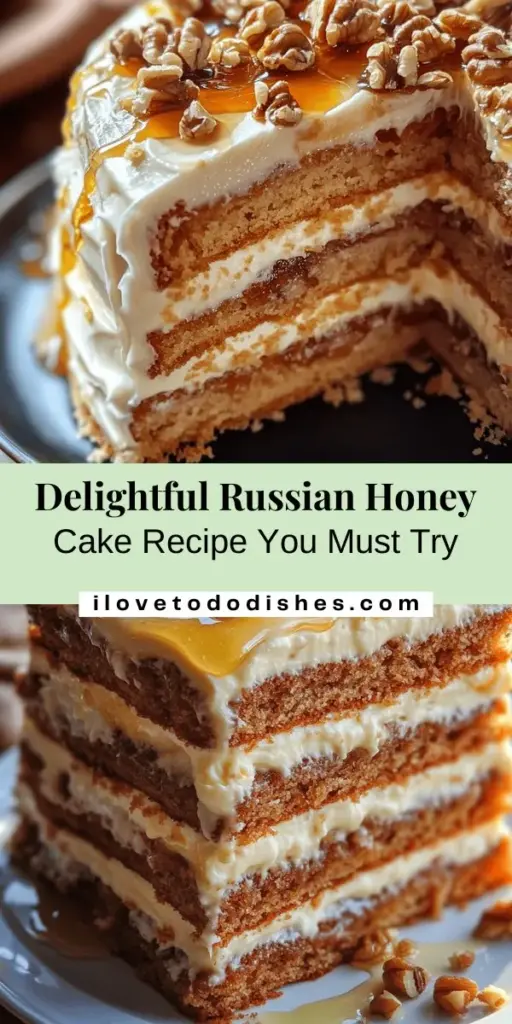
Russian Honey Cake, known as “Medovik,” is a beloved dessert that has captured the hearts and taste buds of many. This multi-layered cake, filled with creamy frosting and infused with the rich flavor of honey, is not just a treat; it’s a slice of Russian culture that has been enjoyed for generations. The cake’s origins can be traced back to the 18th century, when honey was a staple sweetener in Russian cuisine, making it a fitting choice for special occasions and family gatherings.
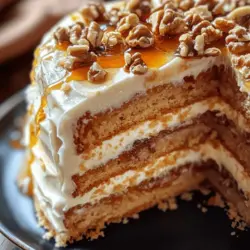
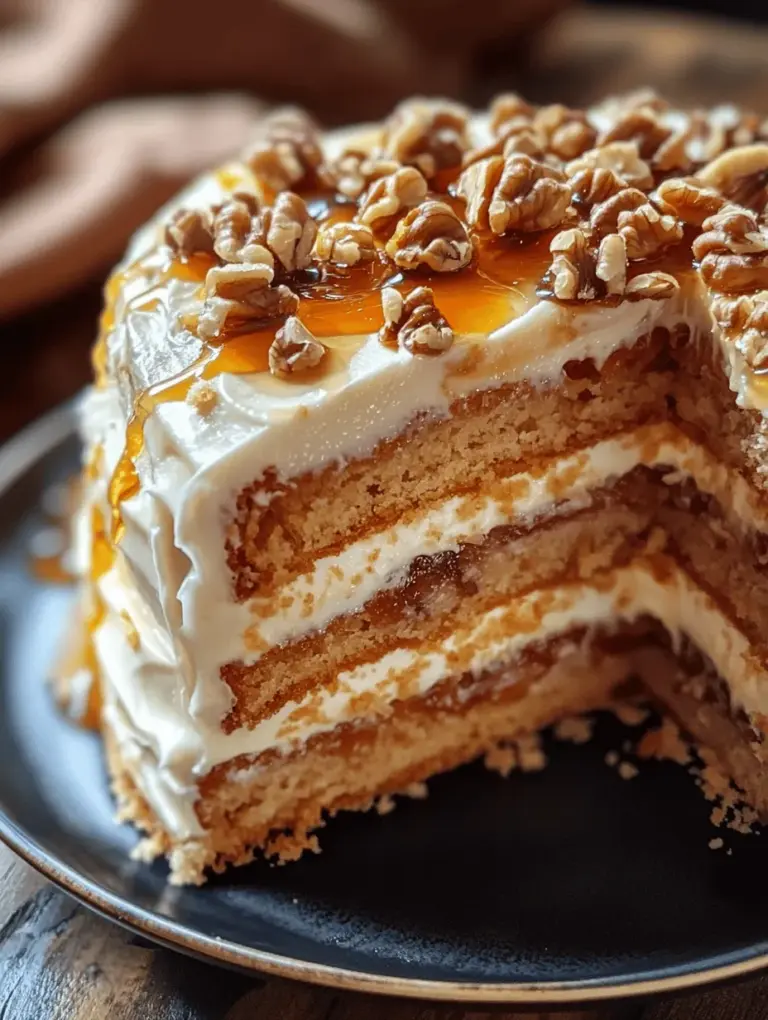
The allure of Russian Honey Cake lies in its unique combination of flavors and textures. Each layer of the cake is soft, slightly chewy, and delicately flavored with honey, while the creamy frosting adds richness and a hint of tanginess. The cake is often adorned with crushed nuts or a sprinkle of cocoa powder, creating a visually stunning dessert that is as delightful to behold as it is to eat.
In this article, we aim to guide you through the process of making a traditional Russian Honey Cake from scratch. Whether you’re an experienced baker or a novice in the kitchen, this recipe is designed to be approachable, ensuring that you can create a show-stopping dessert that will impress your family and friends.
The Allure of Russian Honey Cake
The history of Russian Honey Cake is deeply intertwined with the culinary traditions of Russia. Medovik is believed to have originated in the royal courts, where skilled bakers experimented with honey to create elaborate desserts for the aristocracy. Over time, this cake became a staple in Russian households, enjoyed during festive occasions, birthdays, and family gatherings.
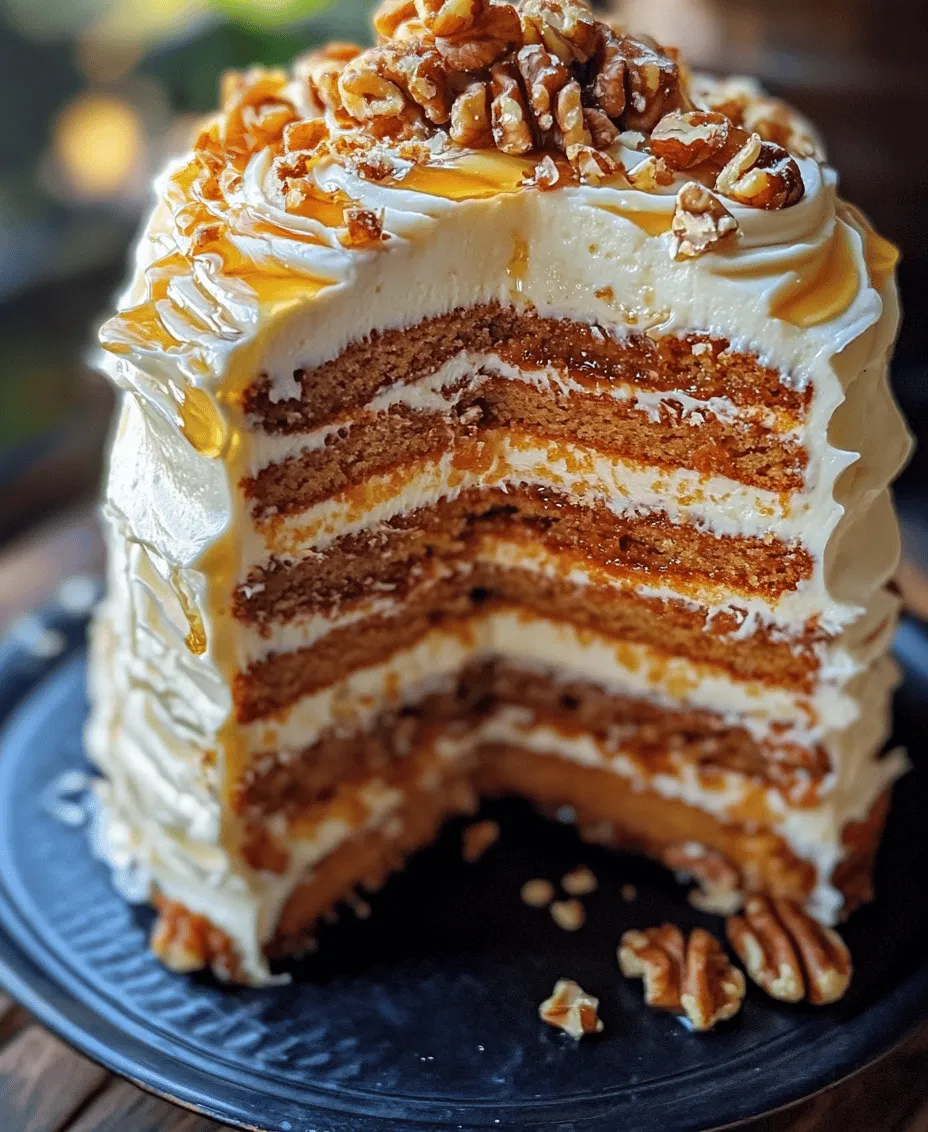
What sets Russian Honey Cake apart from other cakes is its distinctive layered structure and the use of honey as the primary sweetener. Unlike typical sponge cakes, which often rely on granulated sugar, Medovik’s sweetness comes from honey, imparting a floral note that elevates the flavor profile. Furthermore, the cake’s layers are typically interspersed with a creamy frosting made from sour cream, which not only adds richness but also balances the sweetness of the honey.
In addition to its delightful taste, Russian Honey Cake is often associated with nostalgia and tradition. For many, it evokes memories of family celebrations and gatherings, making it a cherished dessert that transcends generations.
Understanding the Ingredients
To create an authentic Russian Honey Cake, it’s essential to understand the key ingredients that contribute to its unique flavor and texture. Each component plays a crucial role in achieving the final masterpiece.
Honey
The star of the show, honey, is what gives this cake its signature sweetness and depth of flavor. Not only does it sweeten the cake, but it also adds moisture and a distinctive floral aroma. When selecting honey for your Medovik, opt for a high-quality variety—wildflower or buckwheat honey works particularly well. The natural sweetness of honey will enhance the overall taste of the cake without overpowering it.
Granulated Sugar
While honey is the primary sweetener, granulated sugar is still a vital ingredient in the recipe. It helps to balance the sweetness of honey and contributes to the cake’s overall structure. The sugar aids in creating a light and airy texture that complements the denser honey layers.
Butter
Butter is another key player in this recipe, providing richness and moisture. The use of unsalted butter allows for better control over the cake’s saltiness. When melted and combined with honey, sugar, and eggs, the butter creates a luscious batter that bakes into tender layers.
Frosting Ingredients
The frosting for Russian Honey Cake is typically made from sour cream, which lends a tangy flavor that contrasts beautifully with the sweetness of the cake layers. Sour cream also contributes to the cake’s overall moisture, ensuring each bite is rich and satisfying.
For those looking to lighten the frosting, an optional addition of heavy cream can be whipped and folded into the sour cream, creating an airy and fluffy texture. This combination results in a frosting that is both creamy and light, perfect for spreading between the cake layers.
Optional Garnishes
To add a finishing touch to your Russian Honey Cake, consider garnishing it with crushed nuts, such as walnuts or hazelnuts. The crunch of the nuts enhances the cake’s texture and adds an earthy flavor that complements the honey. A light dusting of cocoa powder or chocolate shavings can also elevate the presentation, making this cake a true showstopper.
Step-by-Step Preparation of Russian Honey Cake Layers
Now that we’ve explored the ingredients, it’s time to dive into the preparation process of the Russian Honey Cake layers. Follow these steps for a successful and satisfying baking experience.
Preparing the Honey Mixture
1. Melt the Honey, Sugar, and Butter: In a medium saucepan, combine the honey, granulated sugar, and unsalted butter. Place the saucepan over low to medium heat, stirring gently until the mixture is melted and smooth. Be cautious not to let it boil; you want to melt the ingredients without scorching them.
2. Cool the Mixture: Once the honey mixture is fully combined, remove the saucepan from the heat and allow it to cool slightly. It’s important to let it cool down to a lukewarm temperature, as adding eggs to a hot mixture can cause them to scramble.
Mixing the Dry Ingredients
3. Combine the Dry Ingredients: In a separate bowl, whisk together all-purpose flour, baking soda, and a pinch of salt. The baking soda will help the cake rise, while the salt balances the sweetness.
4. Add the Honey Mixture: Once the honey mixture has cooled, slowly pour it into the bowl with the dry ingredients. Use a spatula or wooden spoon to mix until just combined.
Achieving the Perfect Dough Consistency
5. Incorporate the Eggs: After the honey mixture is incorporated, it’s time to add the eggs. Ensure that the mixture is cool enough so that the eggs do not cook when added. Add the eggs one at a time, mixing until fully incorporated after each addition. This step is crucial for achieving a smooth and cohesive batter.
6. Knead the Dough: Once the eggs are fully mixed in, you may need to knead the dough lightly to achieve the right consistency. The dough should be soft but not sticky. If it feels too wet, sprinkle in a little more flour until it reaches the desired texture.
By following these initial steps, you’re well on your way to creating a delectable Russian Honey Cake that will delight your taste buds and impress your guests. In the next section, we will continue with the detailed baking process and assembly, ensuring that every layer is perfect for your special occasion.
Techniques for Rolling Out the Dough Evenly
The success of your Russian Honey Cake starts with the dough, which needs to be rolled out evenly to ensure uniform layers. Here are some techniques to help you achieve that perfect result:
1. Use a Clean Surface: Start with a clean, lightly floured surface. This prevents the dough from sticking and allows for smoother movement while rolling it out.
2. Divide and Conquer: Instead of rolling out all the dough at once, divide it into manageable portions. This makes it easier to handle and ensures each layer is uniform in thickness.
3. Consistent Thickness: Aim for about 1/8-inch thickness for each layer. To achieve this, you can use dowels or a rolling pin with guides, which will help you roll the dough evenly.
4. Rotate the Dough: While rolling, periodically rotate the dough a quarter turn. This helps to prevent it from sticking and ensures even thickness throughout.
5. Chill the Dough: If the dough becomes too soft or sticky, chill it in the refrigerator for about 15-20 minutes before rolling. This makes it easier to handle and helps maintain its shape.
Baking the Layers
Once your dough is rolled out, it’s time to bake the layers. Proper baking is crucial for achieving the right texture and flavor.
Ideal Oven Settings and Baking Times for Perfect Layers
Preheat your oven to 350°F (175°C). This temperature allows for an even bake without burning the honey flavor.
– Baking Time: Each layer should be baked for approximately 5 to 7 minutes. Keep an eye on them to avoid overbaking, which can lead to a dry texture.
How to Check for Doneness Without Overbaking
To check for doneness, look for the following signs:
1. Color: The layers should be a light golden brown. If they start to darken significantly, they may be overbaked.
2. Spring Back Test: Gently press the center of the layer with your finger. If it springs back, it’s done. If it leaves an indention, it needs more time.
3. Cooling: After removing the layers from the oven, let them cool on a wire rack. This helps them set properly and makes handling easier.
Crafting the Sour Cream Frosting
This cake is traditionally frosted with a rich sour cream frosting that balances the sweetness of the honey cake beautifully.
Instructions for Creating a Smooth and Creamy Frosting
To make the sour cream frosting:
– In a mixing bowl, combine 2 cups of sour cream, 1 cup of powdered sugar, and 1 teaspoon of vanilla extract. Mix until smooth and creamy.
Techniques for Whisking to Achieve the Right Consistency
– Use a Whisk Attachment: If using a stand mixer, a whisk attachment can help incorporate air into the frosting, making it lighter and fluffier.
– Gradual Mixing: Start mixing on low speed to combine the ingredients. Gradually increase to medium speed until the mixture is smooth and well combined, about 3-4 minutes.
Discussion of the Optional Heavy Cream and Its Effects on Texture
For an even richer frosting, consider adding 1/2 cup of heavy cream. This will make your frosting creamier and lighter, enhancing the overall mouthfeel of the cake. If you decide to add heavy cream, whip it separately until soft peaks form, then gently fold it into the sour cream mixture to maintain the light texture.
Tips for Balancing Sweetness and Tanginess in the Frosting
To achieve the ideal flavor balance:
– Taste as You Go: Start with the suggested amount of powdered sugar and adjust according to your sweetness preference.
– Add a Pinch of Salt: A small pinch of salt can enhance the flavors and cut through the sweetness, providing a more rounded taste.
Assembling the Cake
Now that your layers and frosting are ready, it’s time to assemble your Russian Honey Cake.
Layering Technique for Even Distribution of Frosting
1. Start with the First Layer: Place one layer on a serving platter. Spread a generous amount of frosting evenly over the top using a spatula.
2. Continue Layering: Add the next layer on top and repeat the process. Ensure that each layer has an even amount of frosting for consistency in flavor and appearance.
Importance of Chilling Layers Before Assembly
Chilling the layers before assembly is crucial:
– Stability: Cold layers are firmer and will hold their shape better when layered, preventing the cake from collapsing.
– Easier Handling: Chilled layers are easier to frost and manipulate while assembling.
Final Touches on the Cake Presentation
After layering, frost the top and sides of the cake. For a polished look:
– Smooth the Frosting: Use a bench scraper or offset spatula to smooth out the frosting. This creates a clean finish and gives your cake a professional appearance.
Tips for Smoothing Frosting and Achieving a Professional Look
– Heat the Scraper: Dip your bench scraper in hot water, then dry it off before smoothing the frosting. The heat will help to glide the scraper smoothly over the frosting.
– Use a Turntable: If you have one, a cake turntable allows you to rotate the cake smoothly while you frost, helping to create even edges.
Creative Ideas for Garnishing the Cake with Nuts and Honey
For a stunning finishing touch:
– Chopped Nuts: Sprinkle toasted nuts like walnuts or hazelnuts on top or around the sides of the cake for texture and flavor.
– Drizzle Honey: A light drizzle of honey on top adds a visually appealing shine and enhances the honey flavor of the cake.
Chilling and Serving the Cake
Once your cake is assembled, chilling it is an essential step for flavor development and texture improvement.
Explanation of the Chilling Process and Its Importance
Chill the assembled cake in the refrigerator for at least 4 hours, or overnight if possible. This allows the frosting to set and the flavors to meld together beautifully.
– Flavor Enhancement: The chilling process intensifies the taste, allowing the honey and sour cream flavors to harmonize.
Serving Suggestions
When ready to serve your Russian Honey Cake:
– Slice Generously: Use a sharp knife dipped in hot water for clean cuts. This prevents the frosting from sticking to the knife and ensures neat slices.
Pairing the Cake with Beverages Like Tea or Coffee
This cake pairs wonderfully with a variety of beverages:
– Tea: A strong black tea, such as Earl Grey or English Breakfast, complements the sweetness of the cake.
– Coffee: A rich cup of coffee balances the flavors, making it an ideal accompaniment.
Presentation Ideas for Special Occasions
– Decorative Plates: Serve on a beautiful cake stand or decorative platter for a stunning presentation.
– Fresh Fruits: Add fresh berries or citrus slices on the side for a pop of color and freshness.
Conclusion
The Russian Honey Cake is a delightful confection that embodies rich flavors and a unique texture, making it a favorite among dessert lovers. The combination of honey, sour cream, and the soft layers creates a cake that is not only delicious but also visually appealing.
We encourage you to try making this traditional recipe in your own kitchen. The process may seem detailed, but each step contributes to the cake’s wonderful flavor and texture. Sharing this homemade treat with family and friends will surely bring joy to any gathering, allowing you to experience the satisfaction of creating something truly special. Enjoy the process, and savor the sweet moments that come with each slice!