
Introduction
Bread holds a cherished place in German cuisine, serving not just as a staple food but also as a cultural symbol that reflects the heart and soul of the nation. From rustic loaves to delicate rolls, German bread is known for its hearty texture and rich flavors. In a country where bread is often an accompaniment to meals, it is no surprise that each region boasts its own specialties, featuring unique ingredients and baking techniques. In this article, we will explore the significance of bread in German culture and guide you through the process of making a delightful Quick & Easy German Bread that will impress your family and friends.
This recipe is designed with simplicity and speed in mind, making it perfect for both novice bakers and those who are pressed for time. Imagine the comforting aroma of freshly baked bread wafting through your kitchen in just a couple of hours! With just a few key ingredients and straightforward steps, you can create a delicious loaf that rivals any artisanal bread. Whether enjoyed with a pat of butter, paired with your favorite cheese, or used to make sandwiches, this Quick & Easy German Bread is versatile and satisfying.
Understanding the Ingredients
Before diving into the baking process, it’s essential to understand the key ingredients that contribute to the success of your bread. Each component plays a vital role in creating the perfect loaf, so let’s take a closer look at what you’ll need.
All-Purpose Flour
The foundation of any bread recipe is flour, and for this Quick & Easy German Bread, all-purpose flour is the star. This versatile flour contains a moderate amount of protein, which is crucial for gluten development. Gluten gives bread its structure and chewiness, allowing it to rise and hold its shape during baking. While bread flour can be used for a chewier texture, all-purpose flour will yield a delicious bread that is soft yet sturdy enough to hold up to various toppings and spreads.
Yeast
Yeast is a living organism that plays a critical role in bread-making. For this recipe, we will be using active dry yeast, which needs to be activated before incorporation into the dough. When mixed with warm water, yeast feeds on sugar and produces carbon dioxide gas, causing the dough to rise. This fermentation process not only leavens the bread but also contributes to its flavor and texture. It’s important to ensure that your yeast is fresh; expired yeast can lead to disappointing results.
Salt and Sugar
Salt and sugar may seem like simple seasonings, but they have crucial functions in bread-making. Salt enhances the overall flavor of the bread and strengthens gluten, contributing to the dough’s elasticity. It also helps to regulate yeast activity, preventing it from fermenting too quickly. Sugar, on the other hand, provides food for the yeast, promoting fermentation and enhancing browning during baking. Together, these ingredients create a balanced flavor profile that elevates your German bread.
Warm Water
Warm water is essential for activating the yeast. The ideal temperature is between 100°F to 110°F (37°C to 43°C) — too hot, and you risk killing the yeast; too cold, and it won’t activate properly. When the yeast is combined with warm water, it begins to foam and bubble, indicating that it is ready for use. This step is crucial to ensure that your bread rises beautifully.
Olive Oil or Butter
Adding fat to bread dough enriches its flavor and contributes to a softer crumb. In this recipe, you can choose between olive oil and butter based on your preference. Olive oil lends a Mediterranean touch and is often considered a healthier option, as it contains monounsaturated fats. Butter, on the other hand, adds a rich, creamy flavor that many people love. Either choice will yield a delicious result, so feel free to experiment and find your favorite.
Optional Toppings
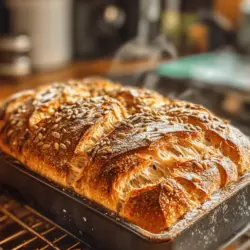
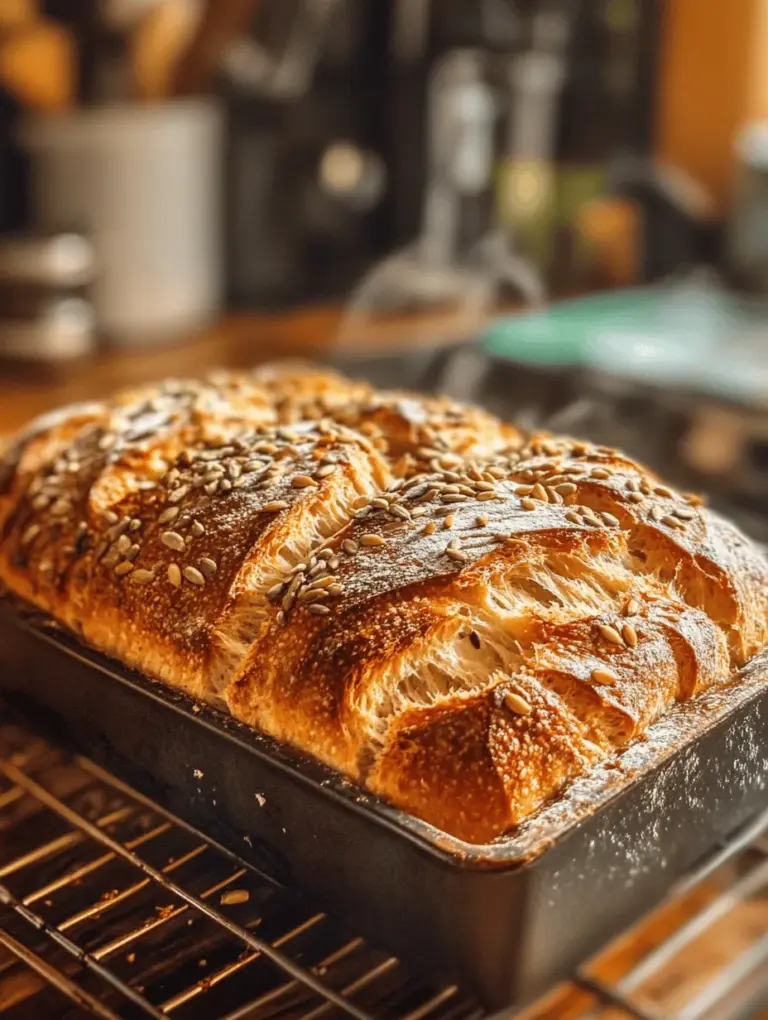
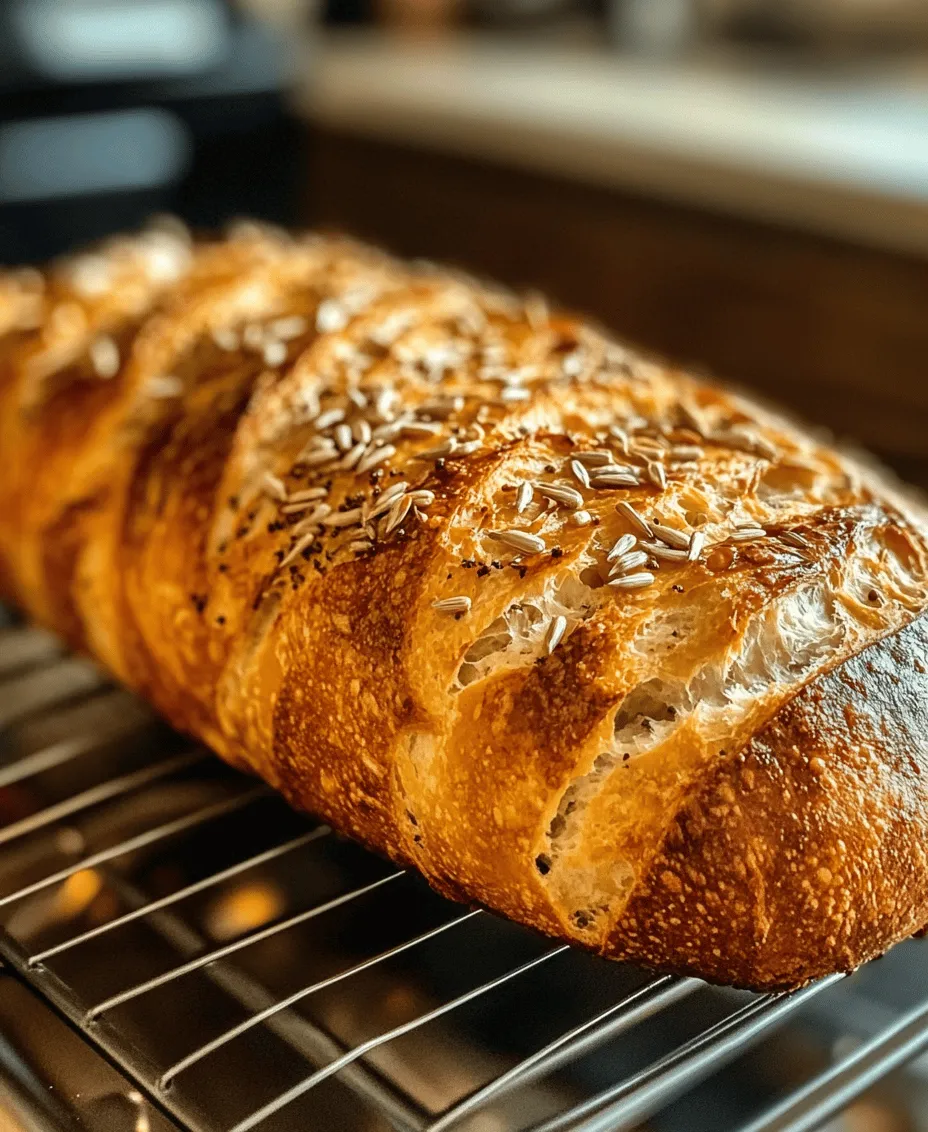
For an authentic German touch, consider incorporating optional toppings like caraway seeds or sunflower seeds. Caraway seeds lend a distinctive taste that many associate with traditional German rye breads, while sunflower seeds add a delightful crunch and nutty flavor. Both toppings offer nutritional benefits, including healthy fats and fiber, making your bread not only tasty but also wholesome.
Step-by-Step Guide to Making Quick & Easy German Bread
Now that we’ve covered the ingredients, let’s get started on the step-by-step process of making your Quick & Easy German Bread.
Preparing the Yeast Mixture
The first step in your bread-making journey is to prepare the yeast mixture. Begin by measuring out the warm water in a bowl, ensuring it’s within the optimal temperature range of 100°F to 110°F. Sprinkle the active dry yeast over the surface of the water and add a teaspoon of sugar. This sugar serves as food for the yeast, kickstarting the fermentation process.
Allow the mixture to sit undisturbed for about 5 to 10 minutes. During this time, you should see small bubbles forming, and the mixture will begin to foam. This indicates that the yeast is activated and ready to be mixed into your dough. If you don’t see any bubbles or foam, it may be an indication that your yeast is inactive or that the water temperature was not suitable.
Mixing the Dough
Once your yeast mixture is bubbly and active, it’s time to mix the dough. In a large mixing bowl, combine the all-purpose flour and salt, ensuring that the salt is evenly distributed throughout the flour. This will help to create a well-balanced flavor in your bread.
Next, pour the activated yeast mixture into the flour mixture, followed by the olive oil or melted butter. Using a wooden spoon or your hands, begin to combine the ingredients until they start to come together. The dough may initially seem sticky, but don’t worry; that’s part of the process.
If you find that the dough is overly sticky and difficult to work with, you can gradually add more flour, a tablespoon at a time, until it reaches a manageable consistency. Be careful not to add too much flour, as it can result in a dense loaf. The goal is to achieve a soft, slightly tacky dough that holds its shape.
Kneading the Dough
Kneading is a critical step in developing gluten, which gives your bread structure and texture. Once your dough has come together, turn it out onto a lightly floured surface. Begin to knead the dough by pushing it away from you with the heel of your hand, folding it back over itself, and rotating it a quarter turn. Repeat this process for about 8 to 10 minutes.
As you knead, you should notice that the dough becomes smoother and more elastic. To determine if the dough is ready, perform the “windowpane test”: take a small piece of dough and stretch it between your fingers. If it stretches thin enough to allow light to pass through without tearing, it’s well-kneaded and ready for the next step. If it tears easily, continue kneading for a few more minutes.
First Rise
After kneading, shape the dough into a ball and place it in a lightly greased bowl, turning it to coat all sides with oil. Cover the bowl with a clean kitchen towel or plastic wrap to prevent the dough from drying out. The first rise is essential for developing the bread’s flavor and texture, so find a warm, draft-free spot in your kitchen for the dough to rise.
Allow the dough to rise for about 1 hour or until it has doubled in size. This process can vary based on the ambient temperature; warmer environments will expedite the rise, while cooler spaces may take longer. During this time, the yeast will continue to ferment, producing gas that causes the dough to expand.
As the dough rises, you may notice small bubbles forming on the surface, which is a great sign that your yeast is working effectively. Once the dough has doubled, it’s time to move on to shaping and baking your Quick & Easy German Bread, ensuring that each step is executed with care for the best results.
Stay tuned for the continuation of this recipe, where we will guide you through shaping the dough, the second rise, and the baking process, culminating in a delicious loaf of homemade German bread that you can enjoy fresh from the oven.
Shaping the Loaf
Once your dough has risen beautifully, it’s time to shape it into a loaf. Proper shaping is essential for ensuring your bread bakes evenly and has a beautiful final appearance. Here’s how to do it effectively:
1. Flour Your Surface: Start by lightly flouring your work surface to prevent sticking.
2. Deflate the Dough: Gently punch down the risen dough to release any air bubbles that have formed.
3. Shape into a Rectangle: Using your hands, stretch the dough into a rectangle, about 1 inch thick. This will help you create a tight roll later on.
4. Roll the Dough: Starting from one of the long edges, roll the dough tightly towards the opposite edge, tucking in any loose ends as you go. This technique creates tension in the dough, which is crucial for a good rise.
5. Pinch the Seam: Once rolled, pinch the seam closed to ensure it stays intact during the second rise and baking.
6. Place in the Pan: Transfer your shaped loaf into a greased loaf pan or onto a baking sheet, seam side down. If using a baking sheet, consider shaping it into a free-form loaf.
Taking the time to properly shape your loaf will not only enhance its appearance but also improve its texture. A well-shaped loaf bakes evenly, resulting in a delightful crust and an airy crumb.
Second Rise
The second rise, or proofing, is a crucial step in the bread-making process that greatly influences the final texture and flavor of your German bread. During this phase, the yeast continues to work, producing carbon dioxide, which causes the dough to rise further.
1. Duration: Typically, the second rise should last about 30 minutes to 1 hour, depending on the ambient temperature. The dough should roughly double in size.
2. Time Management: While the dough is rising, this is an excellent time to preheat your oven. Plan your baking so that the oven reaches the desired temperature just as your dough finishes its second rise.
Allowing your dough to rise adequately during this phase is essential. If the dough is under-proofed, the bread may not have sufficient volume and will be dense. Conversely, over-proofing can result in a loaf that collapses in the oven.
Baking the Bread
Now that your loaf is shaped and has risen beautifully, it’s time to bake it to perfection.
Preheating the Oven
Oven temperature is a critical factor in bread-making. Preheat your oven to 375°F (190°C) to ensure it’s hot enough to give your bread the initial burst of heat known as “oven spring.”
– Baking Surface:
– If you’re using a loaf pan, ensure it’s greased or lined with parchment paper.
– For a free-form loaf, place a baking sheet lined with parchment paper in the oven to heat up. This will help create a crispy crust.
Baking Time and Temperature
Once your oven is preheated, place your bread inside and set a timer for about 25-30 minutes. The baking time may vary based on your oven and the size of your loaf.
– Visual Cues for Doneness:
– Look for a golden-brown crust that’s firm to the touch.
– You can also perform the “hollow sound test”: tap the bottom of the loaf; if it sounds hollow, your bread is done.
Cooling Process
After baking, it’s tempting to slice into your freshly baked bread right away, but allowing it to cool is essential for achieving the best texture.
1. Cooling on a Wire Rack: Transfer your loaf to a wire rack immediately after it comes out of the oven. This allows air to circulate around the bread, preventing moisture buildup on the bottom.
2. Impact on Texture: Cooling helps the crumb set, making it easier to slice and improving the overall texture. If you cut the bread too soon, you may end up with a gummy interior.
Serving Suggestions and Pairings
Now that your Quick & Easy German Bread is complete, it’s time to enjoy it! This bread pairs wonderfully with a variety of traditional German accompaniments:
– Spreads: Serve it with butter, mustard, or a selection of jams for breakfast or brunch.
– Cheeses and Meats: Try it with German cheeses like Emmental or Gouda, or serve alongside cured meats such as salami or bratwurst for a hearty meal.
– Creative Uses for Leftover Bread: If you have any leftovers, consider transforming them into croutons for salads or soups, or use them to make delicious bread pudding. Simply cube the bread, toss it with butter or oil, season, and bake until crispy for croutons. For bread pudding, combine with eggs, milk, sugar, and spices, then bake until set.
Nutritional Information
Homemade bread offers numerous nutritional benefits compared to store-bought varieties. It typically contains fewer preservatives and artificial ingredients, allowing you to control the quality of your ingredients.
– Benefits of Homemade Bread:
– Whole grains provide essential nutrients like fiber, vitamins, and minerals.
– You can adjust your recipes to cater to dietary needs, such as reducing salt or sugar.
– Portion Control: Making your own bread also allows you to practice portion control. Slicing your bread into uniform sizes can help you enjoy it without overindulging.
Conclusion
Making Quick & Easy German Bread at home is a rewarding culinary journey that fills your kitchen with delightful aromas and creates a tasty staple for any meal. The straightforward steps involved in shaping, rising, and baking this bread allow both novice and experienced bakers to enjoy the process and the delicious results.
Embrace the joy of bread-making and consider experimenting with variations, such as adding herbs, seeds, or grains to your dough for added flavor and texture. Invite family and friends over to share the fruits of your labor, or simply enjoy a slice with your favorite spread. Each loaf is an opportunity to create something unique and heartwarming. So roll up your sleeves, gather your ingredients, and take the plunge into the wonderful world of homemade bread!