Introduction
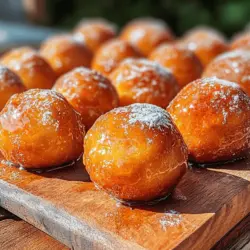
Donut holes are beloved treats that have captured the hearts and taste buds of dessert lovers everywhere. These delightful morsels, often enjoyed as a sweet snack or breakfast indulgence, offer a burst of flavor in a bite-sized package. Among the many variations of donut holes, the maple-glazed version stands out with its rich, warm sweetness and unmistakable aroma. The combination of fluffy donut texture with a luscious maple glaze creates an experience that is both comforting and utterly addictive.
The beauty of making maple-glazed donut holes at home lies in their simplicity. With just a handful of ingredients, you can whip up a batch that rivals your favorite bakery. The process is straightforward, and the joy of crafting your own treats adds a special touch that store-bought sweets simply can’t match. Whether you are looking to impress guests at a brunch or simply indulge your sweet tooth, these homemade delights are sure to satisfy.
Understanding Donut Holes
Definition and History of Donut Holes
Donut holes, as the name suggests, are the small, round pieces of dough that are cut out from the center of traditional donuts. While many people associate donut holes with a specific type of pastry, they have a history that goes deeper than mere nostalgia. The concept of frying dough into a sweet treat dates back centuries, with various cultures around the world embracing fried dough confections.
The origin of donut holes is often attributed to the classic ring-shaped donut. The story goes that in the 19th century, a New England ship captain named Hanson Gregory created the first donut by cutting a hole in the middle of the dough to ensure even cooking. What emerged from that innovation was not only the donut we know today but also the little spheres of dough that would become the donut holes. Since then, these tasty bites have become a staple in coffee shops and bakeries, often served alongside their larger counterparts.
Popularity Across Cultures
The appeal of donut holes transcends borders, with variations appearing in different cultures. In the United States, they are commonly found at coffee shops and bakeries, often served warm and dusted with sugar or glazed. In other parts of the world, similar fried dough treats exist, such as the Italian “zeppole” and the Spanish “churros.” Each culture has adapted the basic concept to suit local tastes, resulting in a delightful array of donut-like confections.
While donut holes can be made in both fried and baked forms, they are most commonly enjoyed as fried treats. The frying process gives them that signature crispy exterior while maintaining a soft and fluffy interior. However, baked versions have also gained popularity, offering a lighter alternative that appeals to health-conscious eaters. Regardless of the method, the joy of indulging in these sweet bites remains universal.
Ingredients Breakdown
To create the perfect maple-glazed donut holes, it is essential to understand the role of each ingredient in the recipe. The following components work together to produce a delightful treat that is both flavorful and satisfying.
All-Purpose Flour
As the foundation of our donut holes, all-purpose flour provides the necessary structure and stability. The gluten in the flour allows the dough to rise and hold its shape during frying. For the best results, be sure to measure your flour correctly—spoon it into the measuring cup and level it off with a knife to avoid using too much.
Granulated Sugar
Granulated sugar not only adds sweetness but also contributes moisture to the donut holes. The sugar caramelizes during frying, creating a beautiful golden-brown crust that enhances both texture and flavor. Balancing the amount of sugar is crucial; too much can lead to overly sweet donuts, while too little can result in a bland flavor.
Baking Powder and Baking Soda
These two leavening agents are essential for achieving that light and airy texture in the donut holes. Baking powder provides an immediate rise while baking soda reacts with the acidity of other ingredients (like sour cream) to create additional lift. Together, they help the donut holes puff up beautifully during frying.
Salt and Ground Cinnamon
Salt is a critical component in balancing sweetness and enhancing the overall flavor profile. A pinch of salt can elevate your donut holes and make them taste more complex. Ground cinnamon adds warmth and a hint of spice, complementing the maple glaze perfectly.
Whole Milk and Sour Cream
Both whole milk and sour cream contribute moisture to the dough, resulting in a tender crumb. The fat content in whole milk adds richness, while the acidity of sour cream helps to activate the baking soda, promoting a light texture. If sour cream is not available, you can substitute it with plain yogurt for a similar effect.
The Egg
The egg serves multiple purposes in this recipe. It acts as a binder, helping to hold the dough together, while also providing aeration during mixing. The protein in the egg contributes to the structure of the donut holes, ensuring they maintain their shape as they fry.
Unsalted Butter
Butter is a flavor powerhouse and adds moisture to the donut holes. Using unsalted butter allows you to control the saltiness of the final product, ensuring a balanced flavor. Melted butter is often mixed into the dough, enhancing its richness.
Vanilla Extract
Vanilla extract is an aromatic enhancement that brings depth to the flavor of the donut holes. A small amount can transform the overall taste, making it more inviting and delicious. Opt for pure vanilla extract for the best flavor.
Vegetable Oil
As the frying medium, vegetable oil is crucial for achieving that perfect crispy exterior. It has a high smoke point, making it ideal for frying donut holes. Ensure that the oil is heated to the correct temperature to achieve a golden-brown crust without overcooking the interior.
Maple Glaze Ingredients
The maple glaze is what truly sets these donut holes apart. It consists of several key ingredients:
– Powdered Sugar: This is the primary sweetener for the glaze, providing the necessary sweetness and smooth texture.
– Maple Syrup: The star ingredient, maple syrup imparts a distinct flavor that enhances the overall appeal of the donut holes. It adds a rich, caramel-like sweetness that is hard to resist.
– Milk: A small amount of milk is used to adjust the consistency of the glaze, ensuring it is pourable and coats the donut holes evenly.
– Vanilla Extract: Just like in the dough, vanilla extract adds depth and complexity to the glaze, rounding out the flavors beautifully.
Step-by-Step Instructions
Now that we have a good understanding of the ingredients and their roles in our maple-glazed donut holes, let’s dive into the step-by-step instructions for preparing this delightful treat.
1. Gather Your Ingredients
Before you start, ensure you have all ingredients measured and ready to go. This will streamline the process and make it easier to focus on creating your delicious donut holes.
2. Prepare the Dough
1. Mix Dry Ingredients: In a large mixing bowl, whisk together the all-purpose flour, granulated sugar, baking powder, baking soda, salt, and ground cinnamon. This ensures that the leavening agents are evenly distributed throughout the flour.
2. Combine Wet Ingredients: In a separate bowl, mix the wet ingredients: whisk together the whole milk, sour cream, melted unsalted butter, egg, and vanilla extract. Make sure the butter is not too hot, as it could cook the egg when combined.
3. Combine Wet and Dry: Gradually add the wet mixture to the dry ingredients, stirring gently until just combined. Be careful not to overmix; a few lumps are perfectly fine. The dough should be thick and sticky.
3. Shape the Donut Holes
1. Chill the Dough: For easier handling, refrigerate the dough for about 30 minutes. This will firm it up, making it less sticky and easier to work with.
2. Form the Balls: After chilling, use your hands to scoop out small portions of dough, about one tablespoon each. Roll them into smooth balls, placing them on a parchment-lined baking sheet. Leave some space between each ball to allow for expansion during frying.
4. Heat the Oil
While you shape the donut holes, it’s time to prepare for frying. In a deep skillet or heavy pot, pour enough vegetable oil to submerge the donut holes (about 2-3 inches deep). Heat the oil over medium heat until it reaches 350°F (175°C). You can test the temperature with a candy or deep-fry thermometer. If you don’t have one, drop a small piece of dough into the oil; if it sizzles and rises to the surface, the oil is ready.
5. Fry the Donut Holes
1. Fry in Batches: Carefully place a few donut holes into the hot oil, being sure not to overcrowd the pan. Fry them for about 2-3 minutes on each side or until they are golden brown and puffed up. Use a slotted spoon to turn them for even cooking.
2. Drain Excess Oil: Once cooked, remove the donut holes from the oil and place them on a plate lined with paper towels to drain excess oil. This step is crucial for keeping your donut holes light and not overly greasy.
6. Prepare the Maple Glaze
While the donut holes are cooling, it’s time to whip up the maple glaze. In a medium bowl, combine the powdered sugar, maple syrup, milk, and vanilla extract. Whisk until smooth, adjusting the consistency with more milk or powdered sugar as needed.
7. Glaze the Donut Holes
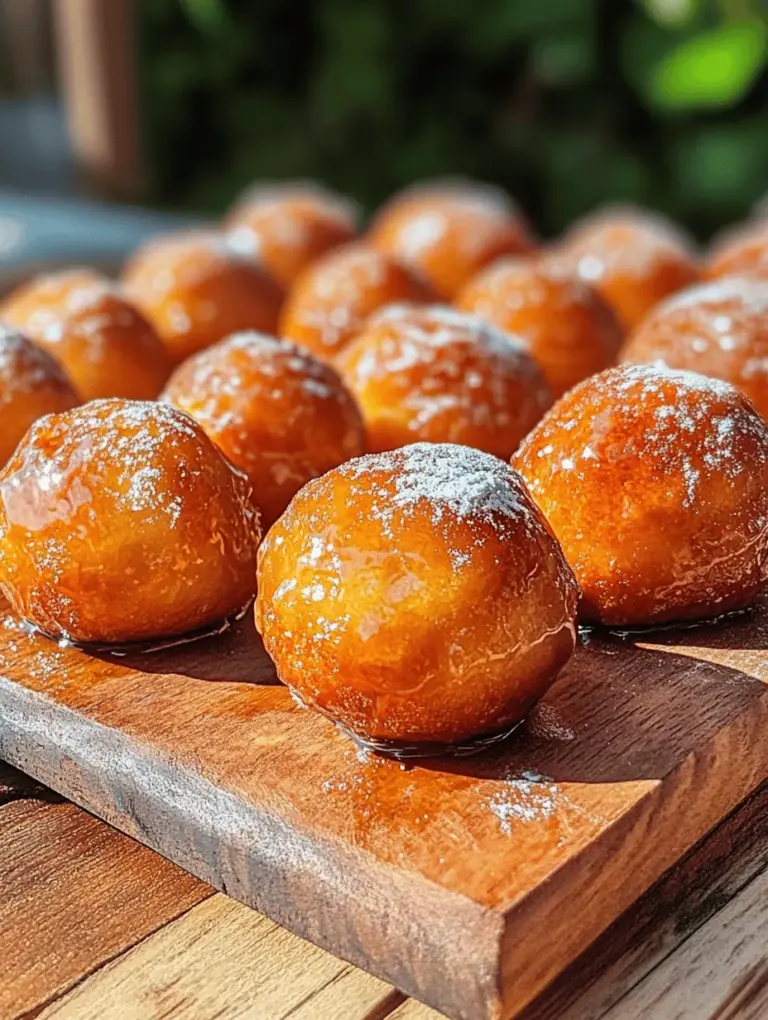
Once the donut holes have cooled slightly, dip the top of each one into the maple glaze, allowing any excess to drip off. You can also drizzle the glaze over the holes for a more decorative touch. Place the glazed donut holes on a wire rack to allow the glaze to set.
This marks the beginning of your journey into the world of delicious homemade maple-glazed donut holes. The combination of fluffy, tender dough paired with the sweet, sticky glaze creates a treat that is as delightful to make as it is to eat. Stay tuned for more tips and variations on this classic recipe.
Mixing the Dry Ingredients
The foundation of any great donut hole begins with the dry ingredients. For our maple-glazed donut holes, you’ll typically use all-purpose flour, baking powder, a pinch of salt, and sugar. To achieve the right consistency, it’s crucial to sift the flour and baking powder together. This step aerates the flour and ensures even distribution of the leavening agent, which is vital for achieving that fluffy texture.
Tips for Achieving the Right Consistency:
1. Sifting: Sift your dry ingredients at least once to avoid clumps and create a lighter batter.
2. Measuring: Use the spoon-and-level method for measuring flour. Fluff up the flour with a spoon, lightly spoon it into your measuring cup, and level it off with a knife. This prevents packing and results in more accurate measurements.
3. Mixing: Combine the dry ingredients in a large bowl and stir gently with a whisk. This not only mixes the ingredients but also incorporates air, contributing to a lighter donut hole.
Combining Wet Ingredients
Once your dry ingredients are well mixed, it’s time to focus on the wet ingredients. Typically, this includes eggs, milk, melted butter, and maple syrup. The key to a smooth batter is ensuring all ingredients are at room temperature before mixing. Cold ingredients can lead to a lumpy batter and uneven baking.
Ensuring Smoothness for the Batter:
1. Whisking: Use a whisk to combine the wet ingredients thoroughly. Start by beating the eggs before adding the milk, butter, and maple syrup, to ensure a uniform mixture.
2. Gradual Mixing: When combining the wet and dry ingredients, pour the wet mixture into the dry ingredients gradually. This will help prevent clumping and ensure a smooth batter.
3. Avoid Overmixing: Mix until just combined. Overmixing can develop the gluten in the flour, resulting in dense donut holes rather than light and fluffy ones.
Instructions for Frying
Now that your batter is prepared, it’s time to fry the donut holes. Frying can seem intimidating, but with the right technique, you’ll achieve perfectly golden-brown bites.
Ideal Oil Temperature and Safety Tips:
1. Oil Selection: Choose an oil with a high smoke point, such as vegetable oil or canola oil, for frying. This will help achieve a crisp exterior without burning.
2. Temperature Check: Use a thermometer to check the oil temperature. The ideal frying temperature for donut holes is between 350°F and 375°F (175°C to 190°C). If you don’t have a thermometer, you can drop a small amount of batter into the oil; it should sizzle and rise to the surface.
3. Safety Precautions: Never leave hot oil unattended. Keep a watchful eye on the temperature and avoid overcrowding the pan, which can cause the oil temperature to drop and lead to soggy donut holes.
Techniques for Frying Donut Holes Evenly
To fry your donut holes evenly, use a small cookie scoop or tablespoon to portion out the batter. This ensures consistent sizes, which leads to even cooking.
How to Know When They Are Done Cooking:
1. Color Test: Donut holes should be a deep golden brown when done. The cooking time typically ranges from 2 to 4 minutes, depending on the size.
2. Floating: When the donut holes are almost done, they should float to the surface of the oil. This is a good indicator that they are ready to be turned.
3. Internal Temperature: If you’re unsure, use a kitchen thermometer to check the internal temperature; it should reach around 190°F (88°C).
Preparing the Maple Glaze
While the donut holes cool slightly, you can prepare the maple glaze. This sweet and sticky topping is what makes these treats irresistible.
Achieving the Perfect Glaze Consistency:
1. Ingredients: For the glaze, you’ll need powdered sugar, maple syrup, and a splash of milk. Adjust the amount of maple syrup based on your desired level of sweetness and flavor.
2. Mixing: In a bowl, combine the powdered sugar and maple syrup. Gradually add milk, whisking until you reach a smooth and slightly runny consistency. If it’s too thick, add more milk; if too thin, add more powdered sugar.
3. Flavor Enhancement: For an extra depth of flavor, consider adding a dash of vanilla extract or a pinch of salt to balance the sweetness.
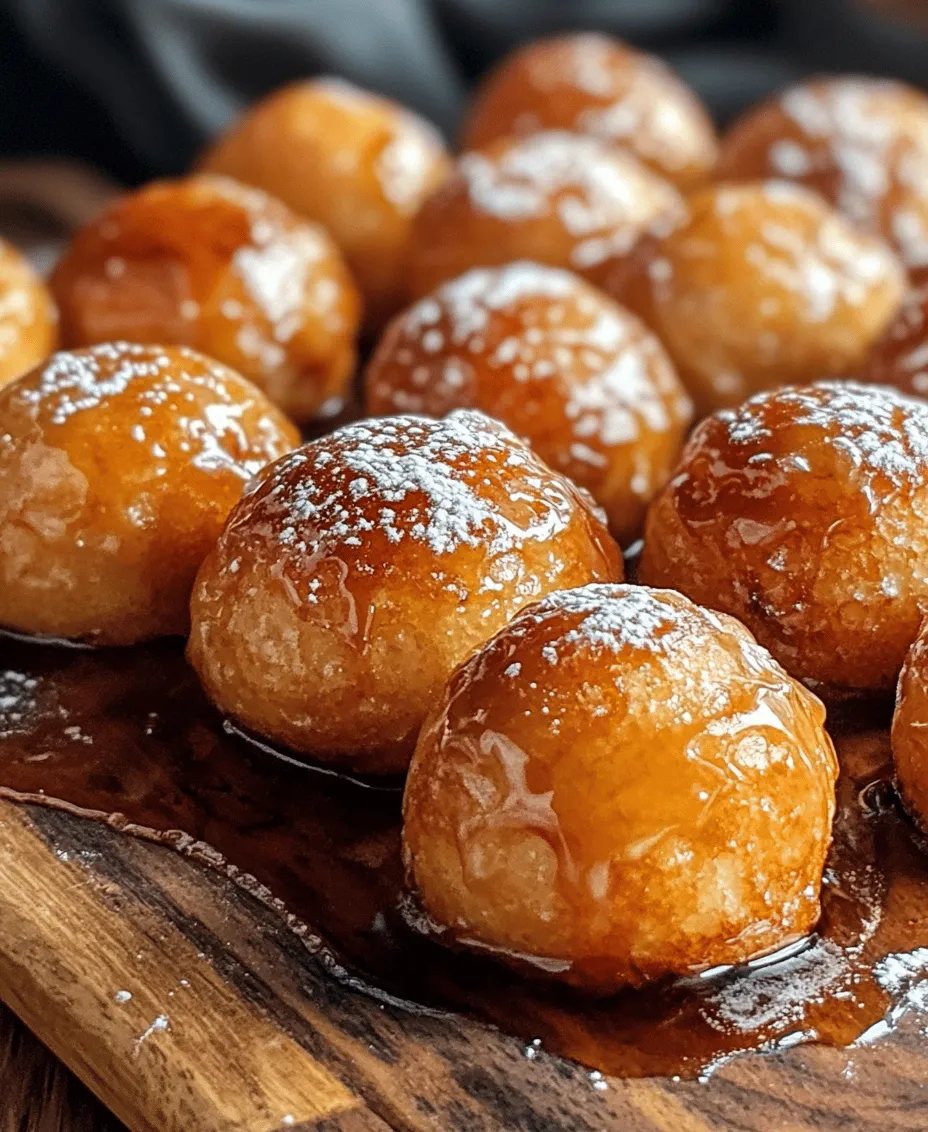
Dipping and Serving
Now comes the fun part—dipping the warm donut holes into the glaze.
Techniques for Glazing Donut Holes Effectively:
1. Dipping: Use a fork or your fingers to dip each donut hole into the glaze. Allow the excess glaze to drip off before placing them on a wire rack.
2. Double Dipping: For an extra thick layer of glaze, consider double-dipping the donut holes after the first coat has set slightly.
3. Sprinkling: If you want to add a bit of flair, sprinkle some chopped nuts or colored sprinkles over the glazed donut holes while the glaze is still wet.
Presentation Ideas for Serving:
1. Serving Platter: Arrange the glazed donut holes on a decorative platter. Consider using parchment paper for a rustic look.
2. Garnishes: Add fresh mint leaves or a dusting of powdered sugar for an elegant touch.
3. Accompaniments: Serve with a side of whipped cream or a scoop of vanilla ice cream for an indulgent treat.
Nutritional Information
Understanding the nutritional content of your homemade treats is important, especially when comparing them to store-bought alternatives.
Overview of the Nutritional Content:
– One serving of maple-glazed donut holes (about 2-3 pieces) contains approximately 200-300 calories, depending on the size and amount of glaze used.
– They are a source of carbohydrates and sugars, with negligible amounts of protein and fiber.
Comparison to Store-Bought Alternatives:
– Homemade donut holes typically have fewer preservatives and artificial ingredients compared to commercial varieties, making them a better choice for health-conscious consumers.
– Store-bought options can often contain higher levels of sugar and unhealthy fats, whereas you can control the ingredients in your homemade batch.
Discussion on Moderation and Enjoyment:
– While these treats are delicious, moderation is key. Enjoying homemade donut holes as an occasional indulgence can be a satisfying experience without compromising your dietary goals.
Storing and Reheating
If you find yourself with leftovers, proper storage is essential to maintain the freshness of your donut holes.
Best Practices for Storing Leftover Donut Holes:
1. Cooling: Allow the donut holes to cool completely before storing them. This prevents moisture buildup, which can lead to sogginess.
2. Container: Store them in an airtight container at room temperature for up to 2 days. For longer storage, consider refrigerating them for up to a week.
3. Freezing: You can also freeze the uncooked batter or already glazed donut holes. Place them in a single layer on a baking sheet, freeze until solid, and then transfer to a freezer-safe bag.
Tips for Reheating to Maintain Freshness and Texture:
1. Reheating in the Oven: Preheat your oven to 350°F (175°C) and place the donut holes on a baking sheet. Heat for about 5-10 minutes until warmed through.
2. Microwave: If you’re in a hurry, you can microwave them for about 10-15 seconds, but this may result in a softer texture.
Creative Variations and Flavor Combinations
One of the best things about making your own donut holes is the ability to customize the recipe to suit your tastes.
Suggestions for Customizing the Recipe:
1. Adding Spices: Consider adding spices like cinnamon or nutmeg to the dry ingredients for a warm flavor profile.
2. Flavor Extracts: Vanilla or almond extract can be added to the wet mixture for an additional layer of flavor.
3. Mix-ins: For added texture and flavor, incorporate chocolate chips, chopped nuts, or dried fruit into the batter.
Alternative Glazes or Toppings:
1. Chocolate Glaze: Melt chocolate chips and mix with a bit of cream for a chocolate glaze. This pairs wonderfully with the maple flavor.
2. Fruit Glazes: Create a fruit glaze using pureed berries or citrus juice for a refreshing twist.
3. Sprinkles: Top with colorful sprinkles or toasted coconut for an added crunch and visual appeal.
Conclusion
Homemade maple-glazed donut holes not only provide a delicious treat but also offer a fulfilling cooking experience. The joy of mixing, frying, and glazing your own donut holes is unparalleled, and the resulting sweet, fluffy bites are sure to delight friends and family alike.
We encourage you to try this recipe and make it your own by exploring various flavor combinations and creative presentations. The satisfaction of creating delightful treats in your kitchen is a rewarding experience that can be shared with loved ones. So gather your ingredients, embrace the process, and enjoy every bite of your homemade maple-glazed donut holes.