Introduction
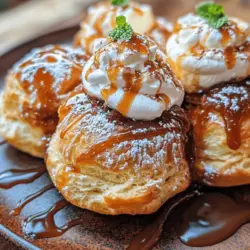
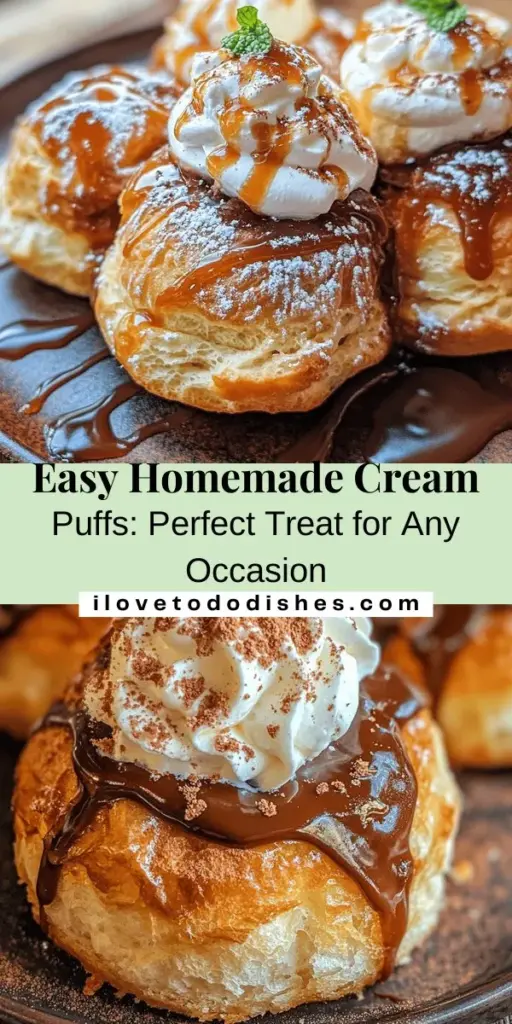
The allure of cream puffs is undeniable. These light, airy pastries filled with sweet, velvety whipped cream are more than just a dessert; they are a delightful experience that brings joy to any gathering. Whether served at a family celebration, a casual get-together, or an elegant dinner party, cream puffs are sure to impress your guests with their delicate texture and heavenly flavor. In this article, we will explore the art of making irresistible homemade cream puffs, guiding you through each step of the process. From understanding the essential ingredients to mastering the technique, this comprehensive guide will ensure that your cream puffs turn out perfectly every time.
Understanding Cream Puffs
The History of Cream Puffs
Cream puffs, or “choux à la crème,” have a rich history that dates back to the 16th century. Originating in France, they were created by pastry chef Pantarelli as a way to impress the Italian aristocracy. The pastry itself is derived from choux pastry, a unique dough that rises when baked due to the steam produced from the high moisture content. As they gained popularity, cream puffs became a staple in French patisseries and eventually spread across Europe and beyond.
Over the years, cream puffs have evolved, with various fillings, toppings, and presentations becoming popular. Today, they can be found in many forms, from traditional vanilla-flavored cream puffs to innovative variations incorporating chocolate, fruit, or even savory fillings. Regardless of the version, the essence of a cream puff remains the same—an irresistible combination of light pastry and rich filling that captivates the taste buds.
The Science Behind Choux Pastry
Understanding the science behind choux pastry is essential for making perfect cream puffs. Unlike other pastry types that rely on chemical leavening agents, choux pastry is unique because it is leavened by steam. The process begins by heating a mixture of water, butter, and flour on the stovetop. As the mixture heats, the butter melts, and the flour absorbs the moisture, forming a cohesive dough.
When eggs are incorporated into the dough, they provide moisture and fat, which not only adds flavor but also contributes to the dough’s ability to rise. When the dough is piped onto a baking sheet and placed in the oven, the heat causes the water to evaporate, creating steam. This steam expands within the dough, causing it to puff up and create the signature hollow center that is perfect for filling.
Cultural Variations of Cream Puffs
While cream puffs are most commonly associated with French cuisine, variations of this delightful pastry exist around the world. In Italy, for instance, cream puffs are known as “bignè” and are often filled with pastry cream and dusted with powdered sugar. In Japan, they are called “choux cream” and can be found in various flavors, including green tea and matcha.
In addition to regional variations, cream puffs can also be adapted to suit different occasions. For holidays, they may be adorned with festive toppings or flavored with seasonal ingredients. Regardless of the variation, the charm of cream puffs lies in their versatility and ability to be customized to fit any occasion.
Essential Ingredients for Homemade Cream Puffs
To create the perfect cream puffs, it is crucial to understand the essential ingredients that contribute to their texture and flavor.
The Role of Water and Butter in Choux Pastry
Water and butter are the foundation of choux pastry. Water is essential for creating steam during baking, while butter adds richness and contributes to the dough’s texture. It is crucial to use unsalted butter to control the salt content in the pastry. When combined, these two ingredients create a smooth and cohesive dough that can easily be piped.
Choosing the Right Flour: All-Purpose vs. Specialty Flours
The choice of flour is another important factor in making choux pastry. All-purpose flour is commonly used due to its balanced protein content, which provides the structure needed for the pastry to rise. However, some bakers prefer to use specialty flours such as cake flour for a lighter texture. Regardless of the type chosen, it is important to measure flour accurately to achieve the right consistency in the dough.
Eggs: The Key to Light and Airy Texture
Eggs are the star ingredient in choux pastry, playing a crucial role in achieving the desired light and airy texture. The proteins in eggs help to stabilize the dough and support the structure as it expands in the oven. When adding eggs, it is vital to incorporate them one at a time and mix until fully combined. This allows the dough to absorb the moisture and achieve the right consistency.
Exploring Flavor Enhancements: Vanilla and Beyond
While traditional cream puffs are often filled with a vanilla-flavored cream, there are numerous flavor enhancements that can elevate this classic dessert. Adding vanilla extract or vanilla bean paste to the pastry cream infuses it with a warm, aromatic flavor. Additionally, other flavorings such as almond extract, citrus zest, or even coffee can be incorporated to create unique variations that cater to different palates.
The Importance of Heavy Whipping Cream in Filling
The filling of cream puffs is just as important as the pastry itself. Heavy whipping cream is the ideal choice for creating a rich and luscious filling. The high-fat content of heavy cream allows for a stable whipped cream that holds its shape when piped into the pastry. For added flavor, consider sweetening the whipped cream with powdered sugar and vanilla extract, or incorporating other flavorings to create a filling that complements the choux pastry perfectly.
Step-by-Step Instructions for Perfect Cream Puffs
Now that we have a solid understanding of the ingredients and their roles, it’s time to dive into the step-by-step instructions for making perfect cream puffs.
Preheating the Oven: Why Temperature Matters
Before you begin making the dough, it’s essential to preheat your oven to the right temperature. A preheated oven ensures that the choux pastry rises properly and develops a golden-brown exterior. Set the temperature to 400°F (200°C) for optimal results. This initial high temperature creates the steam needed for the pastry to puff up while baking.
Making the Dough: Techniques for Success
1. Combine Water and Butter: In a medium saucepan, combine equal parts water and unsalted butter. Bring the mixture to a gentle boil over medium heat, stirring occasionally until the butter is fully melted.
2. Add Flour: Once the butter has melted, remove the saucepan from heat and quickly add the measured all-purpose flour. Stir vigorously with a wooden spoon or spatula until the mixture forms a smooth ball and pulls away from the sides of the pan.
3. Cool the Mixture: Allow the dough to cool for a few minutes, avoiding the addition of eggs while it is still too hot. This step is crucial; adding eggs to a hot mixture can cook them prematurely.
4. Incorporate Eggs: Once the dough has cooled slightly, add the eggs one at a time, mixing thoroughly after each addition. The dough should become smooth and glossy. If the mixture appears too thick, you may need to add an additional egg or egg white to achieve the right consistency.
Shaping and Baking the Puffs: Tips for Uniformity
1. Prepare the Baking Sheet: Line a baking sheet with parchment paper to prevent sticking. Optionally, you can lightly grease the parchment for added assurance.
2. Pipe the Dough: Transfer the prepared dough into a piping bag fitted with a large round tip. Pipe small mounds of dough onto the prepared baking sheet, leaving enough space between each mound to allow for expansion during baking. Aim for uniform size, as this will ensure even baking.
3. Bake: Place the baking sheet in the preheated oven and bake for approximately 20-25 minutes, or until the cream puffs are golden brown and have risen significantly. Avoid opening the oven door during the first 15 minutes of baking to prevent them from collapsing.
4. Cool: Once baked, remove the cream puffs from the oven and allow them to cool completely on a wire rack. This step is essential for maintaining their structure and preventing sogginess.
With these initial steps complete, your homemade cream puffs are well on their way to becoming a delicious treat. Stay tuned for the next section, where we will delve into the filling and finishing touches that will elevate your cream puffs to irresistible heights.
Cooling the Puffs: The Importance of Patience
Once you have baked your cream puffs to golden perfection, the next crucial step is cooling them properly. Patience is key here, as this stage contributes significantly to the overall texture and flavor of your puffs. After removing them from the oven, let the puffs rest on the baking sheet for about 10 minutes to cool slightly. This allows steam to escape, preventing the puffs from becoming soggy.
Next, transfer them to a wire rack to cool completely. This step is essential as it ensures that the air circulates around the puffs, maintaining their light and airy texture. If you skip this part, you risk ending up with dense cream puffs that lack the delightful crispness that makes them so irresistible. While waiting for your puffs to cool, you can prepare the whipped cream filling, which will elevate your dessert to the next level.
Crafting the Whipped Cream Filling
Choosing Your Cream: Heavy Whipping Cream vs. Others
The filling for your cream puffs is just as important as the pastry shell itself. For an ideal whipped cream filling, heavy whipping cream is your best bet. This cream has a higher fat content (around 36%) compared to regular whipping cream and is essential for achieving that luscious, stable texture. Other alternatives like half-and-half or light cream won’t whip up as well and may yield a filling that is too runny or lacks structural integrity.
Whipping Techniques for Perfect Texture
To whip the cream successfully, start with cold tools. Chill your mixing bowl and beaters in the refrigerator for about 15 minutes before whipping. This helps the cream to whip up faster and holds its shape better. Pour the heavy whipping cream into the chilled bowl, and using an electric mixer, begin beating it on medium speed. Gradually increase to high speed as the cream thickens, which should take about 3-5 minutes.
Watch closely as the cream reaches soft peaks. At this stage, you can add your sweetener and flavorings. Continue beating until you achieve stiff peaks, which will provide a sturdy filling that won’t deflate in your cream puffs. Be careful not to over-whip, as this can turn your cream into butter.
Flavoring Your Filling: Vanilla Extract and Sweetness
For a delicious flavor profile, add a teaspoon of pure vanilla extract to your whipped cream. This addition enhances the cream’s natural sweetness, creating a delightful contrast with the airy pastry. You can also adjust the sweetness to your liking by incorporating powdered sugar. Start with 2 tablespoons and add more if desired, tasting as you go to ensure the perfect balance.
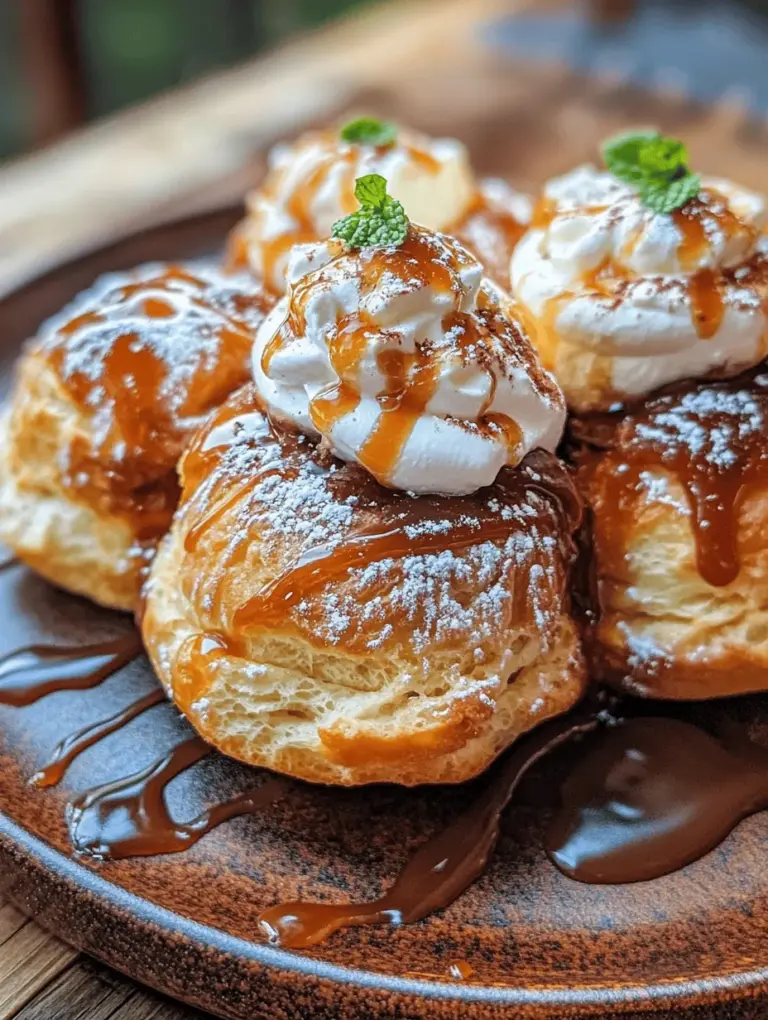
Finishing Touches: Drizzling and Serving
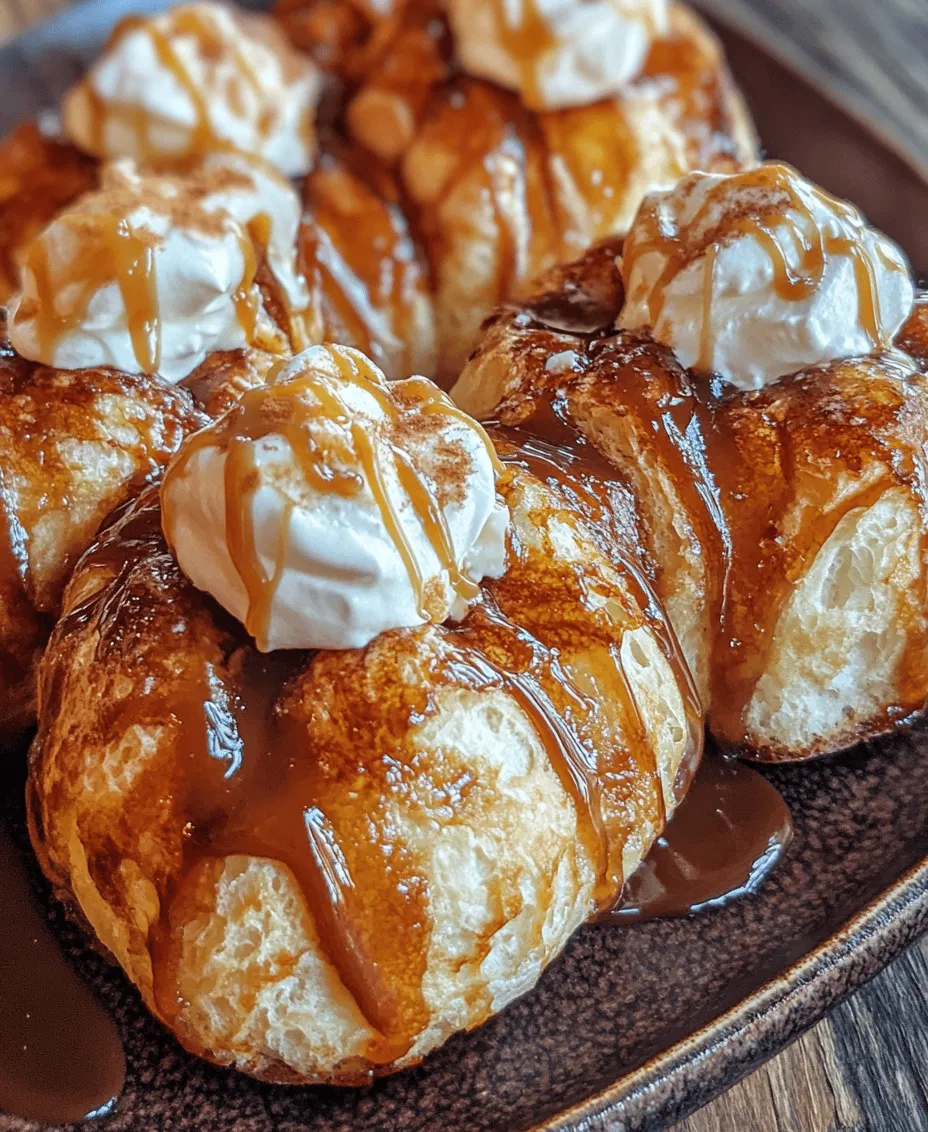
Exploring Toppings: Chocolate Ganache and Caramel Sauce
To elevate your cream puffs even further, consider adding a drizzle of chocolate ganache or caramel sauce. For chocolate ganache, simply heat equal parts of heavy cream and chocolate (dark, milk, or white) until melted together, stirring until smooth. Allow it to cool slightly before drizzling over your filled cream puffs. If you prefer caramel, store-bought sauces work perfectly, or you can easily make your own by melting sugar and adding cream.
These toppings not only add flavor but also create a visually stunning dessert that is sure to impress anyone you serve.
Presentation Tips for an Impressive Dessert
Presentation is key when it comes to desserts, and cream puffs are no exception. Arrange your filled cream puffs on a decorative plate or stand, and consider using parchment paper or a doily for added elegance. A dusting of powdered sugar on top can create a beautiful finishing touch.
For a more sophisticated look, consider garnishing with fresh berries or mint leaves. This not only adds color but also enhances the overall flavor experience.
Serving Suggestions: Pairing with Beverages
Cream puffs make a delightful dessert that pairs beautifully with various beverages. A cup of rich coffee or espresso complements the sweetness of the cream puffs perfectly. For a refreshing contrast, serve them with a light herbal tea or even a sparkling lemonade. If you’re feeling indulgent, a glass of dessert wine or a creamy liqueur can enhance the experience even further.
Common Mistakes to Avoid When Making Cream Puffs
Underbaking or Overbaking: Signs of Doneness
Achieving the right baking time for your cream puffs is critical. Underbaked puffs will be doughy and collapse when filled, while overbaked puffs will become dry and lose their delicate texture. A good rule of thumb is to bake until they are puffed and golden brown. You can also gently tap the bottom of a puff; it should sound hollow when done.
Handling the Dough: Avoiding Common Pitfalls
When making the choux pastry, avoid adding the eggs too quickly after cooking the flour mixture. Incorporate them one at a time, ensuring each egg is fully incorporated before adding the next. This practice helps achieve the right consistency; the dough should be smooth and glossy without being too runny.
Additionally, be cautious not to open the oven door frequently while baking, as this can cause the puffs to deflate. Patience is essential during this stage of the baking process.
Filling Techniques: Ensuring the Right Amount
When it comes to filling your cream puffs, it’s essential to avoid overfilling, which can cause the puffs to burst. Use a piping bag fitted with a plain or star tip for a clean and controlled filling process. Fill each puff until you feel resistance, indicating it’s full but not overflowing.
Storing and Reheating Cream Puffs
Best Practices for Storing Leftovers
If you have leftover cream puffs, it’s best to store them in an airtight container in the refrigerator. However, keep in mind that filled cream puffs are best eaten fresh. If you anticipate leftovers, consider storing the pastry shells and whipped cream filling separately. This way, you can fill them just before serving, maintaining their crispness.
How to Reheat Cream Puffs: Maintaining Freshness
If you need to reheat cream puffs, do so carefully. Preheat your oven to 350°F (175°C), place the unfilled puffs on a baking sheet, and heat for about 5-10 minutes until warm. Avoid microwaving them, as this can lead to a soggy texture.
Conclusion
Homemade cream puffs are not only a delightful dessert but also a testament to your baking skills. With this detailed guide, you can confidently create these irresistible treats in your own kitchen. By understanding the ingredients, mastering the techniques, and avoiding common mistakes, you will impress your family and friends with your culinary prowess. Enjoy the process and the delicious results of your homemade cream puffs!