
Introduction
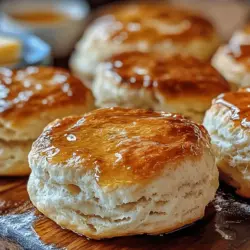
When it comes to comfort food, few dishes evoke the same warmth and nostalgia as homemade buttermilk biscuits. These fluffy, tender delights hold a special place in American cuisine, especially in the Southern states where they are a staple at family gatherings, holiday feasts, and weekend brunches. The aroma of freshly baked biscuits wafting through the kitchen can instantly transport you to a simpler time, reminding you of cozy mornings spent sharing meals with loved ones.
Homemade biscuits are more than just a side dish; they are a symbol of togetherness and hospitality. Whether served alongside a hearty gravy, slathered with butter and jam, or enjoyed with fried chicken, the versatility of buttermilk biscuits makes them a beloved addition to any meal. Making biscuits from scratch might seem intimidating, but this recipe is designed to be an easy, quick, and ultimately rewarding baking experience. With just a few simple ingredients and a little technique, you can create biscuits that rival those from any bakery.
Understanding Buttermilk Biscuits
The history of buttermilk biscuits is deeply rooted in Southern cooking, where they have been a cherished part of the culinary landscape for generations. Traditionally, buttermilk was a byproduct of churning cream into butter, and it was often used in baking to add flavor and tenderness to various dishes. The rich, tangy taste of buttermilk complements the buttery, flaky texture of the biscuits, making them a perfect comfort food.
Understanding the science behind the ingredients is key to mastering the art of biscuit-making. Each component plays a crucial role in creating that perfect biscuit texture. Buttermilk, for instance, is not just a flavor enhancer; its acidity reacts with baking powder and baking soda to create carbon dioxide gas, which helps the biscuits rise and become light and airy. Baking powder serves as the primary leavening agent, while baking soda acts as a supplementary booster, aiding in browning and flavor development. Cold unsalted butter is essential; it creates steam as it melts during baking, resulting in the necessary layers that give biscuits their signature flakiness.
Choosing to make biscuits from scratch rather than opting for store-bought options offers numerous benefits. Not only can you control the quality and freshness of the ingredients, but you can also customize the flavors to your liking. Plus, the satisfaction of pulling a tray of golden, fluffy biscuits out of the oven is a reward in itself.
Ingredients Breakdown
To embark on your biscuit-making journey, you will need a few key ingredients, each contributing to the final product’s taste and texture.
All-Purpose Flour
All-purpose flour serves as the foundation of your biscuits, providing the necessary structure and texture. Its moderate protein content is ideal for achieving the right balance between tenderness and firmness. While you can use other types of flour, such as whole wheat or cake flour, they will alter the final texture of the biscuits. For the best results, stick to all-purpose flour.
Baking Powder and Baking Soda
These two leavening agents are vital for creating the light and fluffy texture characteristic of buttermilk biscuits. Baking powder contains both an acid and a base, allowing it to produce carbon dioxide gas when mixed with moisture and heat. Baking soda, on the other hand, requires an acidic ingredient (like buttermilk) to activate and also contributes to the overall rise of the biscuits. The combination of both ensures that your biscuits will rise beautifully in the oven.
Salt
While it may seem like a small ingredient, salt plays a significant role in enhancing flavor and balancing sweetness. It helps to bring out the natural flavors of the other ingredients, making your biscuits taste richer and more complex. A careful pinch of salt can elevate your biscuits from good to exceptional.
Unsalted Butter
Using cold unsalted butter is crucial for achieving the perfect biscuit texture. The cold temperature prevents the butter from melting too quickly, allowing it to create pockets of steam as the biscuits bake. This process results in the desirable layers and flakiness. Unsalted butter is preferred, as it gives you better control over the saltiness of your biscuits.
Buttermilk
As the star of the show, buttermilk is responsible for the tenderness and depth of flavor in your biscuits. Its acidity breaks down gluten in the flour, resulting in a softer texture. If you don’t have buttermilk on hand, you can easily make a substitute by adding a tablespoon of vinegar or lemon juice to a cup of milk and letting it sit for a few minutes.
Honey (Optional)
While honey is optional, adding a tablespoon can impart a subtle sweetness and enhance the overall flavor of your biscuits. It also contributes to the moisture content, which can further improve the texture. If you prefer a more savory biscuit, you can omit it without compromising the recipe.
Ingredient Substitutions
Flexibility in cooking is essential, and this biscuit recipe allows for various substitutions. For those with dietary restrictions, non-dairy options such as almond or oat milk can replace buttermilk, as long as you add an acid like vinegar to mimic the tanginess. Gluten-free flour blends can also be used, but make sure to choose one that includes xanthan gum or another binding agent to maintain the biscuit’s structure.
Step-by-Step Instructions for Fluffy Buttermilk Biscuits
Preheat the Oven
Before you begin mixing your ingredients, preheat your oven to 450°F (232°C). This temperature is critical for creating that beautiful golden crust while ensuring the insides are fluffy and tender. An adequately heated oven will help the biscuits rise quickly, trapping steam and creating those coveted layers.
Mixing Dry Ingredients
In a large mixing bowl, combine the all-purpose flour, baking powder, baking soda, and salt. It’s important to whisk these dry ingredients together thoroughly to ensure even distribution; lumps can lead to uneven rising and texture. Use a whisk or a fork to break up any clumps and create a lump-free blend that will set the foundation for your biscuits.
Cutting in Butter
Next, you will need to cut in the cold unsalted butter. Using a pastry cutter, fork, or your fingers, work the butter into the flour mixture until it resembles coarse crumbs. The goal is to have small, pea-sized pieces of butter throughout the flour. This technique is crucial for achieving flakiness, as it allows the butter to create steam pockets when baking. Avoid overworking the mixture, as this can lead to tough biscuits.
Adding Buttermilk
Once the butter is properly incorporated, make a well in the center of the dry ingredients and pour in the cold buttermilk (and honey if using). Using a spatula or a wooden spoon, gently mix the wet and dry ingredients until just combined. Be careful not to overmix; you want to maintain a little bit of the flour’s texture for fluffy biscuits. The dough should be slightly sticky but manageable.
Turning Out the Dough
After mixing, turn the dough out onto a lightly floured surface. Use your hands to gently knead the dough a couple of times, just until it comes together. Overworking the dough can lead to tough biscuits, so treat it with care. Once the dough is cohesive, pat it into a rectangle about 1-inch thick. This will give you the perfect base for cutting out your biscuits.
With these foundational steps completed, you’re well on your way to baking a batch of perfectly fluffy buttermilk biscuits from scratch. Stay tuned for the next part of the article, where we will dive into cutting, baking, and serving these delightful treats.
Folding Technique: Creating Layers for Fluffy Biscuits
Folding is a crucial step in the biscuit-making process that significantly impacts the final product’s texture. When you fold the dough, you are gently incorporating air and layering the gluten structure, which creates those beautiful flaky layers we all love in a biscuit. To fold your dough correctly, after combining your wet and dry ingredients, turn the dough out onto a lightly floured surface. Using your hands, pat the dough into a rectangle, then fold it in thirds, like a letter. Rotate it 90 degrees and repeat this process a couple of times—each fold helps develop those layers without overworking the gluten, which can lead to dense biscuits.
Cutting Biscuits: Best Practices for a Perfect Rise
Once your dough is folded and ready, it’s time to cut out your biscuits. The way you cut your biscuits can impact their rise and texture. Using a sharp biscuit cutter is essential; a dull cutter can compress the edges of the biscuits, preventing them from rising properly. When cutting, press straight down without twisting the cutter. Twisting can seal the edges of the biscuit, which inhibits the rise. Aim for uniform thickness, ideally about 1 to 1.5 inches, to ensure even baking. Arrange the cut biscuits on a baking sheet close together, allowing them to touch slightly, which encourages them to rise higher during baking.
Baking: Indicators for Perfect Doneness
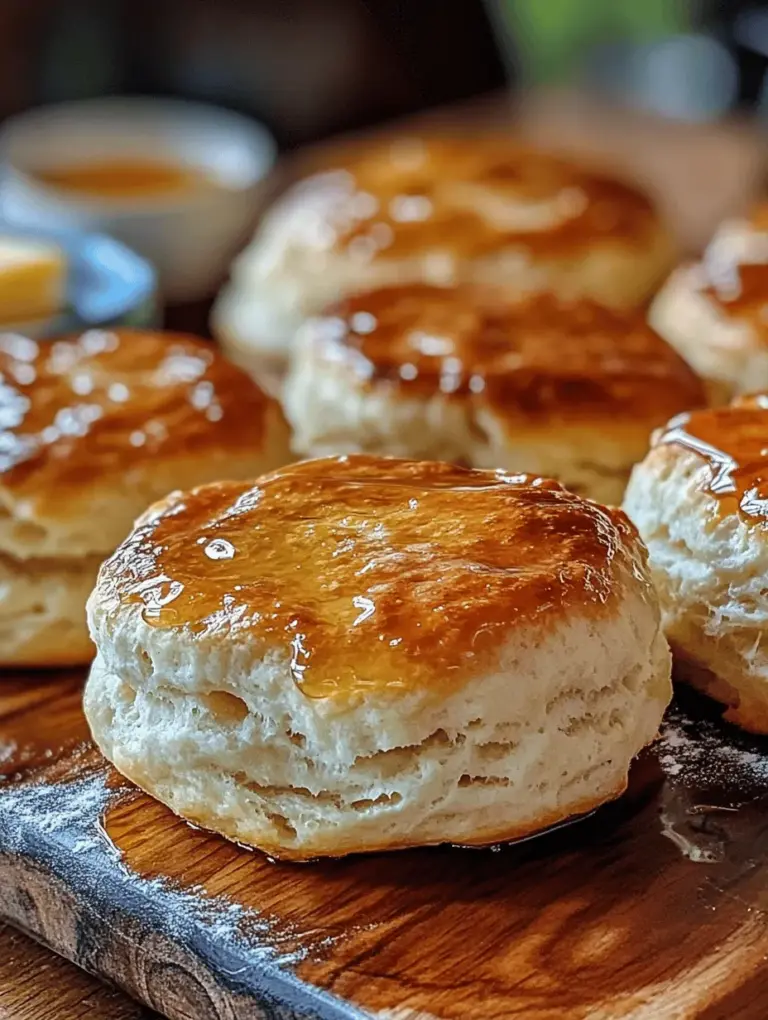
Baking your biscuits to perfection requires attention to detail. Preheat your oven to 450°F (232°C) to get that initial burst of heat, which is crucial for a good rise. As they bake, keep an eye on the color; the biscuits should turn a lovely golden brown. A good indicator of doneness is the sound of a hollow tap when you gently knock on the bottom of a biscuit. Another sign is the internal temperature; for perfectly baked biscuits, aim for about 200°F (93°C) in the center. Once done, remove them from the oven and let them cool slightly on a wire rack to maintain their texture.
Serving Suggestions: Enhancing the Biscuit Experience
Homemade buttermilk biscuits are incredibly versatile and can be enjoyed in numerous ways. Here are some delightful serving suggestions:
1. Classic Pairing: Serve warm with a pat of butter and your favorite jam or honey for a traditional breakfast treat.
2. Savory Delight: Split the biscuits open and fill them with scrambled eggs, crispy bacon, or sausage gravy for the ultimate hearty breakfast sandwich.
3. Brunch Option: Layer them with fresh fruit and whipped cream for a biscuit version of shortcake that’s perfect for brunch gatherings.
4. Side Dish: Offer biscuits as a side with soups, stews, or salads to soak up all the delicious flavors.
Common Mistakes to Avoid
When making buttermilk biscuits, avoiding common pitfalls can elevate your results:
– Overmixing the Dough: Mixing too much can develop the gluten excessively, resulting in tough biscuits. Mix just until the ingredients are combined.
– Using Warm Ingredients: Keeping your butter and buttermilk cold helps create steam during baking, leading to flaky layers. Always use chilled ingredients for the best results.
– Twisting the Cutter: Twisting when cutting can prevent biscuits from rising properly. Always press straight down to keep the edges clean.
– Skipping the Folding Technique: Neglecting this step can yield flat biscuits without the desired layers. Take the time to fold the dough correctly for the best texture.
Variations and Flavor Enhancements
Once you’ve mastered the basic recipe, consider these variations to mix things up:
– Sweet Variations: Incorporate ingredients like blueberries, cranberries, or chocolate chips into the dough for a sweet twist. A sprinkle of cinnamon or nutmeg can also enhance the flavor profile.
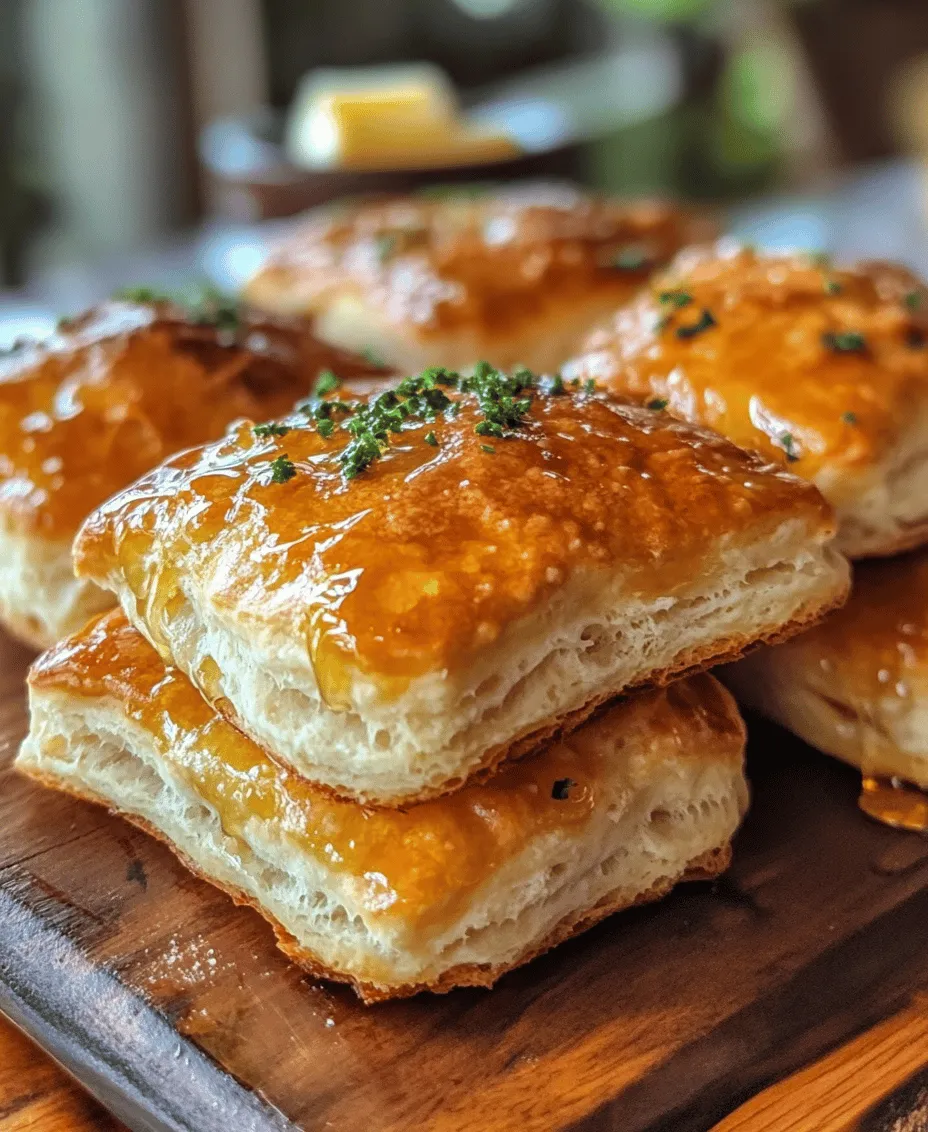
– Savory Twists: Add shredded cheese, fresh herbs like rosemary or thyme, or even cooked and crumbled bacon or ham for a savory option.
– Making Mini Biscuits: For bite-sized treats, use a smaller cutter and adjust the baking time. Mini biscuits are perfect for appetizers or snacks.
Storage Tips for Fresh Biscuits
To keep your biscuits fresh and delicious, follow these storage tips:
– Best Practices for Storing Leftovers: Store leftover biscuits in an airtight container at room temperature for up to two days. For longer storage, consider freezing them.
– Reheating Methods: To reheat, place biscuits in a preheated oven at 350°F (175°C) for about 10 minutes, or until warmed through. This method helps restore their texture.
– Freezing Biscuits: To freeze, place uncooked biscuits on a baking sheet lined with parchment paper and freeze until solid. Then transfer to a freezer bag. They can be baked straight from frozen; just add a few extra minutes to the baking time.
Nutritional Information
Understanding the nutritional content of your homemade biscuits can help you plan your meals better. One serving (approximately one biscuit) typically contains:
– Calories: 200-250
– Fat: 10-15g
– Carbohydrates: 30-35g
– Protein: 3-5g
If you’re looking for healthier alternatives, consider substituting part of the all-purpose flour with whole wheat flour, using less butter, or replacing buttermilk with a low-fat version. These adjustments can reduce calorie content while still maintaining flavor.
Conclusion
Making homemade buttermilk biscuits from scratch is more than just a cooking endeavor; it’s an invitation to create joy and satisfaction in the kitchen. The delightful aroma of freshly baked biscuits can fill your home with warmth, inviting loved ones to gather around the table. Whether you serve them at breakfast, brunch, or as a side dish, these biscuits are sure to please. I encourage you to try this recipe, experiment with your variations, and share the experience with friends and family. Baking is a beautiful way to create cherished memories and traditions, and there’s nothing quite like the satisfaction of pulling a tray of fluffy, golden biscuits from your oven. Enjoy each bite, and remember that the process is just as rewarding as the result.