Introduction
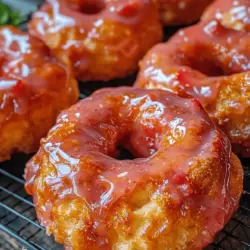
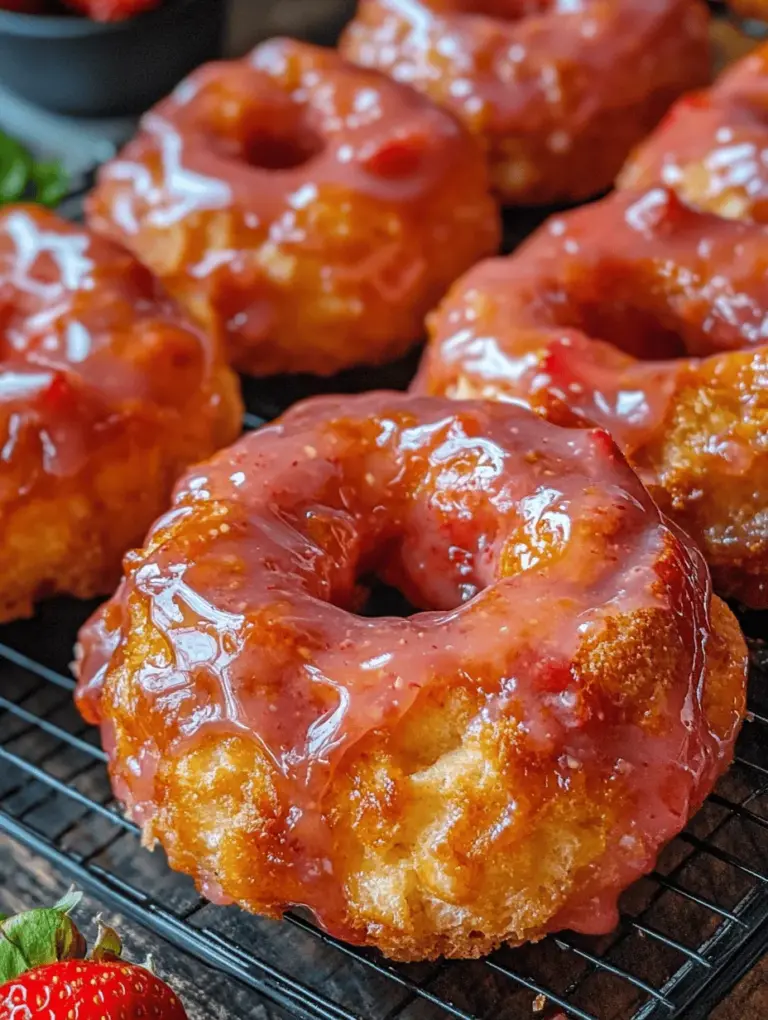
Welcome to the delightful world of French crullers, where light and airy textures meet the sweet, tangy goodness of strawberry glaze. These exquisite pastries are not just a treat for the taste buds; they are a celebration of culinary artistry that can elevate any breakfast or dessert spread. Made with a delicate choux pastry, crullers have a unique texture that sets them apart from traditional doughnuts, offering an indulgent experience that is both comforting and satisfying.
Homemade pastries like these crullers not only provide an opportunity to connect with your inner chef but also allow you to use fresh, high-quality ingredients. There’s something truly special about preparing food from scratch, especially when you can share the fruits of your labor with family and friends. Picture the joy on their faces as they bite into a freshly made cruller, the sweet strawberry glaze glistening in the light. This recipe isn’t merely about creating a dessert; it’s about crafting an experience that captures the essence of warmth and indulgence.
Understanding the Origins of Crullers
French crullers have a rich history that dates back centuries, tracing their roots to the classic French pastry known as “choux.” This versatile dough is used to make a variety of pastries, from éclairs to cream puffs, and is renowned for its ability to create airy, hollow centers. The name “cruller” itself is derived from the Dutch word “krullen,” which means “to curl” or “to twist,” aptly describing the unique shape and texture of these delightful pastries.
Over time, crullers have evolved and adapted into various forms across different cultures. In France, they are often enjoyed as a breakfast item or an afternoon treat, while in North America, they have gained popularity as a beloved doughnut variant. Each culture has contributed its own twist to the cruller, leading to an array of flavors and textures that appeal to diverse palates. Today, crullers can be found in bakeries worldwide, celebrated for their unique combination of taste and texture.
Ingredients Breakdown
To create the perfect Strawberry Glazed French Crullers, you will need a selection of key ingredients that work together to achieve that melt-in-your-mouth experience. Below is a detailed overview of what you’ll need:
For the Crullers:
1. Water: Serves as the base for the dough and helps in the cooking process.
2. Unsalted Butter: Adds richness and flavor, ensuring a tender and moist cruller.
3. All-Purpose Flour: The main structure of the cruller, providing the necessary gluten for the dough.
4. Eggs: Essential for binding the ingredients and creating the airy structure characteristic of choux pastry.
5. Sugar: Enhances the sweetness of the dough, balancing the flavors.
6. Salt: Elevates the overall taste and balances the sweetness.
For the Strawberry Glaze:
1. Fresh Strawberries: The star of the glaze, providing a vibrant color and fresh flavor.
2. Powdered Sugar: Creates the sweet base for the glaze, giving it a smooth texture.
3. Heavy Cream: Adds richness and helps achieve the ideal consistency for the glaze.
4. Vanilla Extract: Enhances the flavor profile of the glaze, adding depth and warmth.
Each ingredient plays a crucial role in the final outcome of your crullers. The combination of butter and eggs contributes to a rich, tender dough, while the strawberries infuse a delightful freshness. Using fresh ingredients not only elevates the taste but also enhances the overall experience of making these pastries at home.
Preparing the Crullers
Step 1: Making the Dough
Creating the dough for your French crullers is a pivotal step in ensuring a successful outcome. Follow these instructions to make your cruller dough with precision.
1. Boil the Mixture: Begin by combining water and unsalted butter in a medium saucepan. Place the saucepan over medium heat and bring the mixture to a rolling boil. It’s crucial to maintain the right temperature during this step, as the water needs to fully evaporate to create the right consistency for your dough. The butter should be completely melted before proceeding.
2. Add the Flour: Once your mixture is boiling vigorously, remove it from the heat and quickly stir in the all-purpose flour. Use a wooden spoon or spatula to mix the flour until it forms a cohesive dough that pulls away from the sides of the pan. This should happen relatively quickly, so be prepared to work fast.
3. Cooling the Dough: Transfer the dough to a mixing bowl and allow it to cool for about five minutes. This cooling step is essential as it prevents the eggs from cooking when added to the mixture.
4. Incorporating the Eggs: Once the dough has cooled slightly, add the eggs one at a time, mixing well after each addition. The dough may appear to separate at first, but continue mixing until it becomes smooth and glossy. You’ll know you’ve achieved the right consistency when the dough falls from a spoon in a thick ribbon.
Step 2: Achieving the Perfect Dough
Recognizing when your dough is ready is key to creating the ideal cruller. The texture should be smooth, shiny, and slightly sticky, with a thick consistency that holds its shape when piped. A well-prepared cruller dough will have a soft elasticity that allows it to expand beautifully when fried.
As you mix, pay attention to the appearance of the dough. It should form a cohesive ball that holds together without being overly wet or dry. If the dough feels too sticky, you may need to adjust the amount of flour used in future batches, but keep in mind that the dough should still retain some tackiness for optimal frying results.
Shaping the Crullers
Step 3: Piping the Crullers
Once your dough is prepared, it’s time to shape your crullers. This step is where the artistic aspect of cruller-making comes into play.
1. Prepare Your Piping Bag: Transfer the cruller dough into a large piping bag fitted with a star tip. This will create the signature ridged pattern that defines crullers. If you don’t have a piping bag, a resealable plastic bag with the corner snipped off can work as an alternative.
2. Chill the Dough: Before piping, it’s advisable to refrigerate the dough for about 15-30 minutes. Chilling the dough not only helps it maintain its structure when piped but also makes it easier to handle.
3. Piping Techniques: To create the perfect doughnut shape, pipe the dough into circles on a parchment-lined baking sheet, making sure to leave some space between each cruller. Start by squeezing out a circular shape, then come back around and pipe over the initial circle to create a twisted or spiral effect. The key is to maintain a steady pressure to ensure even shapes.
Step 4: Frying the Crullers
With your crullers shaped and ready, the frying process is the next crucial step for achieving that golden-brown exterior.
1. Heat the Oil: In a deep skillet or fryer, heat vegetable oil to 350°F (175°C). Use a thermometer to monitor the temperature closely, as this is critical for frying. If the oil is too hot, your crullers will burn on the outside while remaining raw on the inside.
2. Fry the Crullers: Carefully lower the piped crullers into the hot oil, a few at a time to avoid overcrowding the pan. Fry them for about 3-4 minutes on each side, or until they are golden brown. Use a slotted spoon to gently flip them halfway through to ensure even cooking.
3. Drain Excess Oil: Once cooked, transfer the crullers to a wire rack lined with paper towels to drain any excess oil. This step is essential to keep the crullers light and prevent them from becoming greasy.
As you master the art of making French crullers, you’ll find that each step contributes to a delectable end product. The anticipation builds as you fry the dough, and soon enough, you’ll have a batch of crullers ready to be glazed and enjoyed. The next part of this recipe will guide you through the process of creating that delightful strawberry glaze, which will elevate your crullers to new heights. Stay tuned for the final touches that will make your homemade crullers truly unforgettable.
Oil Temperature
Maintaining the right oil temperature is crucial when frying French crullers. The ideal frying temperature is between 350°F and 375°F (175°C to 190°C). If the oil is too hot, the crullers will brown too quickly on the outside while remaining raw inside. Conversely, oil that’s too cool will result in greasy, soggy crullers.
To test the oil temperature, you can use a candy thermometer, which provides an accurate reading. If you don’t have one, drop a small piece of dough into the oil. If it sizzles and rises to the surface within a few seconds, the oil is ready. If it sinks without bubbling, the oil is not hot enough. If it browns immediately, the oil is too hot.
Frying in Batches
Frying in small batches is essential for achieving perfect crullers. Overcrowding the frying pan can lead to a drop in oil temperature, causing uneven cooking and greasy results. Fry three to four crullers at a time, depending on the size of your pan. This ensures that each cruller has enough space to cook evenly and that the oil temperature remains consistent throughout the process. Keep an eye on the crullers as they fry; they typically take about 3 to 4 minutes on each side, turning golden brown. Use a slotted spoon to carefully flip them, ensuring even cooking.
Making the Strawberry Glaze
Creating a smooth and flavorful strawberry glaze is the finishing touch that elevates your crullers. Start with fresh or frozen strawberries; if using frozen, ensure they are thawed. Puree the strawberries in a blender or food processor until smooth. Strain the mixture through a fine-mesh sieve to remove the seeds, yielding a silky base for your glaze.
In a mixing bowl, combine 1 cup of powdered sugar with the strawberry puree. Add a squeeze of lemon juice for a hint of tanginess, which balances the sweetness. Mix thoroughly until you achieve a smooth consistency. If the glaze is too thick, add a little more strawberry puree; if it’s too thin, incorporate more powdered sugar. Taste the glaze and adjust the sweetness or tanginess as desired, ensuring a well-balanced flavor that complements the crullers beautifully.
Glazing the Crullers
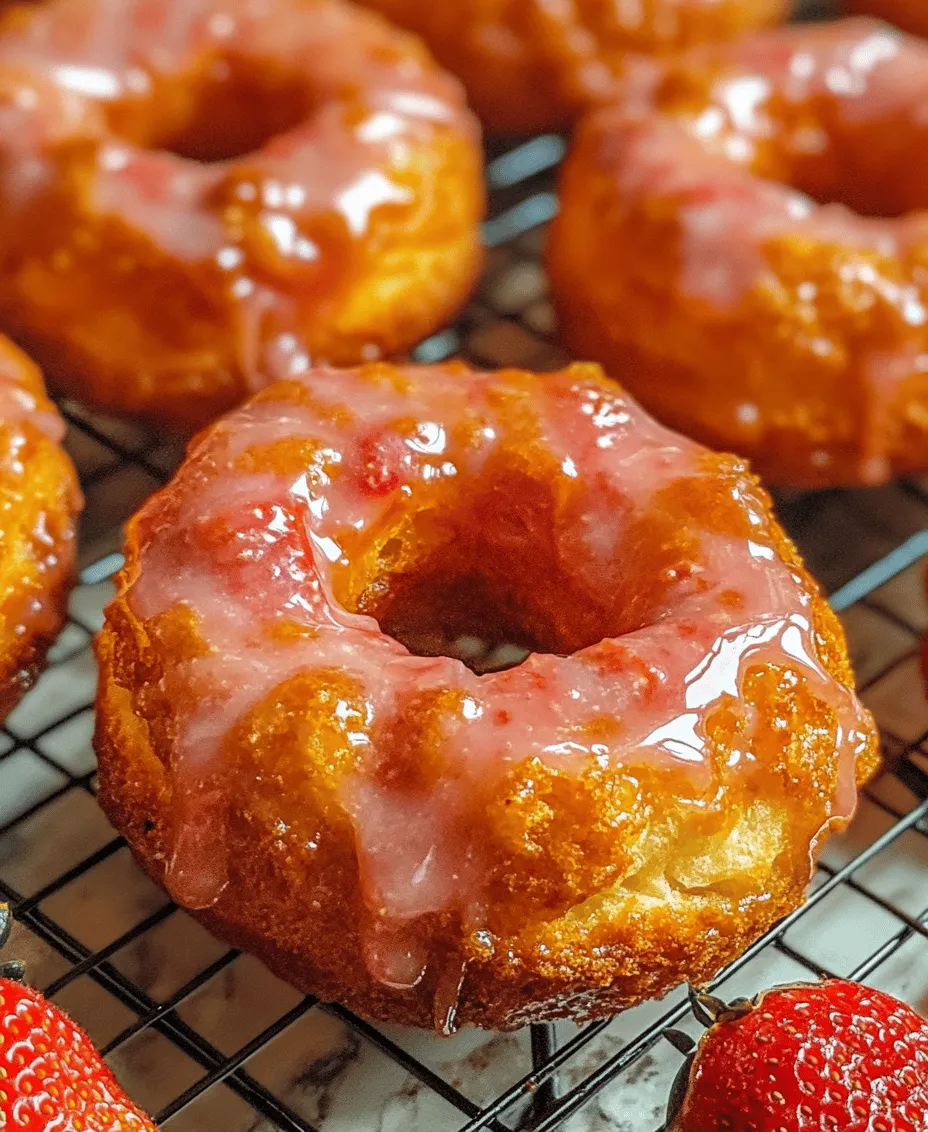
Properly glazing your crullers enhances both their appearance and flavor. Once the crullers are fried and drained on paper towels, allow them to cool slightly. It’s best to glaze while they are still warm; this helps the glaze to adhere better.
To glaze the crullers, hold them by one end or use a fork to dip them into the strawberry glaze. Ensure that each cruller is coated thoroughly, allowing the excess glaze to drip off. For an appealing finish, you can also drizzle some glaze over the top after dipping. If you desire a thicker glaze, let the initial layer set for a moment before applying another coat. This method ensures that the glaze doesn’t slide off.
Serving Suggestions
Strawberry glazed French crullers are perfect for a variety of occasions. For a casual family breakfast, serve them alongside freshly brewed coffee or a glass of milk. Plating them on a decorative dish can elevate the presentation, making them even more inviting.
For an elegant brunch gathering, consider layering the crullers on a tiered cake stand. Garnish the serving platter with fresh strawberries or edible flowers for a pop of color. You might also serve them with a side of whipped cream or yogurt for dipping. This not only adds extra flavor but also creates a delightful, interactive experience for your guests.
Storage Tips
If you have leftover crullers, storing them properly is important to maintain their freshness and texture. Allow the crullers to cool completely at room temperature before storing them. Place them in an airtight container lined with parchment paper to absorb any moisture. They can be kept at room temperature for up to two days.
For longer storage, consider freezing the crullers. Wrap each one tightly in plastic wrap and place them in a zip-top freezer bag. They can be frozen for up to three months. When you’re ready to enjoy them again, simply thaw at room temperature. To reheat, place them in a preheated oven at 350°F (175°C) for about 5-7 minutes to restore their crisp texture.
Conclusion
Making strawberry glazed French crullers at home is not just about the delicious outcome; it’s also about the joy of cooking and the memories created along the way. The process of frying, glazing, and serving these delightful treats brings a sense of fulfillment and creativity that is hard to match. Whether you’re serving them for a special occasion or simply indulging in a sweet treat with your family, these crullers are sure to impress.
So, gather your ingredients, embrace the cooking process, and enjoy the satisfaction of creating something truly special. Remember, these crullers are more than just a delightful pastry; they represent moments of joy, love, and creativity shared with those you cherish. Enjoy every bite!