
Introduction
In recent years, cookie dough truffles have taken the dessert world by storm. This delightful treat combines the nostalgic flavors of classic cookie dough with the irresistible allure of a rich chocolate coating, making it a favorite among dessert lovers of all ages. With their creamy centers and decadent outer shells, cookie dough truffles offer a unique take on traditional cookies, allowing you to indulge in the best of both worlds.
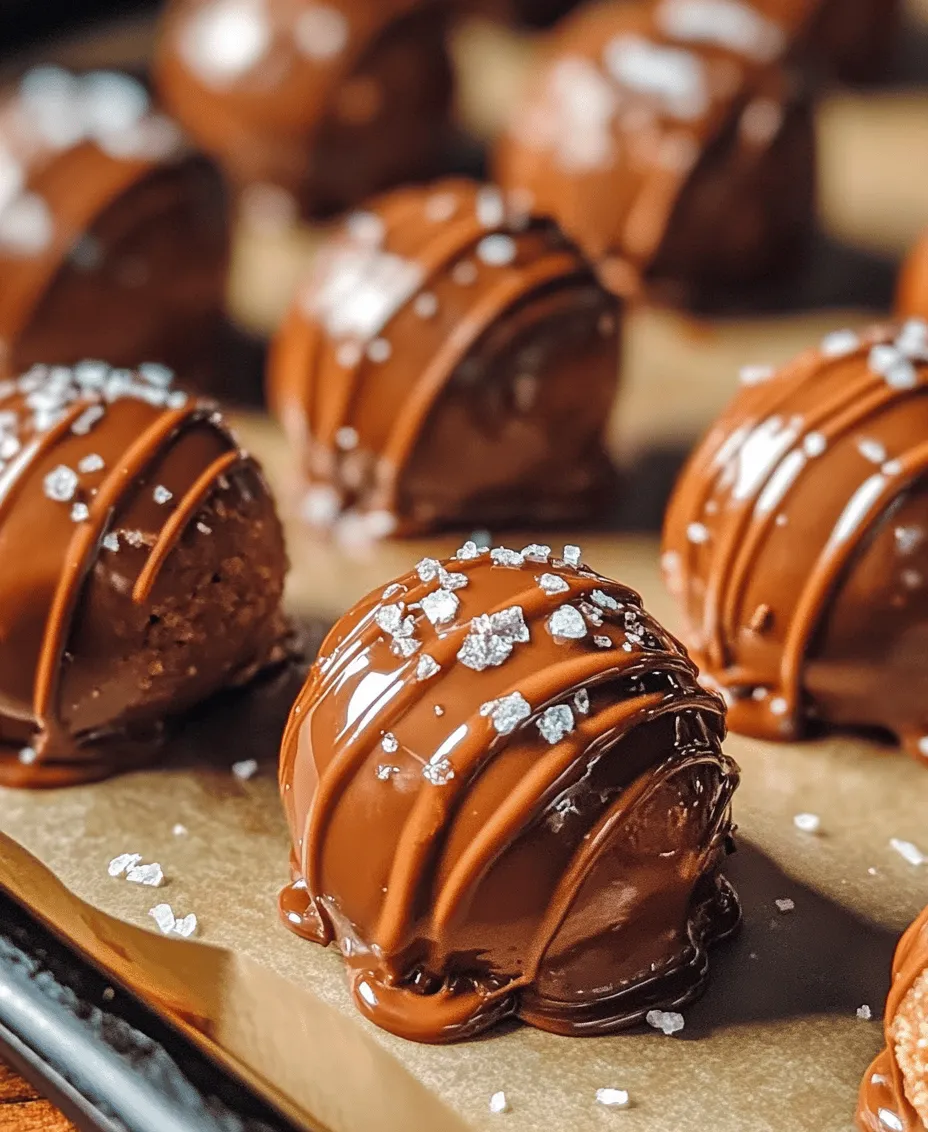
These truffles are not just a visual treat; they also pack a punch in terms of flavor. The creamy, sweet interior is often punctuated with mini chocolate chips, providing bursts of chocolate in every bite. Coated in semi-sweet chocolate and often finished with a sprinkle of sea salt, these truffles are the epitome of a satisfying dessert that balances sweetness with rich, chocolaty goodness.
In this article, we will provide you with a comprehensive, step-by-step guide to creating your very own decadent cookie dough truffles. From understanding the essential ingredients to the preparation steps, we’ll cover everything you need to know to achieve truffle perfection.
Understanding the Ingredients
Before diving into the preparation, let’s take a closer look at the ingredients that make these cookie dough truffles so irresistible. Each component plays a crucial role in achieving the right texture and flavor.
All-Purpose Flour
The cornerstone of any cookie dough recipe, all-purpose flour provides the necessary structure and stability. However, when it comes to edible cookie dough, safety is paramount. Raw flour can sometimes harbor harmful bacteria, which is why it’s essential to heat-treat the flour before using it in this recipe. This process not only ensures safety but also enhances the flavor profile, allowing the natural nuttiness of the flour to shine through.
Unsalted Butter
Butter is a key ingredient that significantly contributes to the richness and texture of your cookie dough truffles. Using unsalted butter allows you to control the overall saltiness of the dessert, ensuring that the sweet flavors are not overshadowed. When creamed together with sugars, butter creates a light and fluffy texture that forms the foundation of your truffle filling.
Brown Sugar and Granulated Sugar
The combination of brown sugar and granulated sugar is essential for achieving the perfect balance of sweetness and moisture. Brown sugar contains molasses, which not only adds a deeper flavor but also keeps the dough moist and chewy. Granulated sugar, on the other hand, contributes to the overall sweetness and helps create a crisp texture when baked. In this recipe, these sugars work together to create a decadent filling that is both sweet and satisfying.
Vanilla Extract
Vanilla extract is the secret weapon that elevates the flavor profile of your cookie dough truffles. A splash of vanilla enhances the sweetness and adds a warm, aromatic quality to the dough. Opting for pure vanilla extract over imitation can make a significant difference in the overall taste, infusing your truffles with a rich and authentic flavor.
Milk
Milk is a versatile ingredient that helps to adjust the consistency of the dough. Depending on the humidity and the specific texture you desire, a splash of milk can make all the difference in achieving the perfect dough. It adds moisture, ensuring that your truffles maintain a creamy and soft interior while still holding their shape.
Mini Chocolate Chips
What would cookie dough be without chocolate? Mini chocolate chips are a must-have in this recipe, providing delightful bursts of chocolate flavor throughout the truffle filling. Their small size ensures that every bite is filled with sweetness, and they add a pleasing texture that contrasts with the smooth dough.
Semi-Sweet Chocolate Chips
The outer coating of your cookie dough truffles is just as important as the filling. Semi-sweet chocolate chips create a luscious and rich outer shell that envelops the sweet interior. The slight bitterness of semi-sweet chocolate balances out the sweetness of the dough, making each truffle a perfectly balanced treat. Melting these chips to create a coating is a simple yet critical step that results in a beautifully finished product.
Sea Salt
While optional, a sprinkle of sea salt can take your cookie dough truffles to the next level. The contrast of salty and sweet enhances the overall flavor, making each bite even more enjoyable. A touch of sea salt not only adds a sophisticated touch but also elevates the dessert experience, ensuring that the sweetness doesn’t overwhelm the palate.
Preparation Steps
A successful baking experience starts with proper preparation, and this recipe is no exception. Let’s break down each step to ensure that your cookie dough truffles turn out perfectly.
Preparing the Flour
The first step in your truffle-making journey is to prepare the all-purpose flour by heat-treating it. This process eliminates any potential bacteria and enhances the flavor of the flour. To do this:
1. Preheat your oven to 350°F (175°C).
2. Spread the flour evenly on a baking sheet.
3. Bake for about 5-7 minutes, checking frequently to avoid browning. Allow the flour to cool completely before using it in your recipe.
This simple but crucial step ensures that your cookie dough is safe to eat while retaining the delightful flavor of freshly baked cookies.
Making the Dough
Once the flour is prepared, it’s time to create the cookie dough filling. Start by creaming the unsalted butter and sugars together.
1. In a large mixing bowl, combine the softened unsalted butter, brown sugar, and granulated sugar. Using a hand mixer or stand mixer, beat the mixture on medium speed until it becomes light and fluffy—this usually takes about 2-3 minutes.
2. Add the vanilla extract and milk, mixing until well incorporated.
Achieving the right texture during this step is essential; the mixture should be smooth and creamy, with no lumps.
Incorporating Dry Ingredients
With your wet ingredients ready, it’s time to incorporate the dry ingredients, including the heat-treated flour and mini chocolate chips.
1. Gradually add the prepared flour to the butter and sugar mixture, mixing on low speed until just combined. Be careful not to overmix, as this can lead to a denser dough.
2. Once the flour is incorporated, gently fold in the mini chocolate chips using a spatula. This ensures even distribution without breaking the chips.
At this point, you should have a soft, slightly sticky dough that is perfect for forming into truffles. If the dough seems too dry, you can add an additional splash of milk to achieve your desired consistency.
With the dough prepared, you are now ready to form and coat your truffles, setting the stage for a delightful dessert that is sure to impress. Stay tuned as we continue with the next steps of this delicious journey!
Folding in Chocolate Chips
Once you have mixed your cookie dough to perfection, it’s time to incorporate the chocolate chips. This step is crucial for achieving the ideal distribution of chocolate throughout your truffles. To do this effectively, use a folding technique rather than a stirring motion. Gently lift the dough from the bottom of the bowl and fold it over the chocolate chips. Repeat this process until the chips are evenly distributed without over-mixing the dough. Over-mixing can lead to a denser texture, which is not desirable for cookie dough truffles. Aim for a consistent distribution of chocolate chips throughout the dough, ensuring that each bite will be a delightful mix of cookie and chocolate flavors.
Rolling and Forming the Truffles
Now comes the fun part—rolling and forming your cookie dough into truffles! To ensure uniform size and shape, it’s helpful to use a small cookie scoop or a tablespoon. This will give you a consistent amount of dough for each truffle. Once you have scooped the dough, roll it between your palms to form a smooth ball. Aim for a size that is about 1 inch in diameter. This size is ideal for popping in your mouth, and it allows for a perfect chocolate-to-cookie dough ratio in each bite.
When forming the truffles, try to keep your hands slightly damp. This will prevent the dough from sticking to your palms, making the rolling process much easier. After rolling, place the truffles on a parchment-lined baking sheet, leaving a little space between each one.
Chilling the Dough
Chilling the dough is an essential step before coating your truffles. This not only firms up the dough, making it easier to handle, but it also helps the flavors meld together. Place the baking sheet with the rolled truffles in the refrigerator for at least 30 minutes. If you’re short on time, even a 15-minute chill can help, but the longer you can chill them, the better. This step ensures that when you dip the truffles in chocolate, they maintain their shape and do not lose their form.
Coating the Truffles
Chocolate Melting Process
The next step in this truffle-making journey is coating your chilled cookie dough balls in chocolate. To achieve a smooth and glossy finish, melt your chocolate carefully. You can use either a double boiler or a microwave for this process. If using a microwave, heat the chocolate in increments of 30 seconds, stirring in between until it’s fully melted. This method helps prevent the chocolate from seizing up.
Temperature control is paramount—aim for a melting temperature of around 110°F to 120°F (43°C to 49°C). If the chocolate is too hot, it can scorch, leading to a grainy texture. Conversely, if it’s too cool, it won’t coat the truffles properly.
Techniques for Coating Truffles Effectively
Once your chocolate is melted and at the right temperature, it’s time to coat your truffles. Using a fork, dip each truffle into the melted chocolate, ensuring it’s fully submerged. Gently lift the truffle out and allow any excess chocolate to drip off before placing it back on the parchment-lined baking sheet. You can use a toothpick to help guide the truffle out of the chocolate, providing a cleaner finish and preventing any chocolate from pooling underneath.
For added texture and flavor, consider rolling some of the truffles in crushed nuts or sprinkles after coating with chocolate. This will give them a delightful crunch and make them visually appealing.
Tips on Garnishing with Sea Salt
For a final touch, consider garnishing your truffles with a sprinkle of flaky sea salt while the chocolate is still wet. This adds a sophisticated flavor contrast, enhancing the sweetness of the truffles and giving them an artisanal look. The salt will cling to the chocolate as it sets, creating a beautiful presentation and elevating the overall taste experience.
Chilling and Storing
After coating your truffles, it’s essential to chill them again to allow the chocolate to set properly. Place the baking sheet back in the refrigerator for another 30 minutes. This step ensures that the chocolate hardens, giving your truffles a beautiful finish and making them easier to handle.
Best Practices for Storage
Once your truffles are fully set, it’s crucial to store them properly to maintain their freshness. Place them in an airtight container lined with parchment paper to prevent sticking. Store the container in the refrigerator, where the cool temperature will help keep them firm and delicious.
Discussion on Shelf Life
When stored correctly, cookie dough truffles can last up to two weeks in the refrigerator. However, they are best enjoyed within the first week for optimal freshness and flavor. If you find yourself with extra truffles, you can also freeze them for longer storage. Just make sure to use a freezer-safe container, and they will stay delicious for up to three months. Let them thaw in the refrigerator before enjoying.
Serving Suggestions
Cookie dough truffles are perfect for a variety of occasions, and there are many creative ways to serve them at parties or gatherings. Consider creating a dessert platter featuring an assortment of truffles, showcasing different chocolate coatings or garnishes. This not only adds visual appeal but also allows guests to sample various flavors.
Pairing Suggestions
To elevate the experience, think about pairing your truffles with complementary desserts or beverages. A rich, dark roast coffee or a glass of dessert wine pairs beautifully with the sweetness of the truffles. Alternatively, serve them alongside a scoop of vanilla ice cream for a delicious dessert combination that will satisfy any sweet tooth.
Presentation Tips
Presentation is key when serving your cookie dough truffles. Consider arranging them in decorative cupcake liners or on a tiered serving stand. For an elegant touch, dust the platter with cocoa powder or powdered sugar before placing the truffles on top. This simple addition can create an eye-catching display that enhances the overall presentation.
Nutritional Information
When indulging in cookie dough truffles, it’s useful to consider the nutritional aspects. Each truffle is a small treat, so portion control is essential. While they are undoubtedly a delicious indulgence, being mindful of serving sizes can help balance enjoyment with health.
These truffles contain ingredients like butter, sugar, and chocolate, which contribute to their rich flavor but can also add up in calories. A single truffle can range from 100 to 150 calories, depending on the size and ingredients. Enjoying them in moderation is key to savoring their decadence without overindulging.
Conclusion
Making cookie dough truffles is not just about creating a delightful treat; it’s an enjoyable culinary experience that brings joy to both the maker and the eater. The process of mixing, rolling, coating, and garnishing allows for creativity and exploration in the kitchen. As you try this recipe, remember that the joy of making these truffles is only rivaled by the pleasure of sharing them with friends and family.
I encourage you to give this recipe a try and explore your own variations. Whether you add different types of chocolate, experiment with nut butters, or include various mix-ins, the possibilities are endless. Cookie dough truffles are versatile, and each twist can lead to an exciting new flavor profile. Enjoy the process, and let your creativity shine through in every delicious bite!