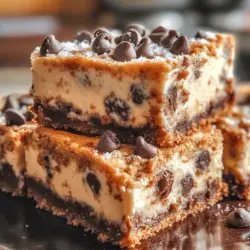
When it comes to dessert, few combinations elicit as much joy as chocolate chip cookies and cheesecake. Each offers a unique taste experience: the warm, gooey goodness of a freshly baked cookie coupled with the rich, creamy texture of cheesecake. Imagine bringing these two favorites together into one indulgent treat—welcome to the world of Decadent Chocolate Chip Cookie Cheesecake Bars.
These mouthwatering bars are not just visually appealing; they are a perfect blend of textures and flavors that will satisfy your sweet tooth. Whether you’re hosting a dinner party, celebrating a special occasion, or simply craving something sweet after a long day, these cheesecake bars are an excellent choice. In this article, we will guide you through every step of creating these delightful treats, explore the science behind the ingredients, and share expert tips for ensuring your baking experience is smooth and rewarding.
Understanding the Components of the Recipe
To truly appreciate the Decadent Chocolate Chip Cookie Cheesecake Bars, it’s essential to understand the individual components that make up this dessert. Each layer plays a critical role in creating the overall flavor and texture that makes these bars so irresistible.
The Cookie Layer: A Classic Favorite
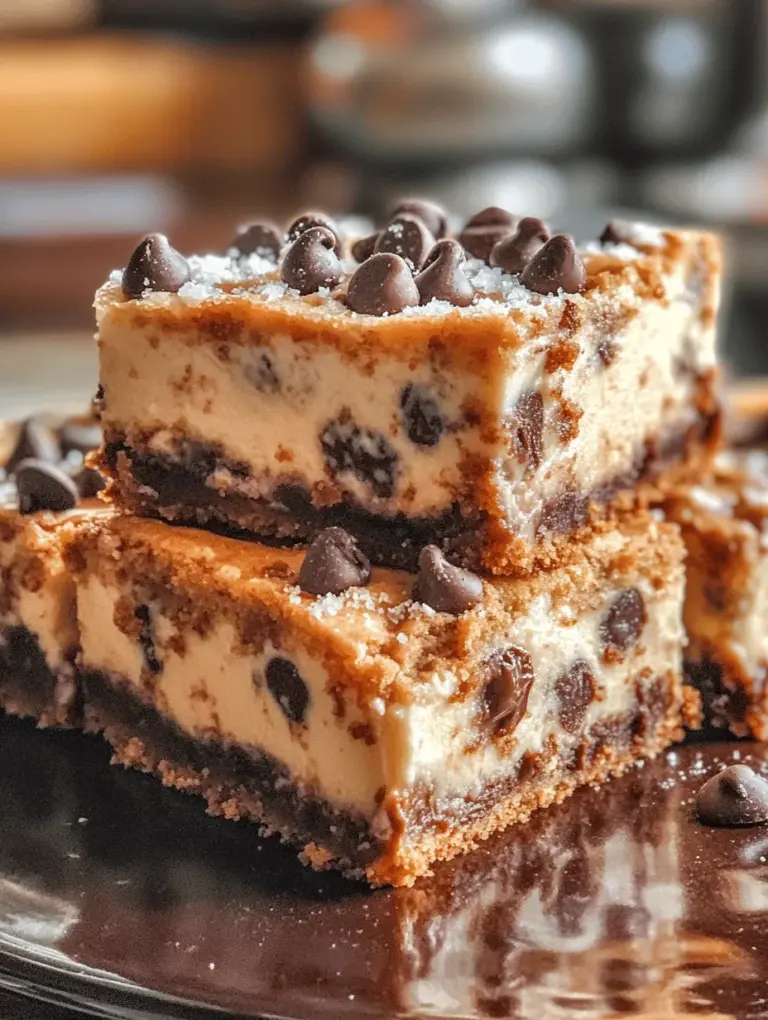
The cookie layer serves as the foundation of these cheesecake bars, providing a deliciously chewy and slightly crispy base that contrasts beautifully with the creamy cheesecake filling. The texture of the cookie layer is essential; it should be soft enough to provide a melt-in-your-mouth experience, yet firm enough to hold up the cheesecake layer above it.
One of the key elements in achieving the perfect cookie layer is the use of softened unsalted butter. Unsalted butter allows for better control over the salt levels in your recipe, enabling you to customize the flavor to your liking. When creamed with sugars, it creates a light and airy mixture that is crucial for the cookie’s texture.
The sugars used in the recipe also play a significant role. Granulated sugar contributes to the cookie’s crispness, while brown sugar adds moisture and a hint of caramel flavor. This combination of sugars is fundamental in creating the perfect balance of sweetness and texture in the cookie base.
The Cheesecake Layer: Creamy and Smooth
Now let’s dive into the star of the show: the cheesecake layer. Cream cheese is the primary ingredient in this layer, and it’s what gives the cheesecake its signature smooth and rich texture. When selecting cream cheese, opt for a high-quality brand for the best flavor and consistency.
The addition of eggs and sugar is crucial for achieving the creamy consistency that cheesecake lovers adore. Eggs provide structure and stability, while sugar enhances sweetness and balances the tanginess of the cream cheese. Flour, though optional in many cheesecake recipes, plays an important role by stabilizing the filling and preventing it from cracking during baking.
Detailed Ingredient Breakdown
Understanding the ingredients in your recipe is essential to ensuring the best possible outcome. Here’s a closer look at what you’ll need for both the cookie and cheesecake layers.
For the Cookie Layer
1. Unsalted Butter: Always choose unsalted butter for baking. It allows you to control the saltiness of your dessert and helps achieve a creamier texture when creamed with sugars.
2. Granulated vs. Brown Sugar: A mixture of both sugars is essential for the perfect cookie texture. Granulated sugar creates a crisp exterior, while brown sugar adds moisture and a deeper flavor profile due to its molasses content.
3. Eggs: These are a binding agent in the cookie layer, providing moisture and richness. Using room temperature eggs can help create a smoother dough.
4. Flour: All-purpose flour is typically used in cookie recipes. Be sure to measure it correctly—too much flour can lead to a dense cookie, while too little can make it too crumbly.
5. Baking Soda and Salt: Baking soda acts as a leavening agent, helping the cookie rise and become fluffy. A pinch of salt enhances the overall flavor, balancing the sweetness from the sugars.
6. Chocolate Chips: Choose high-quality chocolate chips for the best flavor. Semi-sweet chocolate chips are traditional, but feel free to experiment with dark or milk chocolate for different taste profiles.
For the Cheesecake Layer
1. Cream Cheese: The heart of the cheesecake layer. Opt for full-fat cream cheese for a rich and creamy texture. Ensure it’s at room temperature before mixing to prevent lumps.
2. Sugar: Granulated sugar is commonly used for sweetness. It dissolves easily into the cream cheese mixture, ensuring a smooth filling.
3. Eggs: Similar to the cookie layer, eggs are key for binding and providing structure in the cheesecake. Use room temperature eggs for the best results.
4. Flour: Adding a small amount of flour can help stabilize the cheesecake layer, preventing it from cracking as it cools.
5. Optional Pinch of Salt: Just like in the cookie layer, a small amount of salt can enhance the flavors in the cheesecake, bringing out the richness of the cream cheese.
Step-by-Step Instructions for Preparation
Before diving into the baking process, it’s essential to prepare your kitchen for success. Here are some important steps to follow before you start mixing your ingredients.
Prepping the Kitchen
1. Gather Ingredients: Gather all your ingredients ahead of time. This not only makes the baking process more efficient but also ensures you don’t miss any crucial components.
2. Prepare Your Baking Dish: Line a baking pan with parchment paper or grease it lightly with cooking spray. This will make it easier to remove the bars once they are baked and cooled.
3. Preheat the Oven: Preheat your oven to 350°F (175°C). This step is crucial as it allows for even baking once you place your bars in the oven.
Creating the Cookie Dough
With everything prepared, you can now start creating your cookie dough. Follow these simple steps for a perfect cookie layer:
1. Cream the Butter and Sugars: In a large mixing bowl, combine the softened unsalted butter, granulated sugar, and brown sugar. Use an electric mixer to cream the mixture until it is light and fluffy, about 2-3 minutes.
2. Add the Eggs: Beat in the eggs, one at a time, ensuring each egg is fully incorporated before adding the next. The mixture should be smooth and homogenous.
3. Combine Dry Ingredients: In a separate bowl, whisk together the all-purpose flour, baking soda, and salt. Gradually add the dry mixture to the wet ingredients, mixing until just combined. Be careful not to overmix; this can lead to tough cookies.
4. Fold in the Chocolate Chips: Finally, gently fold in the chocolate chips, ensuring they are evenly distributed throughout the dough.
Now that you have your cookie dough ready, you’re well on your way to creating these Decadent Chocolate Chip Cookie Cheesecake Bars. The next steps will focus on preparing the cheesecake layer and combining both layers for baking. Stay tuned for the continuation of this delectable dessert adventure!
Detailed Steps for Creaming Butter and Sugars
To achieve the perfect texture for your Decadent Chocolate Chip Cookie Cheesecake Bars, start by creaming your butter and sugars together. This process is crucial as it incorporates air into the mixture, leading to a light and fluffy cookie base.
1. Choose the Right Temperature: Begin with room temperature butter, as it allows for easier mixing. Cut your butter into small cubes and let it sit out for about 30 minutes before starting.
2. Mixing Technique: In a large mixing bowl, combine the softened butter with granulated sugar and brown sugar. Using an electric mixer on medium speed, beat the mixture until it becomes light and fluffy, which usually takes about 3-5 minutes. Scrape down the sides of the bowl periodically to ensure even mixing.
3. Texture Check: The mixture should appear pale in color and have a creamy consistency. This step is essential as it creates a base that holds the cookie bars together and adds moisture.
Techniques for Incorporating Eggs and Vanilla Extract Smoothly
Once your butter and sugars are nicely creamed, it’s time to incorporate the eggs and vanilla extract.
1. Add Eggs One at a Time: Crack the eggs into a small bowl to avoid shells getting into your mixture. Add the eggs to the creamed mixture one at a time, beating well after each addition. This gradual incorporation helps maintain the emulsion and ensures even distribution throughout the batter.
2. Vanilla Extract: After the eggs are fully incorporated, add the vanilla extract. A good quality extract will enhance the overall flavor of your bars. Mix on low speed just until combined.
Tips for Mixing Dry and Wet Ingredients Without Overworking the Dough
Overmixing can lead to tough cookie bars, so it’s crucial to handle the dough carefully.
1. Combine Dry Ingredients Separately: In a separate bowl, whisk together the flour, baking soda, and salt. This helps to evenly distribute the leavening agent and salt.
2. Incorporating the Dry Ingredients: Gradually add the dry mixture to the wet ingredients. Use a spatula or a wooden spoon to fold the dry ingredients into the wet, mixing gently until just combined. Be sure to scrape the sides and bottom of the bowl to incorporate all the ingredients without overmixing.
3. Add Chocolate Chips: Finally, fold in your chocolate chips using the same gentle technique. This ensures that the chips are evenly distributed throughout the dough without breaking them down.
Whipping Up the Cheesecake Filling
The cheesecake filling is what takes these bars to the next level, providing a rich and creamy contrast to the cookie base.
Best Practices for Achieving a Smooth Cream Cheese Mixture
1. Room Temperature Cream Cheese: Before starting, make sure your cream cheese is at room temperature. This ensures that it will blend smoothly without lumps.
2. Mixing Technique: In a medium bowl, beat the cream cheese with an electric mixer on medium speed until it’s creamy and smooth, about 1-2 minutes.
3. Adding Sugar: Gradually add granulated sugar and beat until well blended. This should take another minute or two.
How to Incorporate Eggs Without Overmixing
1. Incorporate Eggs: Add the eggs one at a time, mixing on low speed. This helps prevent excess air from entering the mixture, which can lead to cracks in the cheesecake once baked.
2. Blend in Vanilla: Finally, add vanilla extract and mix just until combined. Avoid overmixing, as this can also contribute to cracks during baking.
Assembling the Bars
Now that you have both your cookie dough and cheesecake filling ready, it’s time to assemble.
Techniques for Spreading the Cookie Dough and Cheesecake Filling Evenly
1. Layering the Dough: Take about 2/3 of the cookie dough and press it evenly into the bottom of a greased baking pan. Use your fingers or a spatula to ensure an even layer.
2. Adding the Cheesecake Filling: Pour the cheesecake filling over the cookie base, spreading it evenly with a spatula. Take your time to ensure a smooth layer.
Importance of Crumbling the Reserved Dough for Texture Contrast
1. Crumbling the Remaining Dough: With the remaining 1/3 of the cookie dough, crumble it evenly over the cheesecake layer. This will create a delightful texture contrast once baked and provide that classic cookie bar look.
Baking Process: Achieving the Perfect Bake
Setting the Right Temperature
1. Preheat the Oven: Preheat your oven to 350°F (175°C) at least 15 minutes before baking. This step is crucial for consistent baking and ensures that your bars rise properly.
2. Baking Time: Bake the assembled bars in the preheated oven for 30-35 minutes. The edges should be golden brown, and the center should look set but slightly jiggly.
How to Know When the Bars Are Done: Visual Cues and Toothpick Tests
1. Visual Cues: Keep an eye on the edges; they should be firm and lightly browned while the center may still have a slight jiggle.
2. Toothpick Test: Insert a toothpick into the center. If it comes out with a few moist crumbs attached (not wet batter), the bars are done. Remember, the bars will continue to cook slightly after being removed from the oven.
Cooling and Slicing
Best Practices for Cooling to Avoid Cracks in the Cheesecake Layer
1. Cooling Process: Allow the bars to cool in the pan on a wire rack for at least 30 minutes. This gradual cooling helps prevent cracks from forming in the cheesecake layer.
2. Chill for Best Results: For the best texture, cover the pan with plastic wrap and refrigerate for at least 2 hours (or overnight) before slicing. This allows the cheesecake to firm up, making it easier to cut.
Techniques for Cutting Clean, Even Bars
1. Using a Sharp Knife: When you’re ready to slice, use a sharp knife dipped in hot water. Wipe it clean after each cut for neat edges.
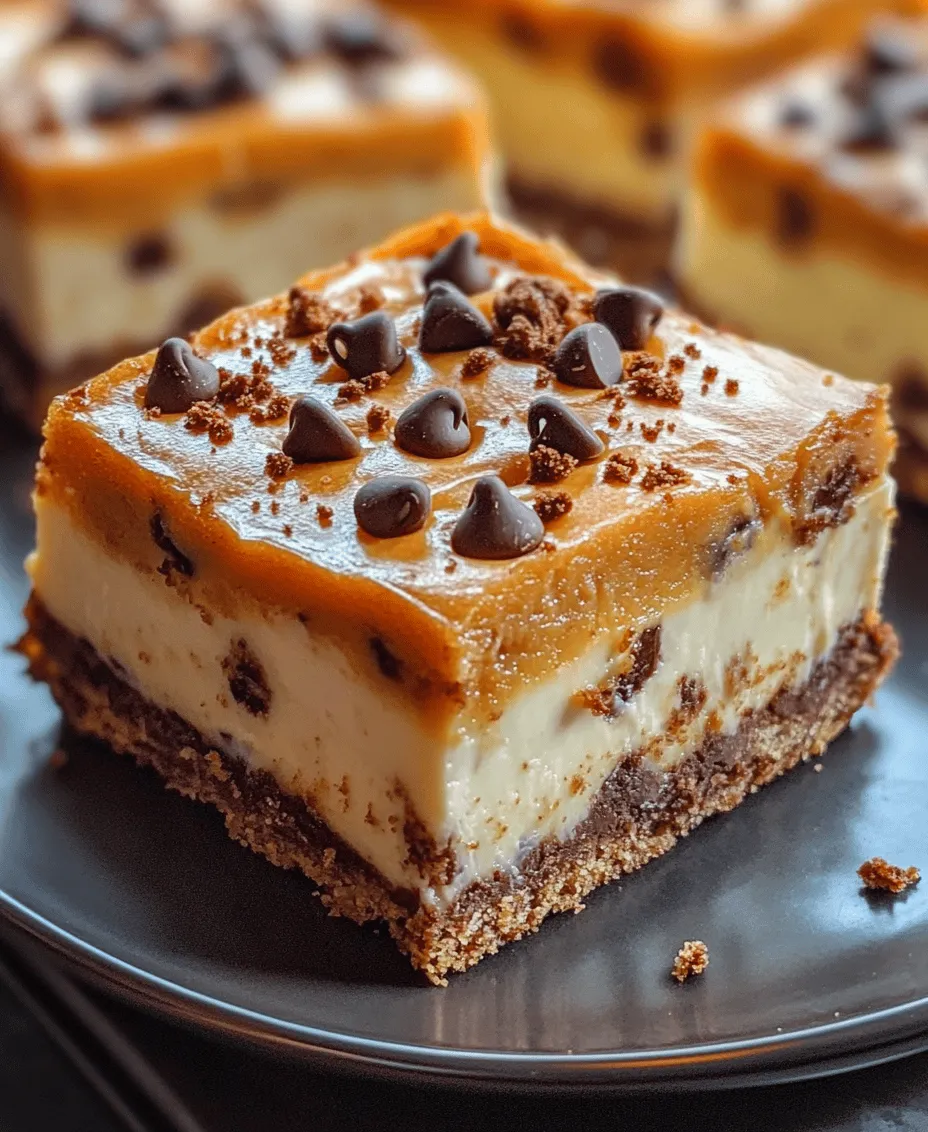
2. Cutting Technique: Cut the bars into squares or rectangles, depending on your preferred serving size. This method ensures every piece has a good balance of cookie and cheesecake.
Serving Suggestions and Pairings
Presentation Ideas
1. Creative Serving: For gatherings, plate the bars on a decorative platter, and consider dusting them with powdered sugar for an elegant touch.
2. Garnishing: Add a drizzle of chocolate or caramel sauce on top for an extra indulgent flair. Fresh berries can also complement the richness of the bars beautifully.
Beverage Pairings
1. Coffee and Tea: These cheesecake bars pair wonderfully with a cup of coffee or a warm tea, enhancing the richness of the chocolate and cream cheese.
2. Milk or Plant-Based Alternatives: A glass of cold milk, whether dairy or a plant-based alternative, also balances the dessert’s sweetness and richness perfectly.
Storage and Shelf Life
Proper Storage Techniques
1. Storing Leftovers: Store any leftover bars in an airtight container in the refrigerator for up to a week. This keeps them fresh and maintains their creamy texture.
2. Freezing for Longer Shelf Life: If you want to store them longer, wrap individual bars in plastic wrap and place them in a freezer-safe container. They can last up to 3 months in the freezer. Thaw in the refrigerator overnight before enjoying.
Conclusion
Decadent Chocolate Chip Cookie Cheesecake Bars offer a unique dessert experience that delights the taste buds with every bite. By following the detailed steps and understanding the science behind the ingredients, anyone can master this recipe. Whether for a special occasion or a sweet treat at home, these bars are sure to impress friends and family alike. Enjoy the process of baking and the satisfaction of creating something truly delicious!