Introduction
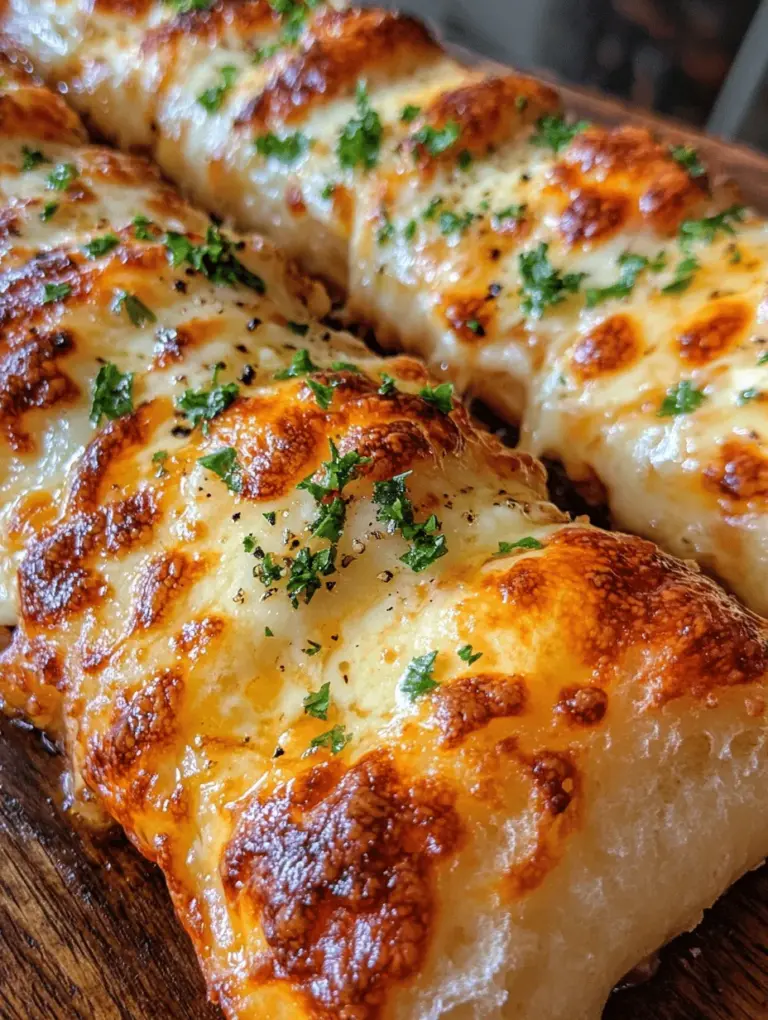
Cheesy garlic breadsticks have become a beloved staple in many households, offering a warm, flavorful treat that pairs perfectly with soups, salads, or simply stands alone as a delightful snack. Their popularity can be attributed to the irresistible combination of gooey cheese, aromatic garlic, and a soft, chewy texture that creates a mouthwatering experience with every bite. Whether served as an appetizer at gatherings or enjoyed during a cozy night in, cheesy garlic breadsticks are always a hit.
While pre-made versions of this delightful dish are widely available, there’s something undeniably satisfying about creating them from scratch. Homemade breadsticks not only allow for customization of flavors and textures, but they also provide a fulfilling baking experience that you won’t find in store-bought varieties. The aroma of freshly baked bread wafting through your home is a reward in itself, beckoning friends and family to gather around the table.
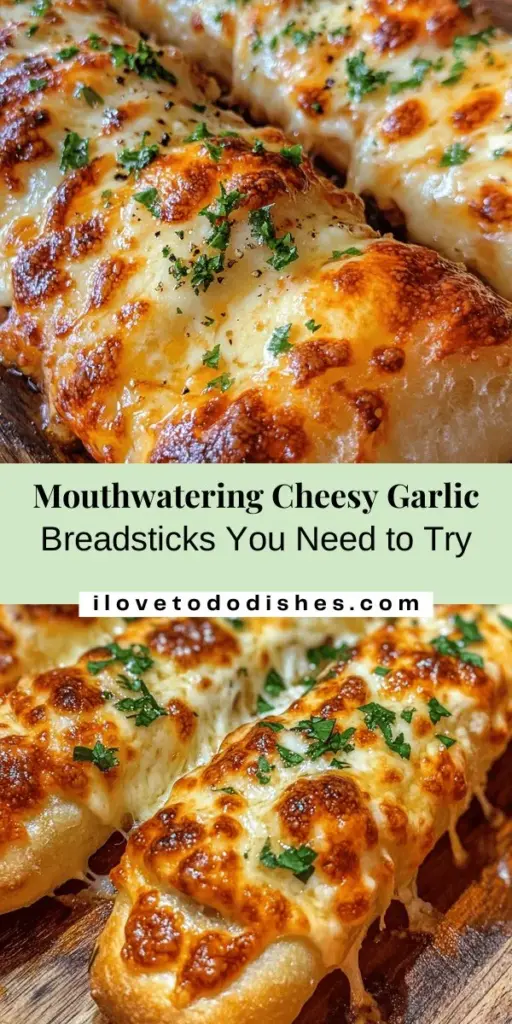
In this article, we will explore a delicious recipe for Cheesy Garlic Delight Breadsticks, perfect for any occasion. With simple yet flavorful ingredients and a straightforward preparation process, these breadsticks will become a favorite in your culinary repertoire. Let’s dive into the key components of this recipe and get started on making these delightful treats!
Understanding the Key Ingredients
To create the perfect Cheesy Garlic Delight Breadsticks, understanding the key ingredients is essential. Each component plays a vital role in achieving the ideal flavor and texture. Here’s a closer look at the necessary ingredients for this recipe:
Flour: The Backbone of the Dough
Flour serves as the foundation for any bread recipe, and it’s no different for our cheesy garlic breadsticks. All-purpose flour is commonly used due to its versatility and ability to create a nice, chewy texture. The gluten content in flour helps the dough rise and maintain its shape, ensuring that every bite is soft and satisfying. For a unique twist, you can experiment with different types of flour, such as bread flour for added chewiness or whole wheat flour for a heartier flavor.
Instant Yeast: Importance of Leavening and Rising
Instant yeast is a key ingredient that provides the leavening needed for our breadsticks to rise. Unlike active dry yeast, instant yeast does not require proofing in warm water before use, making the preparation process quicker and more straightforward. This type of yeast works efficiently by rapidly fermenting sugars in the dough, producing carbon dioxide that creates air pockets, resulting in a light and airy texture. Properly measuring the yeast is crucial to ensure that the dough rises adequately.
Olive Oil: Adding Flavor and Moisture
Olive oil is an essential component that adds flavor and moisture to our breadsticks. It not only enriches the dough but also helps to create a tender texture. The healthy fats in olive oil contribute to a deliciously rich flavor profile and enhance the overall taste of the breadsticks. For a more pronounced flavor, consider using extra virgin olive oil, which has a more robust taste compared to regular olive oil.
Cheese Varieties: Mozzarella and Parmesan for Taste and Texture
Cheese is the star of the show in Cheesy Garlic Delight Breadsticks, providing that gooey, melty goodness we all crave. Mozzarella cheese is a popular choice for its excellent melting properties and mild flavor that complements the garlic and herbs. Parmesan cheese, on the other hand, adds a sharp, nutty flavor that elevates the overall taste. Together, these cheeses create a delicious combination that will leave you and your guests wanting more. Feel free to mix in other cheese varieties such as cheddar or provolone for additional flavor options.
Optional Ingredients and Their Potential Variations
While the core ingredients are essential for making delicious cheesy garlic breadsticks, there are several optional ingredients that can enhance the flavor and texture even further. Fresh herbs like parsley, basil, or oregano can be added to the dough or sprinkled on top before baking for an aromatic touch. Additionally, incorporating minced garlic into the dough or using garlic powder can intensify the garlic flavor throughout the breadsticks. For those who enjoy a bit of heat, red pepper flakes can be added to the cheese mixture for a spicy kick.
Step-by-Step Guide to Making Cheesy Garlic Delight Breadsticks
Now that we’ve covered the essential ingredients, let’s move on to the preparation process. Making Cheesy Garlic Delight Breadsticks is straightforward, and with these detailed steps, you’ll have a batch of warm, cheesy goodness ready in no time.
Detailed Preparation of Dough
1. Mixing Dry Ingredients: Start by gathering your dry ingredients in a large mixing bowl. This includes the all-purpose flour, instant yeast, salt, and any optional seasonings you may want to include. Whisk the dry ingredients together to ensure they are thoroughly combined, which allows for even distribution of flavors and proper activation of the yeast.
2. Adding Wet Ingredients: Once your dry ingredients are well mixed, create a well in the center and add the olive oil and warm water (ideally around 110°F or 43°C). The warm water is crucial as it activates the instant yeast, allowing the dough to rise effectively. Use a wooden spoon or spatula to mix the wet and dry ingredients until a shaggy dough starts to form.
Importance of Mixing Dry Ingredients Before Adding Wet
Mixing the dry ingredients before adding the wet ingredients is a key step in the bread-making process. This ensures that the yeast and salt are evenly distributed throughout the flour, preventing any clumps that could affect the dough’s rise and flavor. It also allows the flour to absorb moisture uniformly, leading to a better dough consistency.
Tips on Achieving the Perfect Dough Consistency
As you mix the ingredients, you may find that the dough is either too sticky or too dry. If the dough is too sticky, gradually add more flour, one tablespoon at a time, until it reaches the desired consistency. Conversely, if the dough feels too dry, add a small amount of warm water until it becomes soft and pliable. The goal is to achieve a dough that is slightly tacky but not overly sticky.
Kneading Techniques
Once your dough is well combined, it’s time to knead it. Kneading is an essential step that develops the gluten in the dough, giving it structure and elasticity. Transfer the dough onto a lightly floured surface and begin folding it over itself while pushing it down with the heel of your hand. Rotate the dough a quarter turn and repeat the process for about 8-10 minutes. The dough should become smooth and elastic.
Explanation of How to Knead and Recognize When the Dough is Ready
To determine if your dough is ready, perform the “windowpane test.” Take a small piece of dough and stretch it gently between your fingers. If it stretches thin enough to let light through without tearing, it’s ready to rise. If it tears easily, continue kneading for a few more minutes.
Importance of Letting the Dough Rise for Optimal Fluffiness
After kneading, shape the dough into a ball and place it in a lightly greased bowl, covering it with a damp cloth or plastic wrap. Allow the dough to rise in a warm, draft-free area for about 1 to 1.5 hours, or until it doubles in size. This rising period is crucial as it allows the yeast to ferment, producing air bubbles that create a light and fluffy texture in the finished breadsticks.
Shaping the Breadsticks
Once the dough has risen, it’s time to shape your breadsticks. Gently punch down the dough to release any trapped air and transfer it onto a floured surface. Divide the dough into equal portions based on your desired breadstick size. Roll each portion into a long, thin strip (about 1/2 inch thick) and place them on a parchment-lined baking sheet. Ensure there’s enough space between each breadstick to allow for further rising.
By following these steps, you will be well on your way to creating Cheesy Garlic Delight Breadsticks that are sure to impress. The combination of soft, fluffy bread with the rich flavors of cheese and garlic will make these an unforgettable addition to any meal or gathering. Stay tuned for the next part of this article, where we will delve into the baking process and share some tips for achieving the best results!
Techniques for Rolling Out the Dough and Cutting Strips
Once your dough has risen beautifully, it’s time to roll it out. Start by lightly flouring your work surface to prevent sticking. Gently punch down the dough to release any air bubbles, then shape it into a rough rectangle. Using a rolling pin, roll the dough into a rectangle that’s about ½ inch thick.
To cut the breadsticks into uniform strips, use a sharp knife or a pizza cutter. For traditional breadsticks, cut the rectangle into strips that are roughly 1 inch wide. If you want to get a little creative, consider shaping the strips into twists or knots. To create a twist, simply take one strip, hold each end, and twist it several times before placing it on the baking sheet. For a knot, tie the strip into a simple knot and tuck the ends underneath. These shapes not only enhance the visual appeal but also allow for more surface area for cheese and seasoning to cling to.
Flavoring and Baking the Breadsticks
Importance of Seasoning: Butter, Garlic Powder, and Oregano
Flavor is paramount in achieving delicious Cheesy Garlic Delight Breadsticks. Start by melting a generous amount of unsalted butter. Once melted, add in garlic powder and dried oregano, stirring to combine. This mixture will not only brush over the top of the breadsticks before baking but can also be drizzled over them post-bake for an added punch of flavor. The combination of garlic, butter, and oregano infuses the breadsticks with a savory depth that complements the cheesiness perfectly.
Proper Baking Temperature and Time
Preheat your oven to 375°F (190°C). This temperature is optimal for achieving a perfectly cooked interior while also ensuring that the exterior gets that desirable golden-brown finish. Once your breadsticks are shaped and placed on a lined baking sheet, brush them with the prepared garlic butter mixture.
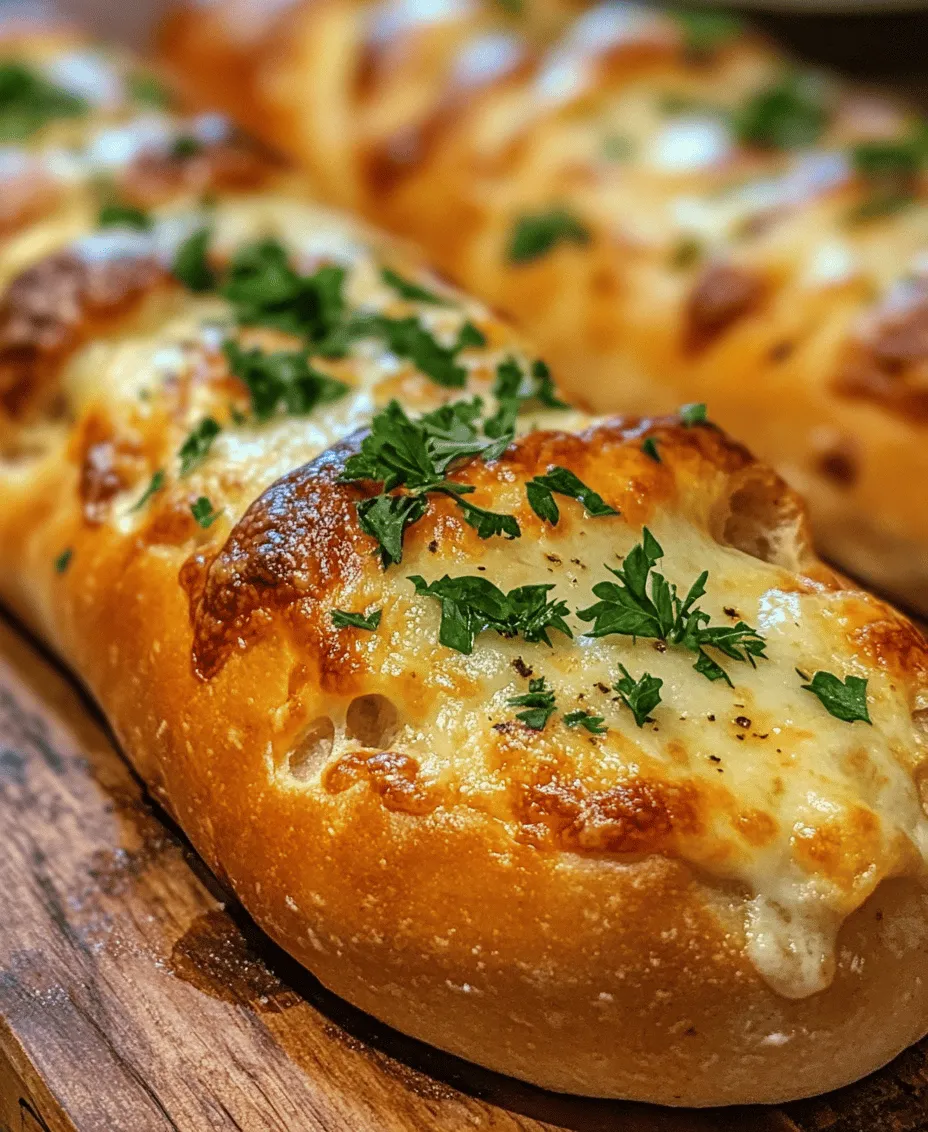
Bake the breadsticks for about 15-20 minutes, or until they are puffed up, golden, and the cheese is bubbly. Keep an eye on them, as oven temperatures can vary. The key is to watch for that golden hue and the aroma of baked garlic wafting through your kitchen.
How to Achieve That Golden Brown Crust and Bubbly Cheese
To achieve the ultimate golden brown crust, the key lies in both your baking technique and ingredients. The butter and cheese act as a natural browning agent. If you prefer an extra crispy top, consider broiling the breadsticks for the last 1-2 minutes of baking. Just be sure to keep a close watch to prevent burning.
Tips for Avoiding Common Baking Pitfalls
To avoid over-baking, set a timer for 15 minutes, and check the breadsticks. If they need more time, add it in small increments. Over-baking can lead to dry breadsticks, while under-baking can result in doughy centers.
Additionally, be cautious with the cheese. If you use a cheese that melts easily, like mozzarella, make sure it’s evenly distributed across the dough to prevent it from burning. Consider covering the breadsticks with aluminum foil for the first half of the baking process if you notice the cheese is browning too quickly.
Serving Suggestions
Best Dips and Sides to Accompany Cheesy Garlic Breadsticks
Cheesy Garlic Delight Breadsticks are perfect on their own, but they reach a whole new level when paired with the right dips. Marinara sauce is a classic choice, offering a tangy contrast to the savory breadsticks. Ranch dressing also makes for a creamy, cool complement, while a simple garlic butter dip can enhance the already rich flavors.
Ideal Occasions for Serving These Breadsticks
These breadsticks are incredibly versatile and fit a variety of occasions. They are perfect for family gatherings, where they can be served alongside pasta dishes or salads. Movie nights become even more enjoyable when you have a warm batch of cheesy breadsticks to snack on. For parties, they can serve as a delightful appetizer that guests will rave about, making them a staple at any gathering.
Nutritional Information
Overview of Nutritional Benefits of Homemade Breadsticks
Homemade Cheesy Garlic Delight Breadsticks not only taste incredible but also offer nutritional benefits that store-bought options often lack. When made at home, you have complete control over the ingredients, allowing you to choose high-quality flour, fresh herbs, and real cheese.
Comparison of Homemade Versus Store-Bought Options
Store-bought breadsticks often contain preservatives and additives that can detract from flavor and health. In contrast, homemade versions are free from these unnecessary ingredients, allowing for a cleaner, more wholesome snack. Additionally, you can adjust the levels of cheese and butter to suit your dietary needs.
Tips for Making the Recipe Healthier
If you’re looking to make the recipe a bit healthier, consider substituting some of the all-purpose flour with whole wheat flour to increase fiber content. You can also reduce the amount of cheese or use lower-fat cheese options. For a unique twist, try incorporating whole grains or adding finely chopped spinach or herbs into the dough for added nutrients.
Conclusion
Making Cheesy Garlic Delight Breadsticks at home is not only a rewarding culinary experience but also a delightful way to create cherished memories with family and friends. The satisfaction that comes from kneading dough, watching it rise, and finally indulging in the warm, cheesy goodness is unmatched.
This recipe offers endless possibilities for experimentation—try adding different herbs, cheeses, or even spices to customize the flavor to your liking. Whether you’re preparing for a cozy night in or hosting a gathering, these versatile breadsticks will surely impress. Embrace the joy of homemade cooking and enjoy your Cheesy Garlic Delight Breadsticks, a treat that everyone will love!
