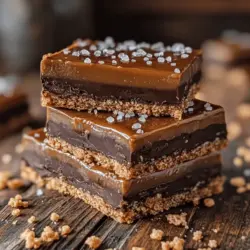

When it comes to dessert, few treats can compete with the irresistible allure of Caramel Chocolate Crunch Bars. These delectable bars meld the warmth of gooey caramel with the rich, creamy texture of chocolate, all while boasting a satisfying crunch. Whether you’re hosting a festive gathering, celebrating a family milestone, or simply satisfying your sweet tooth, these bars are sure to impress. Their versatility makes them a go-to recipe for any occasion, from potlucks to holiday parties, and they are always a hit among both kids and adults alike.
In this article, we will take you on a delightful journey through making your own Caramel Chocolate Crunch Bars. You will learn about the essential ingredients that contribute to their unique flavor and texture, followed by a step-by-step guide to preparing these mouthwatering treats. By the end, you’ll be equipped with all the knowledge to recreate this dessert at home, along with tips to enhance your serving experience.
Understanding the Ingredients
To create the perfect Caramel Chocolate Crunch Bars, it’s essential to understand the role each ingredient plays in achieving the balanced flavor and delightful texture that characterize this beloved dessert. Here’s a closer look at the main components:
Graham Cracker Crumbs
The foundation of our bars starts with graham cracker crumbs. These crumbs provide a sweet and crumbly crust that serves as the base. They bring a hint of honeyed flavor and a pleasant texture that contrasts beautifully with the gooey caramel and smooth chocolate layers. When combined with melted butter, they form a cohesive mixture that holds the bars together while adding a delightful crunch.
Rolled Oats
Next up are rolled oats, which add a heartiness to the bars. Not only do they contribute a chewy texture, but they also enhance the overall nutritional profile of the dessert. The oats help to absorb some of the moisture, ensuring that the bars don’t become overly soggy from the caramel and chocolate layers. Their subtle nuttiness complements the sweetness of the other ingredients perfectly.
Cocoa Powder
Cocoa powder is another vital ingredient, bringing a rich chocolatey essence to the recipe. It deepens the flavor profile and adds a dark, velvety layer to the bars. Using high-quality cocoa powder can elevate your dessert, enhancing the overall taste experience with its intense chocolate notes.
Brown Sugar
Brown sugar plays a crucial role in our recipe by adding moisture and a delightful caramel-like flavor. The molasses content in brown sugar imparts a rich, complex sweetness that harmonizes beautifully with the chocolate and caramel. It also helps to create a more fudgy texture, making each bite even more indulgent.
Unsalted Butter
Unsalted butter is essential for binding the ingredients together and contributes to the rich, creamy flavor of the bars. It melts into the mixture, ensuring that the crust holds its shape while providing that necessary fat for a decadent treat. Opting for unsalted butter allows you to control the saltiness of the final product, letting the sweetness shine through.
Vanilla Extract
Vanilla extract is the finishing touch that enhances the overall flavor profile of the bars. It adds a warm, aromatic note that rounds out the sweetness and complements the chocolate and caramel beautifully. Always choose pure vanilla extract for the best flavor; it makes a significant difference in baked goods.
Sea Salt
A sprinkle of sea salt might seem like an afterthought, but it plays a vital role in balancing the sweetness of the dessert. Just a pinch of sea salt elevates the flavors, bringing a delightful contrast that enhances the overall taste experience. It’s this balance that makes the bars truly irresistible.
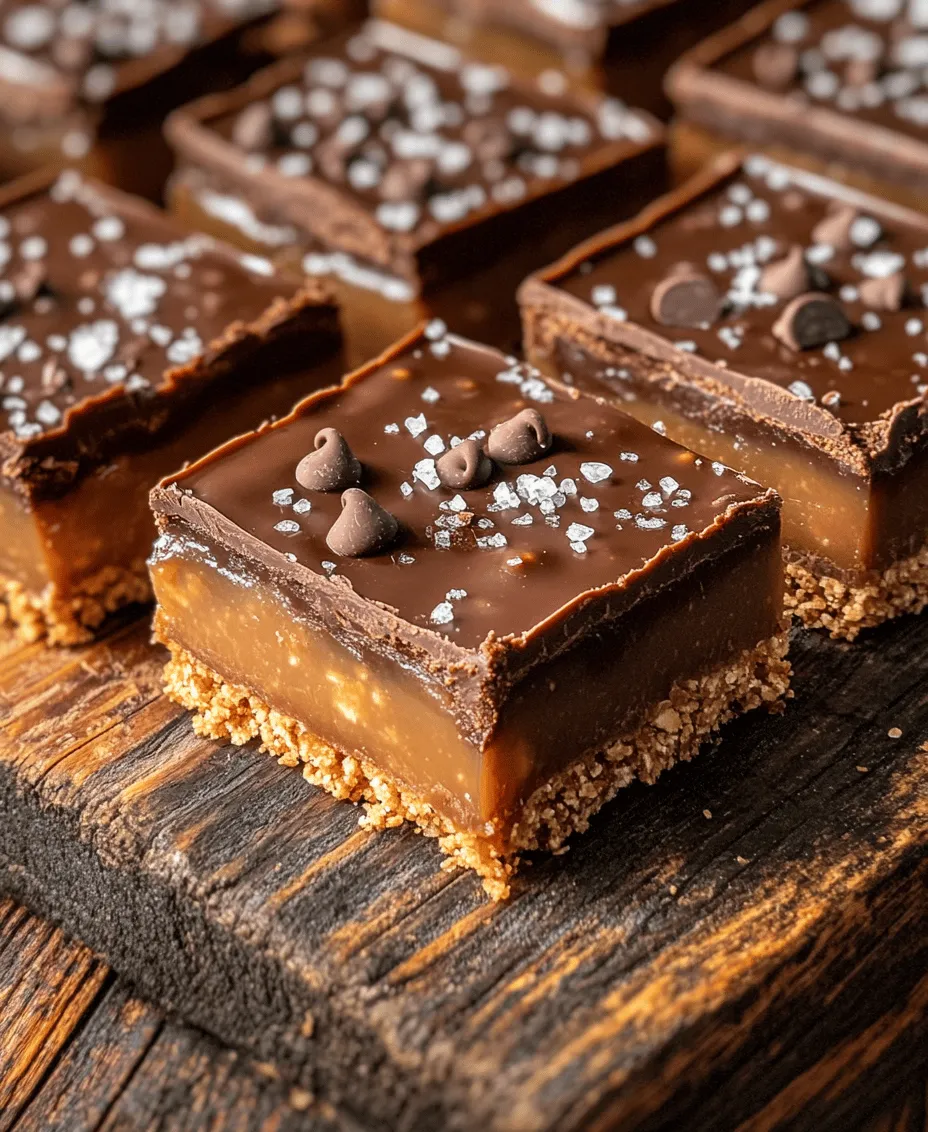
Milk Chocolate Chips
No chocolate dessert is complete without chocolate chips, and in this recipe, milk chocolate chips are the star. Their creamy, sweet profile adds rich chocolatey goodness, melting beautifully into the layers of the bars. You could also mix in dark or semi-sweet chocolate chips for a more intense chocolate flavor, depending on your preference.
Caramel Sauce
The choice between store-bought and homemade caramel sauce is yours. Homemade caramel offers a deep, buttery flavor that can take your bars to the next level, while store-bought versions provide convenience without sacrificing too much quality. Regardless of your choice, the caramel sauce creates a luscious, gooey layer that binds the chocolate and crispy rice cereal together.
Crispy Rice Cereal
Adding crispy rice cereal introduces a delightful crunch to the bars. These small, airy morsels provide texture and lightness, balancing the density of the chocolate and caramel layers. They contribute a fun, crispy element that makes each bite enjoyable and adds a satisfying crunch that contrasts with the creaminess of the other ingredients.
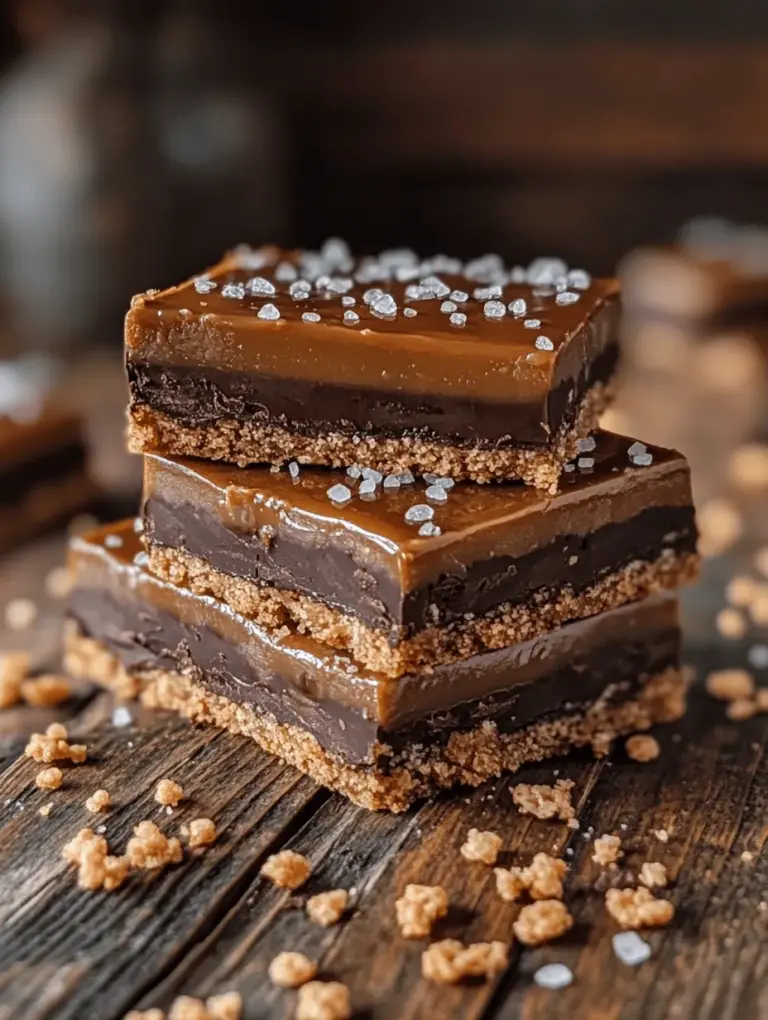
Sea Salt Flakes for Garnish
To finish off the bars, a light sprinkle of sea salt flakes adds a gourmet touch. Not only does it enhance the visual appeal, but it also brings an additional layer of flavor that complements the sweetness of the caramel and chocolate. This final touch transforms your homemade bars into a professional-looking dessert.
Preparation Steps for Caramel Chocolate Crunch Bars
Now that you understand the key ingredients that contribute to the deliciousness of Caramel Chocolate Crunch Bars, it’s time to dive into the preparation steps. Follow these detailed instructions to create your own batch of these mouthwatering treats.
1. Preheat Your Oven: Begin by preheating your oven to 350°F (175°C). This ensures that your bars will bake evenly and achieve the perfect texture.
2. Prepare the Baking Dish: Line a 9×13-inch baking dish with parchment paper, allowing some overhang on the sides for easy removal later. This step is crucial as it prevents the bars from sticking to the pan and makes it easier to lift them out once they’ve cooled.
3. Mix the Dry Ingredients: In a large mixing bowl, combine the graham cracker crumbs, rolled oats, cocoa powder, and brown sugar. Stir these ingredients together until they are well blended. This mixture forms the base of your bars, so make sure it’s evenly combined.
4. Combine the Wet Ingredients: In a separate bowl, melt the unsalted butter and allow it to cool slightly. Once cooled, mix in the vanilla extract. This step is important as adding the vanilla to hot butter can cause it to lose some flavor.
5. Create the Crust Mixture: Pour the melted butter mixture into the dry ingredients. Use a spatula or wooden spoon to mix everything together until the crumbs are moistened and resemble a wet sand consistency. The mixture should hold together when pressed but still be crumbly.
6. Layer the Crust: Press about two-thirds of the crust mixture evenly into the bottom of the prepared baking dish. Use your hands or the back of a measuring cup to pack it down firmly, ensuring it forms an even layer. This crust will act as the foundation for the layers of chocolate and caramel.
7. Add the Chocolate Chips: Sprinkle the milk chocolate chips evenly over the crust layer. Make sure to distribute them uniformly for even chocolate coverage throughout the bars. The chocolate will melt into the crust, creating a rich layer of flavor.
8. Drizzle with Caramel Sauce: Next, drizzle a generous amount of caramel sauce over the chocolate chips. If you’re using homemade caramel, ensure it’s warm and pourable. If you opted for store-bought, give it a quick warm-up in the microwave to make it easier to spread.
9. Top with Crispy Rice Cereal: Evenly sprinkle crispy rice cereal over the caramel layer, making sure to cover the entire surface. This will add that delightful crunch that contrasts so well with the creamy chocolate and gooey caramel.
10. Finish with Remaining Crust Mixture: Finally, take the reserved crust mixture and crumble it over the top of the cereal layer. This creates a topping that will bake into a beautiful, golden-brown crust. Press down gently to ensure it adheres to the layers below.
Following these steps will lead you to a delicious batch of Caramel Chocolate Crunch Bars that are not only visually appealing but also irresistibly tasty. Keep an eye on them as they bake, ensuring they achieve a perfectly golden hue.
In the next part of this article, we will explore baking times, cooling methods, and additional tips to serve your Caramel Chocolate Crunch Bars to perfection. Stay tuned to learn how to enjoy this indulgent treat to its fullest!
Importance of Pressing the Crispy Rice Cereal Mixture Firmly for the Top Layer
One crucial step in making the Caramel Chocolate Crunch Bars is ensuring that the crispy rice cereal mixture is pressed firmly into the pan. This step is essential for several reasons. First, a well-pressed layer provides a sturdy base for the bars, ensuring they hold together when cut into squares. If the mixture is loosely packed, the bars will crumble and fall apart, making them less enjoyable to eat.
To achieve the perfect texture, use a flat and sturdy tool, such as a spatula or the back of a measuring cup, to press down the mixture evenly. Aim for a thickness of about an inch, which will provide balance between crunch and chewiness. Once pressed, allow the base layer to set properly before adding the caramel and chocolate toppings. This foundational step is vital for ensuring the bars are not only delicious but also have a pleasing mouthfeel.
Baking Times and Signs of Doneness for Perfectly Cooked Bars
Baking the Caramel Chocolate Crunch Bars involves a careful balance of time and temperature. Generally, the bars should be baked at 350°F (175°C) for about 15 to 20 minutes. However, the exact baking time may vary depending on your oven and the thickness of your layers.
To check for doneness, look for a golden-brown color on the edges and a slight puffiness in the center. If the bars are still too soft or pale in color, allow them to bake for an additional few minutes, keeping a close eye to prevent over-baking. The result should be a chewy, slightly crispy texture that complements the caramel and chocolate layers.
Cooling Process and Cutting Techniques for Serving
Once the bars are baked to perfection, it’s crucial to let them cool completely before cutting. Allow them to sit in the pan for about 30 minutes at room temperature. This cooling process helps the bars firm up, making them easier to cut without crumbling.
When it’s time to cut, use a sharp knife for clean edges. For the best results, run the knife under hot water and wipe it dry before slicing – this technique helps prevent sticking. Cut the bars into squares or rectangles, depending on your serving preference. You can also dip the knife in hot water between cuts to ensure each slice is neat and tidy.
Baking Essentials and Tips
Importance of Proper Oven Temperature and Baking Times
Maintaining the correct oven temperature is key to achieving the desired texture and flavor in your Caramel Chocolate Crunch Bars. An oven thermometer can be a helpful tool to ensure your oven is calibrated correctly. If your oven runs hot, you might end up with burnt edges while leaving the center undercooked. Conversely, a cooler oven might result in overly chewy bars that lack that satisfying crunch.
To get the most accurate baking time, check the bars a few minutes before the suggested time. Every oven heats differently, so keeping a watchful eye can save you from potential baking mishaps.
Significance of Using Quality Ingredients for the Best Flavor
Using high-quality ingredients can significantly enhance the flavor and texture of your bars. Opt for fresh, organic ingredients whenever possible. For example, choose high-quality chocolate that you enjoy eating on its own, as it will be the star of the topping. Similarly, using real butter instead of margarine will add richness and depth to the flavor profile.
When it comes to the crispy rice cereal, look for varieties that do not contain artificial flavors or preservatives. The cleaner the ingredients, the better your final product will taste.
Tips for Ensuring Even Layering and Optimal Texture
Achieving even layers in your Caramel Chocolate Crunch Bars is vital for their overall texture and presentation. Here are a few tips to ensure that each layer is applied evenly:
1. Layer Gradually: When adding the caramel and chocolate layers, work slowly and spread them evenly across the surface of the bars.
2. Utilize Parchment Paper: Lining your pan with parchment paper can make it easier to lift the bars out once they’re cooled and cut. This will reduce the risk of uneven surfaces.
3. Patience is Key: Allow each layer to set slightly before adding the next. This helps prevent the layers from mixing together, which can affect texture and appearance.
Suggestions for Customizing the Bars
One of the best aspects of the Caramel Chocolate Crunch Bars is their versatility. Here are some suggestions for customization:
– Dark Chocolate Variation: Swap out milk chocolate for dark chocolate for a richer flavor that pairs well with the sweetness of the caramel.
– Incorporate Nuts: Add a handful of chopped nuts, such as almonds or pecans, into the crispy rice mixture for added crunch and flavor.
– Use Different Cereals: Experiment with different types of cereal, such as Cocoa Krispies or Honey Bunches of Oats, for a unique twist on the classic recipe.
Serving Suggestions
Creative Ideas for Serving Caramel Chocolate Crunch Bars at Gatherings
Caramel Chocolate Crunch Bars are a delightful treat for any gathering, be it a casual get-together or a formal event. Here are some creative serving ideas:
– Dessert Platter: Arrange the bars on a large platter alongside other desserts, such as cookies and brownies, for a visually appealing dessert table.
– Individual Wrapping: Wrap each bar in colorful parchment paper and tie with twine for a charming, homemade touch that guests can take home.
– Ice Cream Sundae Topping: Crumble the bars over scoops of ice cream for a decadent sundae inspired by the flavors of your treats.
Pairing Suggestions with Beverages
When serving Caramel Chocolate Crunch Bars, consider pairing them with beverages that complement their rich flavors:
– Coffee: A strong cup of coffee balances the sweetness of the bars beautifully.
– Tea: Enjoy the bars with a cup of herbal or chai tea for a cozy afternoon treat.
– Milk: Classic and comforting, a glass of cold milk is a timeless pairing that enhances the flavor of the chocolate and caramel.
Presentation Tips for Making the Bars Visually Appealing
Presentation can elevate the experience of enjoying your Caramel Chocolate Crunch Bars. Here are some tips to make them visually stunning:
1. Garnish with Sea Salt: A sprinkle of flaky sea salt on top of the chocolate layer adds a gourmet touch and enhances flavor.
2. Drizzle with Extra Chocolate: Use a piping bag to drizzle melted chocolate over the bars for an elegant finish.
3. Add Fresh Fruit: Serve the bars with fresh strawberries or raspberries on the side for a pop of color and freshness.
Storing and Preserving Caramel Chocolate Crunch Bars
Best Practices for Storing Leftovers to Maintain Freshness and Texture
To keep your Caramel Chocolate Crunch Bars fresh, store them in an airtight container at room temperature. If you have leftover bars, make sure they have cooled completely before placing them in the container, as residual heat can create condensation and make the bars soggy.
For optimal freshness, consider placing a layer of parchment paper between the bars to prevent them from sticking together.
Information on Freezing the Bars for Later Enjoyment
If you want to extend the life of your Caramel Chocolate Crunch Bars, freezing is an excellent option. To freeze, cut the bars into squares and wrap each piece tightly in plastic wrap. Place the wrapped bars in a freezer-safe container or zip-top bag, making sure to remove as much air as possible. They can be frozen for up to three months.
When you’re ready to enjoy them, simply remove the desired number of bars from the freezer and let them thaw at room temperature for about 30 minutes. This method will help retain their texture and flavor.
Discussion on Shelf Life and Signs of Staleness
When stored properly, Caramel Chocolate Crunch Bars can last for about a week at room temperature. However, if you notice any changes in texture or flavor, such as a hard or stale taste, it’s a sign they’ve gone bad. Always trust your senses; if the bars smell off or have an unusual appearance, it’s best to discard them.
Nutritional Information
Overview of the Nutritional Aspects of the Ingredients Used in the Recipe
Understanding the nutritional components of your Caramel Chocolate Crunch Bars can help you enjoy them more mindfully. Here’s an overview of the key ingredients:
– Crispy Rice Cereal: Low in calories but high in carbohydrates, providing a quick energy boost.
– Chocolate: Dark chocolate contains antioxidants and may offer heart health benefits, while milk chocolate adds a touch of sweetness.
– Caramel: While delicious, it does contain sugar, so moderation is key.
– Butter: Adds richness and flavor; using unsalted butter allows you to control the saltiness of the bars.
Discussion on Portion Control and Modifications for Healthier Alternatives
For those looking to enjoy these bars with a healthier twist, consider the following modifications:
– Reduce Sugar: Use less caramel or opt for a sugar-free version if available.
– Substitute Ingredients: Use whole grain cereal or nut-based alternatives for added fiber and protein.
– Portion Size: Cut the bars into smaller pieces to help control portions while still enjoying the flavor.
Conclusion
Caramel Chocolate Crunch Bars are a delightful fusion of flavors and textures that make for a perfect treat any time of the year. Their versatility allows for endless customization, ensuring that each batch can be uniquely tailored to suit your taste or the occasion. Whether you’re serving these bars at a gathering, enjoying them as an afternoon snack, or sharing them with friends and family, the joy of making and savoring homemade treats is truly unparalleled.
We encourage you to try this recipe, experiment with your own variations, and share your experiences with others. The process of baking can be an incredibly rewarding adventure, bringing together loved ones and creating sweet memories that last long after the last bite. Happy baking!