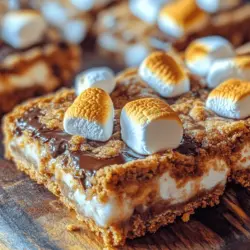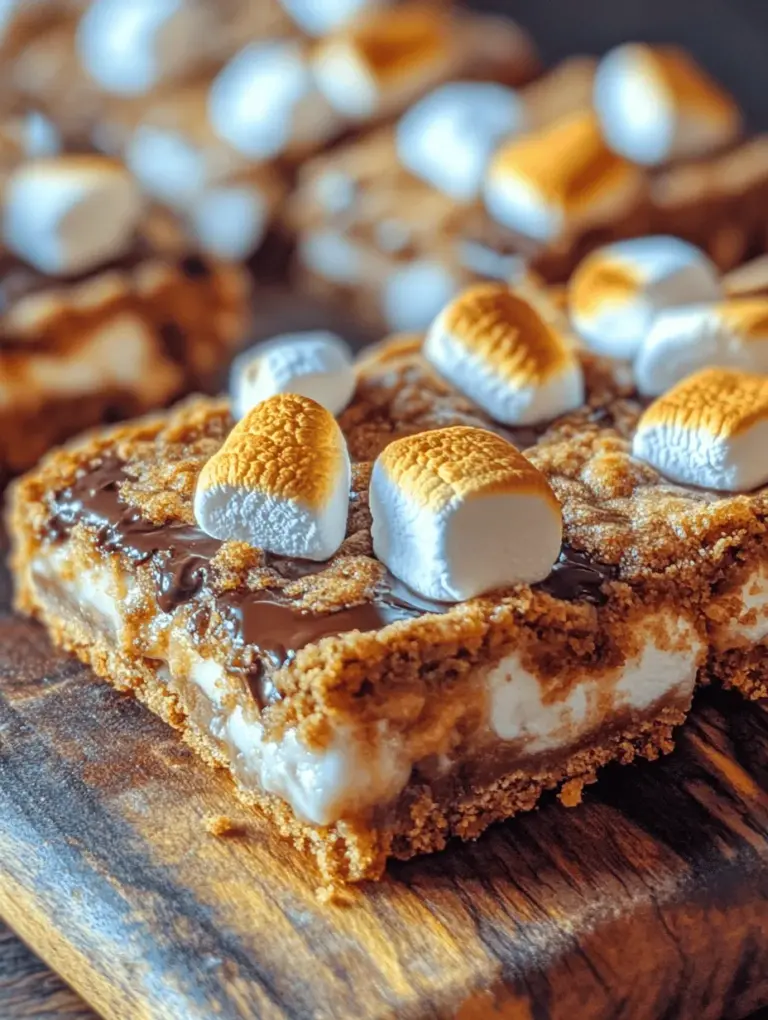
Discover the delightful combination of classic s’mores and cookie bars in this easy-to-follow recipe for S’more Cookie Bars. These decadent treats are perfect for gatherings, potlucks, or a cozy night in, and they promise to please both kids and adults alike. The sweet, gooey layers of chocolate, marshmallows, and graham cracker crumbs encapsulate the essence of the beloved campfire treat, transforming it into a delightful bar form. In this article, we will take you through the essential ingredients, preparation steps, and baking process to help you create this indulgent dessert from scratch. Let’s dive into the world of S’more Cookie Bars and discover how to whip up this sweet treat that will leave everyone clamoring for more.
Understanding S’mores: A Brief History
S’mores are a quintessential American treat that has become synonymous with campfire gatherings and summertime fun. The name “s’more” is a contraction of “some more,” as these delicious snacks have a way of keeping people coming back for seconds (and thirds!). The origins of s’mores can be traced back to the early 20th century when they were first documented in a recipe published in a Girl Scouts of America publication in 1927. The original recipe called for toasted marshmallows, chocolate, and graham crackers, a combination that quickly gained popularity in outdoor settings.
Over the decades, s’mores have evolved in popular culture, becoming a staple at camping trips, backyard bonfires, and summer parties. The simplicity of roasting marshmallows over an open flame and sandwiching them between graham crackers and chocolate bars has made s’mores not only a delicious treat but also an experience that brings people together. In recent years, the love for s’mores has transcended the campfire, inspiring a myriad of creative variations, from cupcakes and cheesecakes to the decadent S’more Cookie Bars we will be making today.
S’mores capture the essence of childhood nostalgia and the joy of outdoor adventures, making them a beloved treat for generations. Whether enjoyed by a crackling fire or served as a delightful dessert, s’mores evoke warm memories and a sense of togetherness. With these S’more Cookie Bars, you can bring that same joy into your home, allowing the sweet flavors of chocolate, marshmallows, and graham crackers to be enjoyed anytime.
Ingredients Breakdown
Creating S’more Cookie Bars requires a handful of key ingredients that contribute to the unique flavor and texture of this delightful dessert. Let’s take a closer look at each component and its role in the recipe:
– Unsalted Butter: The foundation of any good cookie bar, unsalted butter adds richness and moisture. It’s crucial to use softened butter to ensure it creams well with the sugars, leading to a light and fluffy texture.
– Sugars: A combination of brown sugar and granulated sugar is used in this recipe. Brown sugar adds a hint of caramel flavor and moisture, while granulated sugar contributes to the sweetness and crispiness of the edges.
– Eggs: Eggs act as a binding agent, holding the ingredients together and providing moisture. They also help contribute to the overall structure of the cookie bars.
– Vanilla Extract: A splash of vanilla extract enhances the overall flavor profile, giving the cookie bars a warm and inviting aroma that complements the sweetness of the chocolate and marshmallows.
– All-Purpose Flour: The backbone of the cookie bar base, all-purpose flour provides structure and stability. Be sure to measure it accurately to achieve the perfect texture.
– Baking Soda and Salt: These ingredients serve dual purposes; baking soda acts as a leavening agent that helps the cookie bars rise, while salt enhances the flavors, balancing the sweetness.
– Graham Cracker Crumbs: To capture the authentic taste of s’mores, graham cracker crumbs are incorporated into the dough. They add a delightful crunch and a hint of sweetness that is characteristic of traditional s’mores.
– Chocolate Chips and Marshmallows: The star ingredients of s’mores, chocolate chips bring a rich, melty goodness, while mini marshmallows provide that signature gooey texture. Together, they create the irresistible filling of the cookie bars.
– Toppings: For added flair, consider using more chocolate chips, crushed graham crackers, or a drizzle of melted chocolate on top of the bars before serving. This not only enhances the presentation but also elevates the overall flavor experience.
Preparation Steps Explained
Now that we have a clear understanding of the essential ingredients, let’s walk through the initial preparation steps to ensure your S’more Cookie Bars turn out perfectly.
Preheating the Oven
Before diving into the mixing and baking process, it is crucial to preheat your oven to 350°F (175°C). Preheating the oven ensures that the cookie bars cook evenly and achieve the desired texture. If the oven isn’t preheated, the bars may not rise properly, resulting in a dense and undercooked final product.
Greasing and Lining the Baking Dish
To facilitate easy removal of the cookie bars once baked, grease a 9×13-inch baking dish with a bit of butter or cooking spray. For an extra measure of security, line the dish with parchment paper, leaving some overhang on the sides. This will allow you to lift the cooled bars out of the pan without any hassle, ensuring perfect squares every time.
Creaming the Butter and Sugars
In a large mixing bowl, combine the softened unsalted butter, brown sugar, and granulated sugar. Using an electric mixer, cream the mixture on medium speed until it becomes light and fluffy, which usually takes about 2-3 minutes. This step is critical as it incorporates air into the batter, contributing to the lightness and texture of the cookie bars.
Incorporating Eggs and Vanilla
Next, add the eggs, one at a time, mixing well after each addition. This ensures that the eggs are fully incorporated into the batter, providing the necessary binding and moisture. Once the eggs are mixed in, add the vanilla extract and continue to beat until the mixture is smooth and well combined.
By following these steps, you are well on your way to creating delicious S’more Cookie Bars that are sure to be a hit at your next gathering or family night. Stay tuned for the next section, where we will delve into the addition of the dry ingredients, layering the gooey filling, and the baking process that brings these bars to life.
Combining Dry Ingredients: The Science Behind Mixing for Optimal Results
To create the perfect S’more Cookie Bars, it’s essential to understand the role of dry ingredients in baking. Begin by sifting together the flour, baking soda, and a pinch of salt in a medium bowl. This step is not merely for aesthetics; sifting helps to aerate the flour, ensuring that it is light and free from lumps. The baking soda acts as a leavening agent, providing the necessary lift for your bars, while the salt enhances the overall flavor profile.
When mixing dry ingredients, it is critical to ensure that the baking soda is evenly distributed throughout the flour. This will prevent any clumps from forming, which could lead to uneven rising during baking. Use a whisk to combine the ingredients thoroughly, creating a uniform mixture that can be seamlessly incorporated into the wet ingredients later on.
Folding in Chocolate and Marshmallows: Techniques for Even Distribution
Once your dry ingredients are ready, it’s time to incorporate the chocolate chips and marshmallows into the cookie dough. To maintain the integrity of your cookie bars and prevent the chocolate from melting too much, use a gentle folding technique. Start by adding your chocolate chips and mini marshmallows into the wet ingredients first, allowing them to coat slightly with the batter.
Using a spatula, lift the batter from the bottom of the bowl and fold it over the chocolate and marshmallows. Rotate the bowl as you fold to ensure that all ingredients are evenly distributed without over-mixing. This technique not only helps maintain the texture of the chocolate and marshmallows but also ensures that each bite of your S’more Cookie Bars is filled with delicious gooeyness.
Spreading the Mixture: Ensuring Even Baking and Texture
With your batter well-mixed, it’s time to spread it into the prepared baking dish. Use a spatula to transfer the mixture into a greased or parchment-lined 9×13 inch baking pan. To achieve an even texture, start from the center and work your way outwards, gently pushing the batter to the edges. Aim for an even thickness across the pan, as this will help the bars bake uniformly.
If the batter is sticky, lightly dampen your fingertips to help spread it without sticking. Make sure to press down slightly to eliminate any air pockets, which can lead to uneven baking. A well-distributed mixture will result in perfectly baked bars with a consistent texture throughout.
Adding Toppings: Best Practices for a Beautiful Finish
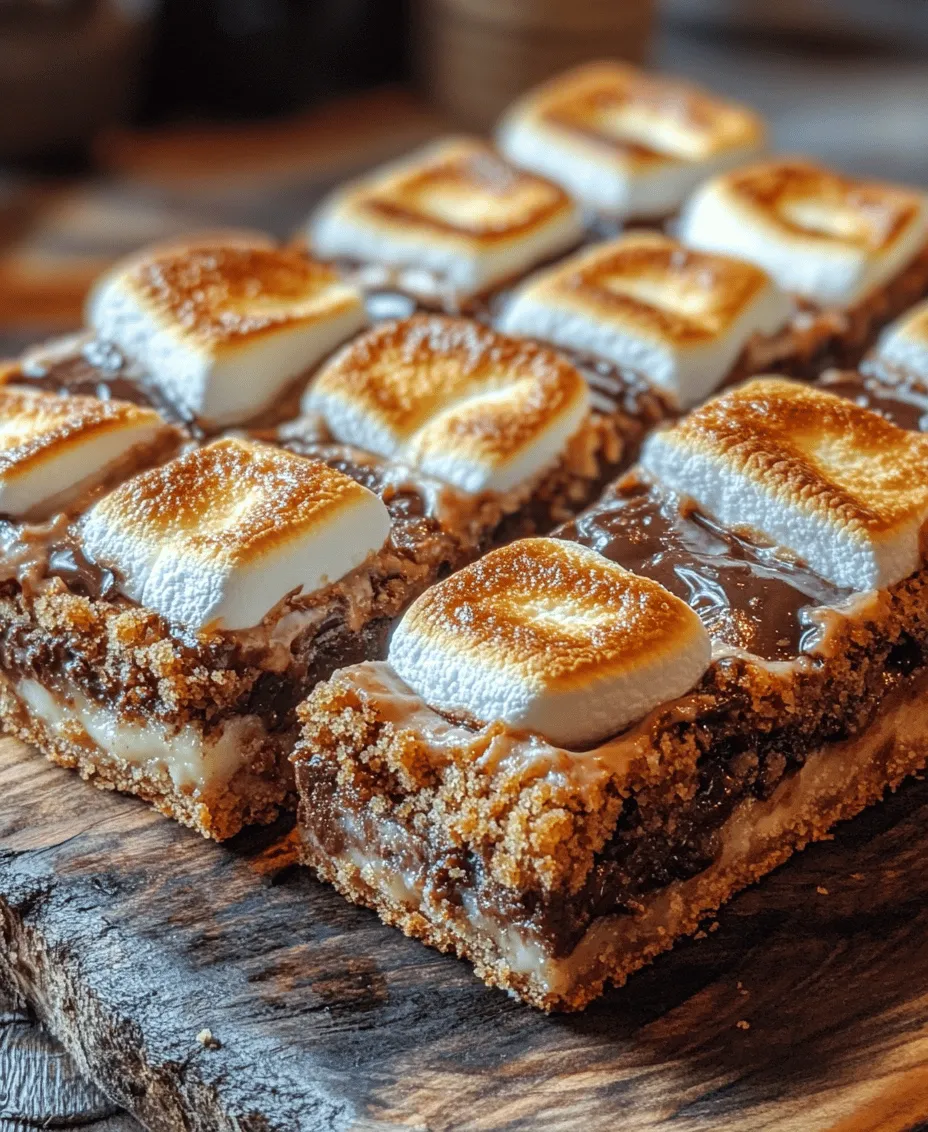
Before placing your S’more Cookie Bars in the oven, consider adding a few extra toppings for that picture-perfect finish. A handful of chocolate chips and mini marshmallows sprinkled on top will not only enhance the visual appeal but also contribute to the gooey, melty texture that defines a good S’more.
For an added touch, consider drizzling a bit of melted chocolate over the top once the bars have cooled. This not only elevates the presentation but also adds to the chocolatey goodness. Additionally, you can sprinkle crushed graham crackers over the top for a delightful textural contrast that echoes the traditional s’more experience.
Baking Your S’more Cookie Bars
Understanding baking times and temperatures is crucial to achieving the perfect S’more Cookie Bars. Preheat your oven to 350°F (175°C) and ensure that it is fully heated before placing the pan inside. Bake the bars for approximately 20-25 minutes.
Signs to Look for to Determine Doneness
As the bars bake, keep an eye on the edges, which will turn a golden brown. The center should look set but slightly soft to the touch. The key is to avoid overbaking, as S’more Cookie Bars should be chewy rather than dry.
How to Test with a Toothpick for Perfect Results
To ensure your bars are perfectly baked, use a toothpick to test for doneness. Insert it into the center of the pan; it should come out with a few moist crumbs attached but not wet batter. If the toothpick comes out clean, your bars may be overbaked, so it’s best to err on the side of caution.
Cooling and Serving Suggestions
Once your S’more Cookie Bars are baked to perfection, remove them from the oven and let them cool in the pan for at least 15-20 minutes.
The Importance of Cooling: Achieving the Right Texture
Cooling is crucial in achieving the right texture. If you cut the bars too soon, they may crumble and fall apart. Allow them to set at room temperature to firm up, which will make slicing easier and ensure that every piece holds its shape.
How to Cut and Store Cookie Bars for Optimal Freshness
To cut the bars, use a sharp knife and make clean, even cuts. For best results, run the knife under hot water and dry it before cutting, as this will help prevent sticking. You can store any leftover bars in an airtight container at room temperature for up to a week, or in the refrigerator for longer freshness.
Serving Ideas: Pairing with Milk, Coffee, or Ice Cream
S’more Cookie Bars are delightful on their own, but they can be enhanced with a variety of serving suggestions. Pair them with a cold glass of milk for a nostalgic combination. Alternatively, serving them warm alongside a scoop of vanilla ice cream creates a decadent dessert experience that is hard to resist. For adults, a rich coffee complements the sweetness of the bars beautifully, making it a perfect after-dinner treat.
Nutritional Information
Understanding the nutritional value of your S’more Cookie Bars can help you enjoy them responsibly.
Caloric Breakdown of S’more Cookie Bars
Each bar contains approximately 200 calories, depending on the specific ingredients used and portion sizes. This caloric count includes the contributions from the graham crackers, sugar, butter, and chocolate.
Understanding Serving Sizes and Portion Control
When indulging in desserts, portion control is key. Consider cutting the bars into smaller squares if serving at a gathering to ensure everyone can enjoy a taste without overindulging.
Balancing Indulgence with Nutritional Awareness
While S’more Cookie Bars are a treat, they can be enjoyed in moderation as part of a balanced diet. Consider complementing them with healthier options, such as fresh fruit, to create a more balanced dessert platter.
Variations and Customizations
One of the best aspects of baking is the ability to customize recipes to suit your tastes.
Exploring Different Chocolate Options (Dark, Milk, or White Chocolate)
Feel free to experiment with different types of chocolate. Dark chocolate offers a rich, intense flavor that pairs beautifully with the sweetness of the cookie dough. Milk chocolate can provide a creamier texture, while white chocolate adds a sweet twist that contrasts nicely with the graham cracker base.
Adding Nuts or Fruits for an Extra Twist
For added texture and flavor, consider folding in chopped nuts like walnuts or pecans, or even dried fruits like cranberries or cherries. These additions can elevate your S’more Cookie Bars and provide a unique touch.
Gluten-Free Alternatives: Adapting the Recipe for Dietary Needs
If you’re catering to gluten-free diets, substituting traditional flour with a gluten-free blend can yield delicious results. Be sure to check that your graham crackers and chocolate are also gluten-free to keep the entire recipe compliant.
Conclusion
S’more Cookie Bars are a delightful treat that brings together the beloved flavors of s’mores in a convenient bar format. With a straightforward recipe and accessible ingredients, these bars are perfect for any occasion. Whether enjoyed warm from the oven or at room temperature, they are sure to become a favorite in your dessert repertoire. Embrace the joy of baking and treat yourself and your loved ones to these scrumptious S’more Cookie Bars. With the right techniques, tips, and a bit of creativity, you can create a dessert that not only satisfies your sweet tooth but also impresses everyone who has the privilege of tasting them.