Introduction
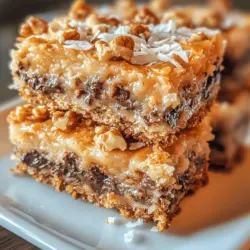
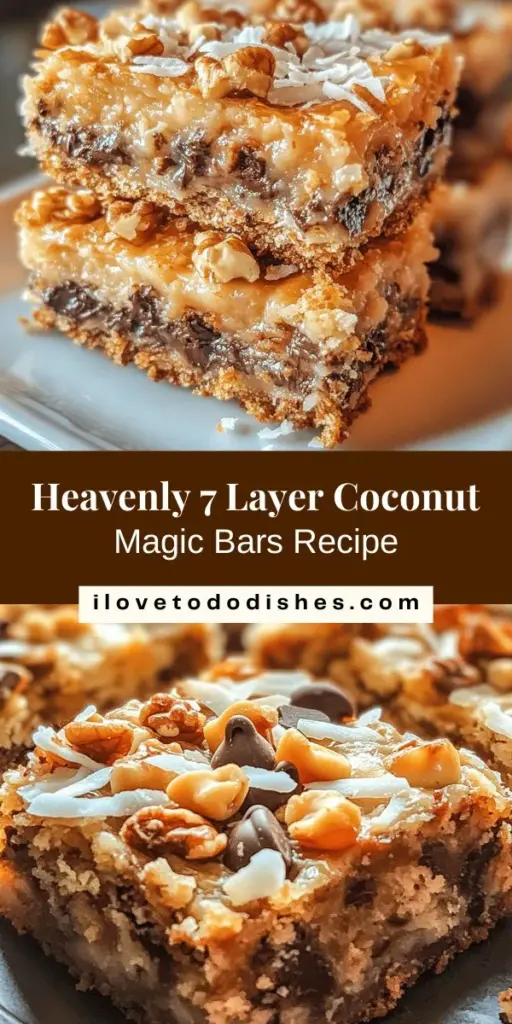
Coconut Magic Bars, also known as Seven Layer Bars, are a delightful dessert that brings together the best of both worlds: a chewy, rich base and a symphony of sweet toppings. These bars are not only visually stunning with their multiple layers but also offer an explosion of flavors and textures that is sure to please any sweet tooth. The combination of crunchy, creamy, and chewy elements makes every bite a delightful experience, transforming simple ingredients into a luscious treat.
What makes Coconut Magic Bars particularly appealing is their versatility. Whether you’re hosting a festive gathering, a cozy family dinner, or simply indulging in a sweet snack at home, these bars fit the bill perfectly. They are a crowd-pleaser at birthday parties, holiday celebrations, potlucks, or even as a delicious everyday dessert. This recipe showcases how a few pantry staples can come together to create a show-stopping dessert that will leave your guests asking for seconds.
The Allure of 7 Layer Coconut Magic Bars
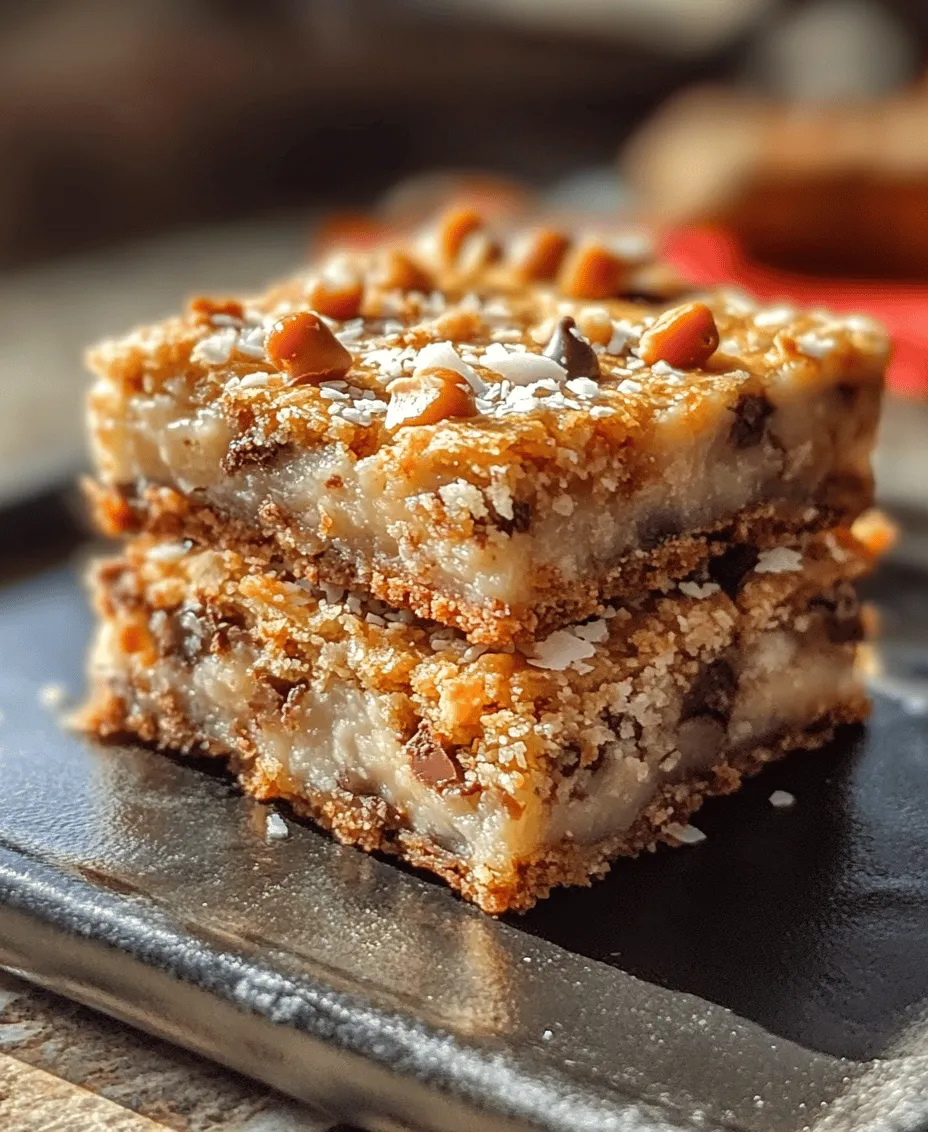
What sets the 7 Layer Coconut Magic Bars apart from other desserts is their unique construction. Each layer contributes its own distinct flavor and texture, culminating in a harmonious blend that is both satisfying and indulgent. At the base, a buttery graham cracker crust provides a sturdy foundation with a hint of sweetness. Then, a layer of sweetened shredded coconut adds a tropical flair, creating a chewy texture that contrasts beautifully with the crunchiness of the nuts sprinkled throughout.
The magic truly happens with the next layers: semi-sweet chocolate chips and butterscotch chips that melt together, creating a rich and decadent topping. The balance of flavors—sweet chocolate mingling with the caramel notes of butterscotch—makes every bite a treat. To top it all off, a drizzle of sweetened condensed milk binds the layers together, ensuring that each bar is moist and flavorful. A sprinkle of sea salt enhances the sweetness and rounds out the flavor profile, making these bars impossible to resist.
These bars also evoke a sense of nostalgia for many, reminiscent of family gatherings and childhood bake sales. They are often associated with warm memories of baking in the kitchen with loved ones, sharing stories, and enjoying laughter over a plate of homemade treats. The 7 Layer Coconut Magic Bars are more than just a dessert; they represent moments of joy and connection that are cherished.
Ingredients Breakdown
To create the perfect batch of 7 Layer Coconut Magic Bars, it’s essential to understand the role each ingredient plays in the recipe. Here’s a breakdown of the key components:
Graham Cracker Crumbs
Graham cracker crumbs form the base of the bars, providing a crunchy texture and a hint of sweetness that complements the richer layers above. The buttery flavor of the crumbs enhances the overall taste, making it a satisfying foundation for the other ingredients. When mixed with melted butter, the crumbs create a crumbly, cohesive crust that holds the layers together beautifully.
Unsalted Butter
Butter is a crucial ingredient in this recipe, as it binds the graham cracker crumbs into a sturdy crust. Unsalted butter is preferred to allow for better control over the overall saltiness of the bars. The richness of the butter adds depth of flavor, ensuring that the crust is not only crunchy but also flavorful.
Sweetened Shredded Coconut
Sweetened shredded coconut is the star of the show, providing a chewy texture and a tropical sweetness that elevates the bars. The coconut adds a delightful flavor that pairs well with the chocolate and butterscotch layers. Its unique texture contrasts with the creaminess of the melted chips, creating a satisfying mouthfeel that makes these bars irresistible.
Semi-sweet and Butterscotch Chips
The combination of semi-sweet chocolate chips and butterscotch chips is what truly makes these magic bars special. The semi-sweet chocolate brings a rich, deep flavor that balances the sweetness of the butterscotch chips. Together, they create a melting layer that adds to the overall lusciousness of the bars. The chips also provide little pockets of sweetness that burst in your mouth, making every bite a delightful surprise.
Sweetened Condensed Milk
Sweetened condensed milk serves as a binding and sweetening agent in the recipe. It not only helps to hold the layers together but also adds a creamy texture that enhances the richness of the bars. The milk seeps into each layer, ensuring that the bars remain moist and flavorful throughout.
Chopped Nuts
Chopped nuts, such as walnuts or pecans, add a delightful crunch and nutty flavor to the bars. They provide an additional layer of texture that contrasts beautifully with the chewy coconut and creamy chips. Nuts can be a personal choice, allowing for customization based on your preferences or dietary restrictions.
Sea Salt
While it may seem counterintuitive to add salt to a sweet dessert, a sprinkle of sea salt is essential for balancing the sweetness of the bars. The salt enhances the flavors of the chocolate and butterscotch, creating a more complex and satisfying taste. It also provides a delightful contrast to the sugary elements, making each bite even more enjoyable.
Preparation Steps for Perfect Magic Bars
Now that we’ve gathered all the essential ingredients, let’s dive into the preparation of these delicious 7 Layer Coconut Magic Bars. Follow these detailed, step-by-step instructions for creating the perfect batch:
1. Preheat Your Oven: Start by preheating your oven to 350°F (175°C). This ensures that your bars will bake evenly and achieve the perfect texture.
2. Prepare the Baking Pan: Grease a 9×13 inch baking dish with cooking spray or line it with parchment paper for easy removal of the bars once baked. If using parchment paper, allow some overhang on the sides for easy lifting.
3. Make the Graham Cracker Crust: In a mixing bowl, combine 2 cups of graham cracker crumbs with ½ cup of melted unsalted butter. Stir until the crumbs are fully coated and the mixture resembles wet sand. Press this mixture firmly into the bottom of the prepared baking dish to create an even layer. A flat measuring cup can help to compact the crust nicely.
4. Bake the Crust: Place the baking dish in the preheated oven and bake the graham cracker crust for about 8-10 minutes, or until it is lightly golden and fragrant. Keep an eye on it to prevent burning, as the crust will continue to cook once you add the layers.
5. Add the Coconut Layer: Remove the crust from the oven and sprinkle 1 ½ cups of sweetened shredded coconut evenly over the baked crust. Spread it out gently to ensure even coverage.
6. Sprinkle the Chocolate and Butterscotch Chips: Next, add 1 cup of semi-sweet chocolate chips and 1 cup of butterscotch chips over the coconut layer. Feel free to adjust the quantities based on your preference for chocolate or butterscotch.
7. Drizzle the Sweetened Condensed Milk: Pour 1 can (14 ounces) of sweetened condensed milk over the chocolate and butterscotch chips, ensuring that the milk seeps into all the layers. You can use a spatula to spread it evenly.
8. Add Chopped Nuts: Sprinkle 1 cup of chopped nuts (walnuts or pecans) on top of the condensed milk layer. Press them down gently to ensure they adhere to the mixture.
9. Finish with Sea Salt: Lastly, sprinkle a light pinch of sea salt over the top of the bars. This will enhance the flavors and finish the dish beautifully.
10. Bake the Bars: Return the baking dish to the oven and bake for an additional 25-30 minutes, or until the edges are golden and the center is set. The bars should be bubbly and fragrant.
11. Cool Completely: Once baked, remove the dish from the oven and allow the bars to cool in the pan for at least 30 minutes. This cooling step is critical for the bars to firm up before cutting.
By following these steps, you will create a batch of 7 Layer Coconut Magic Bars that are not only delicious but also visually appealing. The combination of textures and flavors will make these bars a standout dessert for any occasion, enticing everyone to take a bite. Stay tuned for more insights and tips on perfecting your magic bars in the next part of this article.
Proper Mixing and Layering Techniques
When preparing your 7 Layer Coconut Magic Bars, the way you mix and layer the ingredients is crucial to achieving the perfect texture and flavor. Start by ensuring that your ingredients, especially the butter, are at room temperature, which allows for better mixing. In a mixing bowl, cream together the melted butter and sugars until the mixture is smooth and fluffy. This step not only combines the ingredients but also incorporates air, which contributes to the final product’s lightness.
Once your base layer is ready, it’s time to focus on the layering process. Begin by evenly pressing the crust mixture into the bottom of your prepared baking pan. Use the back of a measuring cup or a spatula to ensure the layer is compact and uniform. This helps prevent uneven baking, which can lead to a soggy crust. Follow up by layering your chocolate chips, coconut flakes, and nuts in a manner that each layer is evenly distributed across the surface. The art of layering is essential; it ensures that every bite is loaded with the rich flavors and textures you desire.
Preheating the Oven and Baking Time
Don’t underestimate the importance of preheating your oven. Preheating ensures that your bars bake evenly from the moment they enter the oven. Set your oven to 350°F (175°C) at least 15 minutes before placing your bars inside. This temperature is optimal for achieving the golden color and chewy texture that characterize perfect coconut bars.
Baking time is equally important. While the recommended baking time is approximately 25-30 minutes, every oven is different. Keep a close eye on your bars as they approach the end of the baking time. Look for visual cues such as golden edges and a bubbly top. These indicators signal that your bars are nearing completion. If the edges are golden and the center is still slightly soft, remove them from the oven. They will continue to firm up as they cool.
Baking and Cooling: Key to Texture
Cooling is an often-overlooked step in baking that can dramatically influence the final product. Allow your 7 Layer Coconut Magic Bars to cool in the pan on a wire rack for at least 30 minutes. This cooling time is essential for achieving the right texture; it allows the bars to set properly, making them easier to cut into neat squares.
When you skip this cooling step, you risk ending up with messy, crumbly bars that fall apart when you try to cut them. The cooling process allows the layers to bond and hold their shape, ensuring that each piece maintains its integrity. Remember that the baking time and temperature directly impact the final texture. If you bake them for too long, you may end up with dry bars, while underbaking can lead to a gooey mess. Strive for that perfect middle ground for optimal results.
Serving Suggestions and Variations
Once your 7 Layer Coconut Magic Bars have cooled and set, it’s time to enjoy them! These bars are incredibly versatile and can be served in various delightful ways. For a special treat, consider serving them warm with a scoop of vanilla ice cream or a dollop of whipped cream. The combination of warm, chewy bars with cold ice cream creates a delicious textural contrast that is hard to resist.
You can also get creative with variations to suit your taste. Try adding chopped dried fruits like apricots or cranberries for a fruity twist. If you prefer a richer flavor, consider using dark chocolate chips instead of semi-sweet, which will deepen the overall taste profile. For an extra crunch, sprinkle additional nuts on top before baking or incorporate different types of nuts like pecans or macadamia nuts.
Pairing your bars with beverages can elevate your dessert experience. A cup of freshly brewed coffee complements the sweetness beautifully, while a soothing cup of tea can provide a lovely contrast. Alternatively, a cold glass of milk is a classic choice that appeals to both children and adults alike.
Storage and Shelf Life of Coconut Magic Bars
Proper storage of your 7 Layer Coconut Magic Bars is essential to maintaining their freshness. After they have cooled completely, cut the bars into squares and store them in an airtight container. This will help keep them from drying out and protect them from absorbing unwanted odors from the refrigerator.
When stored properly, these bars can last up to a week at room temperature. If you want to extend their shelf life, consider freezing them. To freeze, wrap the bars individually in plastic wrap and then place them in a freezer-safe bag or container. They can be stored in the freezer for up to three months. When you’re ready to enjoy them, simply thaw them at room temperature or pop them in the microwave for a few seconds for a quick warm-up.
Interestingly, the flavors of these bars may develop and deepen over time, making them even more enjoyable after a day or two. So don’t be discouraged if you have leftovers; they might surprise you with their enhanced taste.
Nutritional Information
For those mindful of their dietary choices, here’s a brief overview of the nutritional information for a standard serving of 7 Layer Coconut Magic Bars. Each serving contains approximately 220 calories, comprising 10 grams of fat, 30 grams of carbohydrates, and 2-3 grams of protein, depending on the specific ingredients used.
It’s important to note that if you are adhering to specific dietary restrictions, there are options to modify this recipe. For instance, you can substitute regular flour with gluten-free flour blends to create a gluten-free version of these delicious bars. There are also lower-calorie options for sweeteners if you’re looking to reduce sugar intake.
Conclusion
Making and sharing 7 Layer Coconut Magic Bars is a delightful experience that brings joy to both the baker and those who get to enjoy the final product. The combination of sweetened condensed milk, chocolate, nuts, and coconut creates a symphony of flavors and textures that are sure to impress. Whether for a family gathering, a potluck, or simply a treat for yourself, these bars are an irresistible indulgence.
We invite you to try this recipe and discover the wonderful layers of flavor that come together in each bite. From the initial mixing to the final serving, every step is an opportunity to create something truly special. Enjoy the process, share with loved ones, and relish the delightful combination of textures and tastes that only 7 Layer Coconut Magic Bars can offer.